Introduction
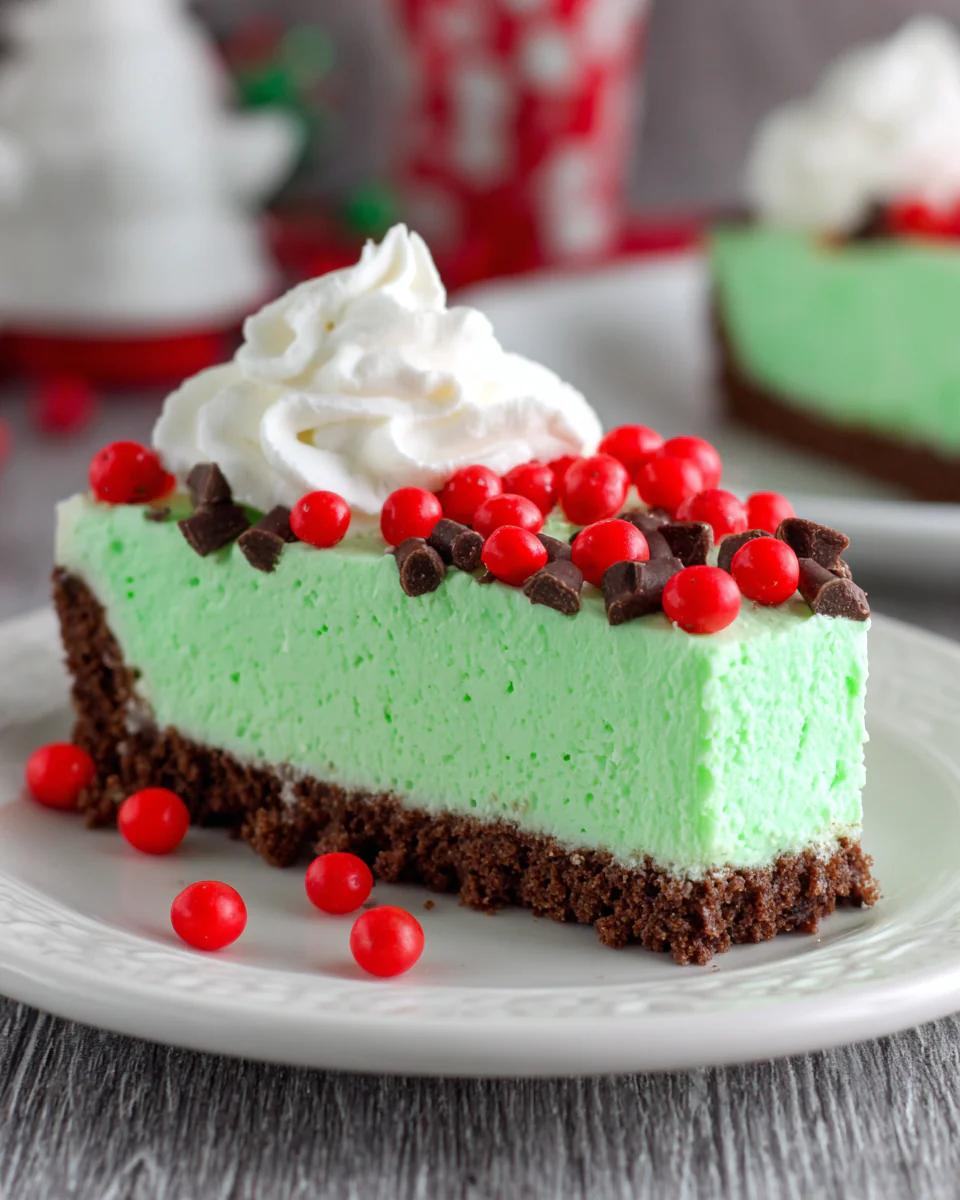
The holiday season is a magical time filled with joyful moments, gathering loved ones, and indulging in delightful desserts. This Christmas, bring a touch of whimsy to your table with the No-Bake Grinch Cheesecake. Inspired by the beloved Dr. Seuss character, this easy dessert combines creamy cheesecake with the vibrant colors of Christmas.
Not only is this cheesecake visually stunning, but it’s also incredibly simple to make, requiring no baking and minimal time in the kitchen. Perfect for home cooks of all skill levels, the Grinch Cheesecake will become a festive favorite that impresses family and friends while satisfying that sweet tooth.
Ingredients
- 8 oz cream cheese, softened
Cream cheese is essential for achieving a rich, creamy texture in the cheesecake filling. Its mild flavor allows other ingredients to shine while contributing to the overall structure. - 1 cup powdered sugar
Powdered sugar provides the sweetness needed for the cheesecake, ensuring it’s not overly sugary while blending smoothly into the mixture without causing graininess. - 1 cup heavy whipping cream
Heavy whipping cream is crucial for creating a light, fluffy texture. When whipped, it adds volume and airiness to the cheesecake filling, making it enjoyable and decadent. - 1 tsp vanilla extract
Vanilla extract enhances the flavor profile, adding warmth and depth to the cheesecake. It balances the tanginess of the cream cheese. - 1/4 cup sour cream
Sour cream introduces a slight tartness that complements the sweetness while also contributing to a creamy texture that enriches the overall mouthfeel. - 1/4 cup green food coloring
This is key for achieving the Grinch's signature color. Adjusting the quantity can help achieve the desired vividness, making your cheesecake visually festive. - 1 cup crushed graham crackers
The graham cracker crust provides a crunchy texture that contrasts beautifully with the creamy filling. It adds a subtly sweet flavor that ties the dessert together. - 1/4 cup unsalted butter, melted
Melted butter binds the crushed graham crackers together to form a sturdy crust. It adds richness and flavor, ensuring the base holds its shape when serving. - Red and green sprinkles or candies for decoration
These festive toppings not only enhance the visual appeal but also add a fun texture and a sweet crunch, making your dessert a holiday showstopper.
Directions & Preparation
Step 1: Start by preparing the crust.
Combine the crushed graham crackers and melted butter in a bowl. Mix until the crumbs are evenly coated and hold together when pressed. This step is crucial for ensuring a solid crust that won’t crumble apart when you slice into the cheesecake. After mixing, press the mixture firmly into the bottom of a cheesecake pan, making sure it’s evenly distributed and compacted.
Step 2: Make the cheesecake filling.
In a separate large mixing bowl, beat the softened cream cheese until smooth. Gradually add the powdered sugar, ensuring it’s fully incorporated before moving on. This gradual incorporation prevents lumps, leading to a creamy consistency. Follow with the sour cream and vanilla extract, mixing until combined. Finally, add green food coloring; you can adjust the amount to achieve your preferred shade of Grinch green.
Step 3: Whip the heavy cream.
In another bowl, whip the heavy whipping cream until soft peaks form. This step is essential as it introduces air into the mixture, resulting in a light texture that balances the denser cream cheese. Be careful not to over-whip it to the point of turning it into butter. Gently fold this whipped cream into the cheesecake mixture to maintain its airy quality, ensuring every bite is fluffy.
Step 4: Combine filling and crust.
Carefully pour the cheesecake filling over the prepared crust. Using a spatula, smooth the top evenly, ensuring it fills all corners of the pan. This stage is where you want to create a beautiful surface for any decorations. Once smoothed, you can gently tap the pan on the counter to remove any air bubbles, which helps in achieving a flawless finish.
Step 5: Chill the cheesecake.
Cover the cheesecake with plastic wrap and chill in the refrigerator for at least 4 hours, or overnight if possible. Chilling lets the flavors meld and the cheesecake firm up, making it easier to slice. The longer it sits, the better the flavor becomes, so patience will reward you with a deliciously set cheesecake.
Step 6: Decorate before serving.
When you’re ready to serve, add a sprinkle of red and green candies or sprinkles on top for a festive touch. This final step is about presentation—after all, we eat with our eyes first! Feel free to be creative; adding a fun decorative element will elevate your dessert and make it that much more appealing to your holiday guests.

The Importance of Chilling
Properly chilling your No-Bake Grinch Cheesecake is crucial. This step ensures the filling sets correctly, allowing it to hold its shape when sliced. Without sufficient chilling time, the cheesecake may not firm up, leading to a messy serving experience. Additionally, chilling lets the flavors meld, resulting in a creamy, delightful dessert that tastes even better after resting in the fridge.
Choosing the Right Green
When it comes to food coloring, selecting the right shade is essential for achieving the Grinch's distinct look. Bright green is ideal, but feel free to play with darker and lighter shades to suit your overall holiday theme. Remember, the color should be vibrant yet appealing, making your cheesecake a centerpiece of your festive table. Just be careful not to overdo it; adding too much food coloring can alter the flavor.
Creative Serving Suggestions
Serve your No-Bake Grinch Cheesecake with a dollop of whipped cream or a raspberry coulis for an extra layer of flavor and presentation. Consider pairing it with warm beverages, such as cocoa or coffee, which create a cozy atmosphere. You can also personalize each serving with additional toppings like candy canes or chocolate shavings to enhance the festive vibe, making every slice special for guests.
FAQs
What if my cheesecake filling is too thick?
If your filling becomes too thick while preparing, you can gently fold in a tablespoon of milk or cream at a time until you achieve a smoother consistency.
Can I use a different type of crust?
Yes, feel free to experiment with different crusts such as Oreos or digestive biscuits. Adjust the butter proportion accordingly to ensure the crust holds together.
What can I do if the crust crumbles when slicing?
Ensure that you press the crust mixture firmly into the pan before chilling; a well-compacted crust will hold together better during slicing.
How can I enhance the flavor of my cheesecake?
To elevate the flavor profile, consider adding citrus zest, like lemon or lime, to the filling for a bright contrast to the sweetness.
What if my whipped cream doesn’t form soft peaks?
If your whipped cream is not forming peaks, it may not be cold enough; ensure your bowl and cream are chilled, and start whipping on high speed.
Can I add a fruit layer to the cheesecake?
Certainly! After pouring the filling into the crust, you could add a layer of fruit preserves or fresh berries before chilling.
Conclusion
Creating a No-Bake Grinch Cheesecake is a delightful way to embrace the festive spirit of Christmas while offering an easy dessert to make. With the vibrant colors and creamy filling, it is sure to be a hit at any gathering.
This dessert encapsulates the joy of the season, inviting you to gather around the table with loved ones. Don’t hesitate to get creative with decorations and toppings to make your cheesecake uniquely yours—after all, it’s the season of giving and joy.
Recipe Card
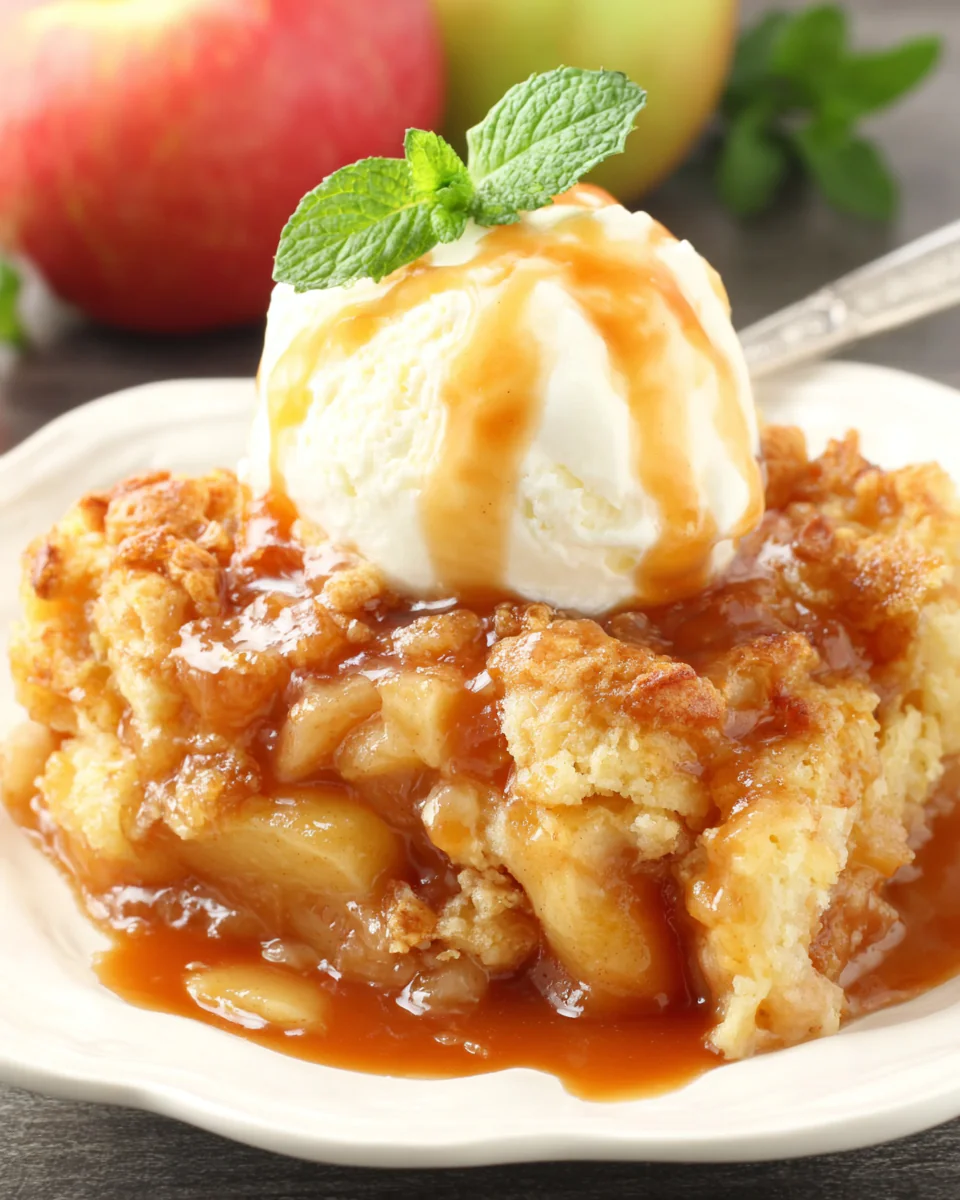
Easy Apple Cobbler for a Quick and Delicious Treat
Ingredients
Method
- Preheat your oven to 350°F (175°C).
- Prepare the apples: Peel, core, and slice the apples, then toss them with sugar, lemon juice, and cinnamon.
- Spread the apple mixture evenly into a greased baking dish.
- In a separate bowl, whisk together flour, baking powder, salt, melted butter, and milk to create the batter.
- Pour the batter over the apples, spreading it out gently.
- Bake for 40-45 minutes, or until the topping is golden brown and a toothpick inserted into the center comes out clean.
- Let cool for at least 10 minutes before serving.
- Serve warm with vanilla ice cream or whipped cream if desired.
Tried this recipe?
Let us know how it was!Notes
Additional serving suggestions: pair with a crisp salad, garlic bread, or roasted seasonal vegetables for balance.
For make-ahead, prep components separately and assemble just before heating to preserve texture.
Taste and adjust with acid (lemon/vinegar) and salt right at the end to wake up flavors.

