Introduction
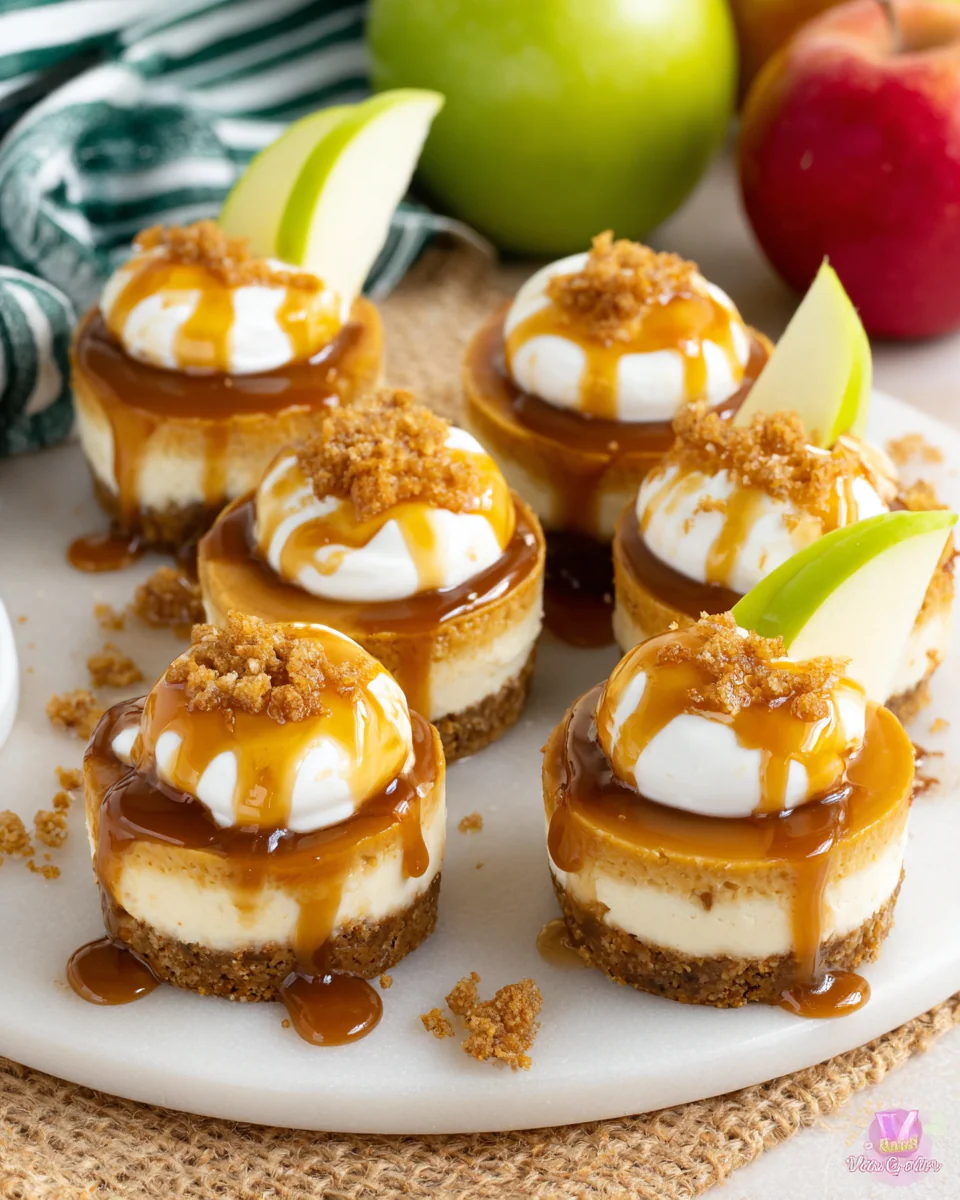
Dessert lovers, prepare to experience a sweet twist on a classic treat with these Strawberry Crunch Cheesecake Tacos. Perfect for warm weather gatherings or casual family dinners, these delicious tacos combine the rich creaminess of cheesecake with the fresh, bright flavors of strawberries all wrapped in a delightful shell.
Ideal for those who enjoy a touch of whimsy in their dessert presentation, these tacos not only taste amazing but look stunning too. The combination of textures—from the crispy taco shell to the smooth cheesecake filling and crunchy topping—will satiate your sweet tooth and leave you craving more!
Ingredients
- 8 small flour tortillas
Flour tortillas provide a soft, pliable base that holds the filling well while contrasting with the crisp topping. - 16 oz cream cheese, softened
Cream cheese serves as the creamy base for the cheesecake filling, providing rich texture and flavor. - 1 cup powdered sugar
Powdered sugar sweetens the cheesecake filling while allowing for a smooth consistency without the grittiness of granulated sugar. - 1 tsp vanilla extract
Vanilla extract adds depth and warm notes to the filling, enhancing the overall flavor profile of the cheesecake. - 1/2 cup heavy cream
Whipped heavy cream contributes to a light and airy texture in the filling, making each bite feel indulgent. - 1 cup fresh strawberries, diced
Fresh strawberries introduce natural sweetness and fruitiness, balancing the richness of the cheesecake. - 1 cup crushed graham crackers
Crushed graham crackers create a crunchy layer that mimics the traditional cheesecake crust while adding flavorful notes. - 1/2 cup melted butter
Melted butter helps bind the crushed graham crackers together, ensuring they maintain their texture as the topping. - 1/4 cup strawberry jam
Strawberry jam acts as a flavorful drizzle on top, providing an additional layer of strawberry flavor and a glossy finish. - Whipped cream for garnish
Whipped cream adds an elegant touch and a creamy element to balance the dish, enhancing visual appeal.
Directions & Preparation
Step 1: Prepare the taco shells by baking tortillas.
Preheating the oven and then baking the tortillas until they're golden will create a taco shell that is crispy yet manageable. Ensure they are shaped correctly—using a muffin tin can help form them easily. The right texture is crucial for holding the decadent filling.
Step 2: Mix the cheesecake filling.
In a mixing bowl, blend the cream cheese, powdered sugar, and vanilla until smooth, making sure all ingredients are adequately incorporated. This step is crucial as it creates the luscious cheesecake filling that will be the star of your tacos. Ensure there are no lumps which could ruin the texture.
Step 3: Incorporate whipped cream into cheesecake mixture.
Gently fold whipped heavy cream into the cheesecake mixture to lighten it. This technique adds volume and fluffiness, creating a mouthfeel that contrasts beautifully with the crunchy taco shell. Avoid over-mixing to maintain the airiness.
Step 4: Add diced strawberries to the filling.
Fold in the fresh strawberries to your mixture, ensuring even distribution for the best flavor. The strawberries will provide bursts of freshness with every bite, making the cheesecake tacos even more enjoyable. Their sweetness complements the rich decadence of the filling perfectly.
Step 5: Make the crunchy topping.
Mix melted butter with crushed graham crackers to create a crumbly topping that adds texture. This blend should have a wet sand consistency—enough butter to hold its shape but still crumbly. It creates a delightful finish to the tacos, contrasting with the soft filling.
Step 6: Assemble the cheesecake tacos.
Carefully spoon the cheesecake filling into the crispy taco shells. Top each taco with the graham cracker mixture for that signature crunch. The visual of the carefully assembled tacos adds a fun and appealing touch, making them irresistible to guests.
Step 7: Drizzle with strawberry jam and garnish.
Finish your tacos with a drizzle of strawberry jam and a dollop of whipped cream. This adds sweetness, flavor, and a beautiful presentation. The finishing touches are as important as the filling and will entice anyone at the table, making every bite visually appealing.
Step 8: Chill before serving.
Allow the assembled tacos to chill in the refrigerator for at least an hour before serving. This step helps the flavors meld and ensures the filling is perfectly set. Serving them cold provides a refreshing contrast to the warm weather, enhancing the overall dessert experience.

The Perfect Tortilla for Tacos
Choosing the right tortilla is key to ensuring your cheesecake tacos hold up well. While flour tortillas are recommended for their softness, experimenting with corn tortillas could offer a delightful crunch. Pre-baking them in a taco shell shape maximizes their ability to hold the rich cheesecake filling without breaking.
Crunchy Topping: A Key Element
The crunchy graham cracker topping elevates these tacos, adding an essential textural contrast to the creamy filling. Mixing melted butter with the crushed crackers ensures that the topping adheres well to the tacos and creates a delightful bite with each mouthful, enhancing both flavor and visual appeal.
Serving Suggestions for a Crowd
These Strawberry Crunch Cheesecake Tacos are perfect for parties or family gatherings. Consider presenting them on a vibrant platter, allowing guests to customize their toppings with additional fruits or chocolate drizzle. This customizable touch turns a simple dessert into an interactive experience, making it fun and memorable.
FAQs
What if my taco shells don't hold their shape?
Ensure you bake the tortillas long enough in the right shape, using a muffin tin to support them. This will help them maintain their structure while cooling.
Can I use a different fruit instead of strawberries?
Yes, you can substitute with raspberries or blueberries for a different flavor profile, but adjust the sweetness as needed due to varying levels of natural sweetness.
What can I do if my cheesecake filling is too thick?
If your filling is too thick, gradually fold in a tablespoon of heavy cream until you achieve a smoother consistency that is still firm yet spreadable.
How can I enhance the flavor of the strawberries?
Consider macerating the strawberries in a bit of sugar and lemon juice before adding them to the filling. This will deepen their flavor and enhance sweetness.
Is it possible to adjust the sweetness of the cheesecake filling?
Absolutely! Taste the filling before assembling; if it's not sweet enough, add more powdered sugar in small increments until it meets your preference.
How do I prevent my tacos from getting soggy?
To prevent sogginess, assemble the tacos just before serving and ensure the filling is not overly wet. This keeps the shell crispy and enjoyable.
Conclusion
Indulging in Strawberry Crunch Cheesecake Tacos is not just about savoring a delicious dessert; it's about creating an experience that combines visual appeal with delightful flavors. This fun twist on cheesecake is sure to impress anyone who tries it.
Whether you choose to serve them at a gathering or keep them as a special treat at home, these tacos are a reminder of how innovative dessert-making can be. Enjoy every scrumptious bite!
Recipe Card
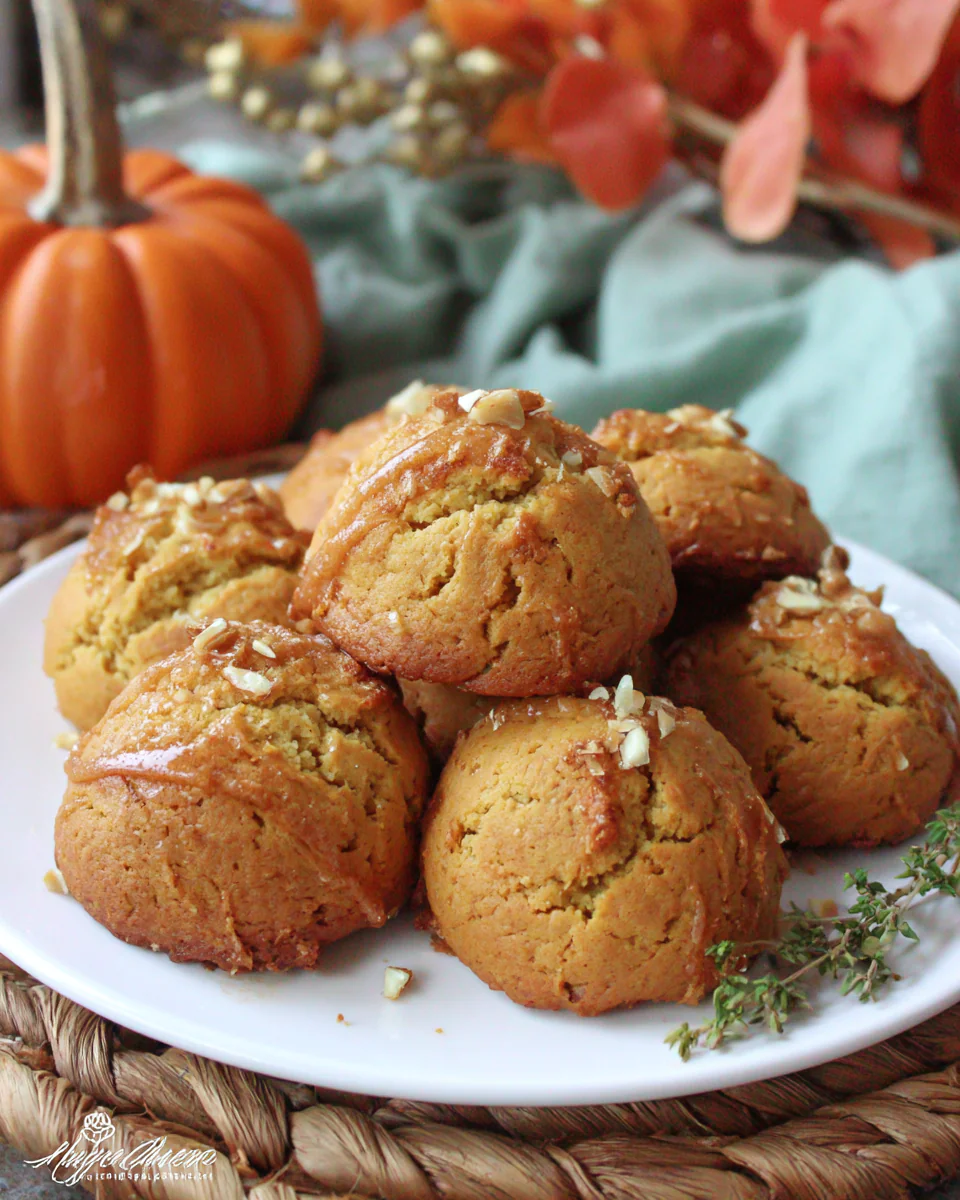
Buttery Honey Pumpkin Cookies for Cozy Fall Days
Ingredients
Method
- Preheat the oven to 350°F (175°C).
- In a large mixing bowl, cream together the softened butter and honey until light and fluffy.
- Add the pumpkin puree and continue mixing until fully incorporated.
- In another bowl, whisk together the flour, baking soda, cinnamon, nutmeg, and salt.
- Gradually mix the dry ingredients into the wet mixture until just combined.
- Fold in chopped nuts, if using.
- Scoop tablespoon-sized amounts of dough onto a parchment-lined baking sheet, leaving space between each.
- Bake for 12-15 minutes, or until the edges are lightly golden.
- Remove from the oven and allow to cool on the baking sheet for 5 minutes before transferring to a wire rack.
Tried this recipe?
Let us know how it was!Notes
Additional serving suggestions: pair with a crisp salad, garlic bread, or roasted seasonal vegetables for balance.
For make-ahead, prep components separately and assemble just before heating to preserve texture.
Taste and adjust with acid (lemon/vinegar) and salt right at the end to wake up flavors.

