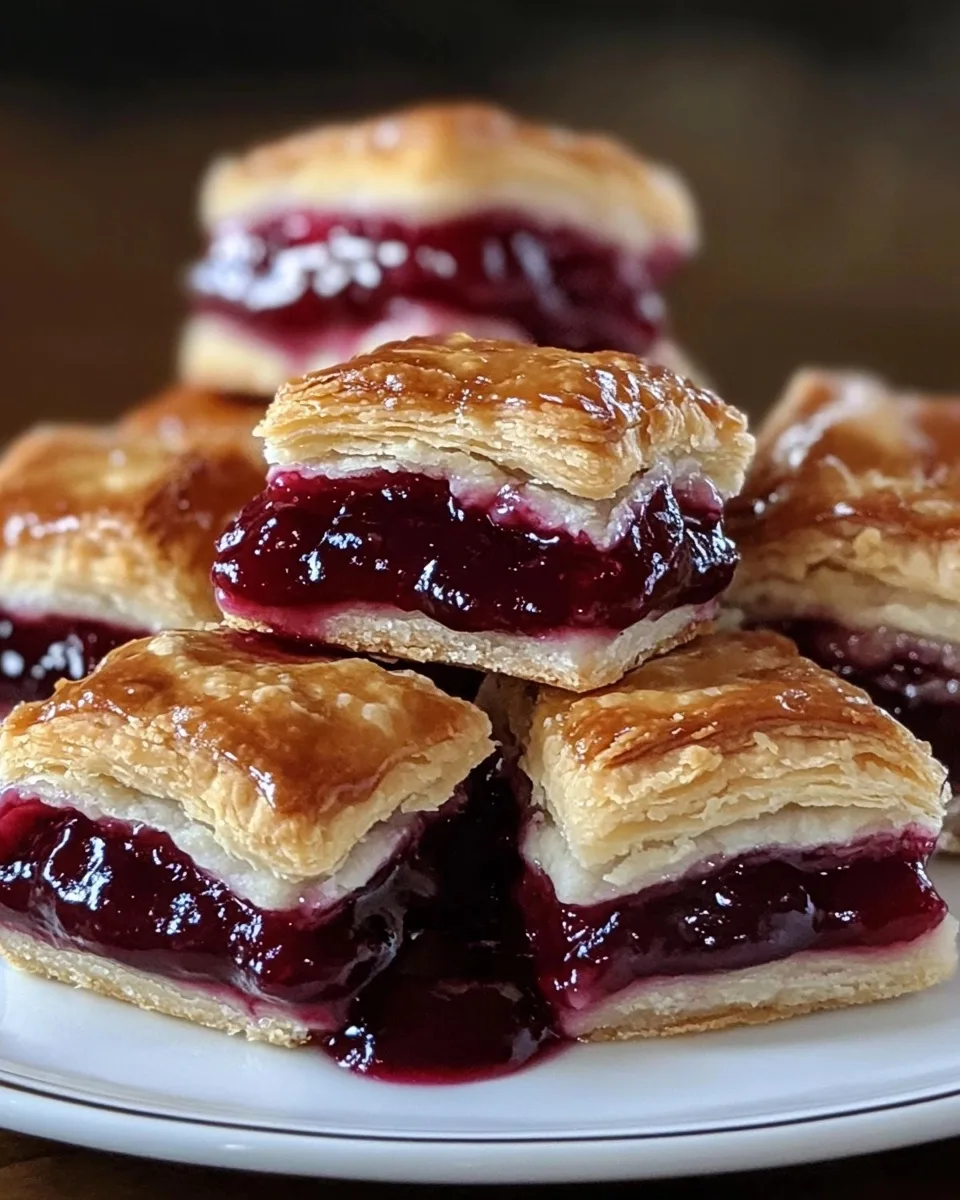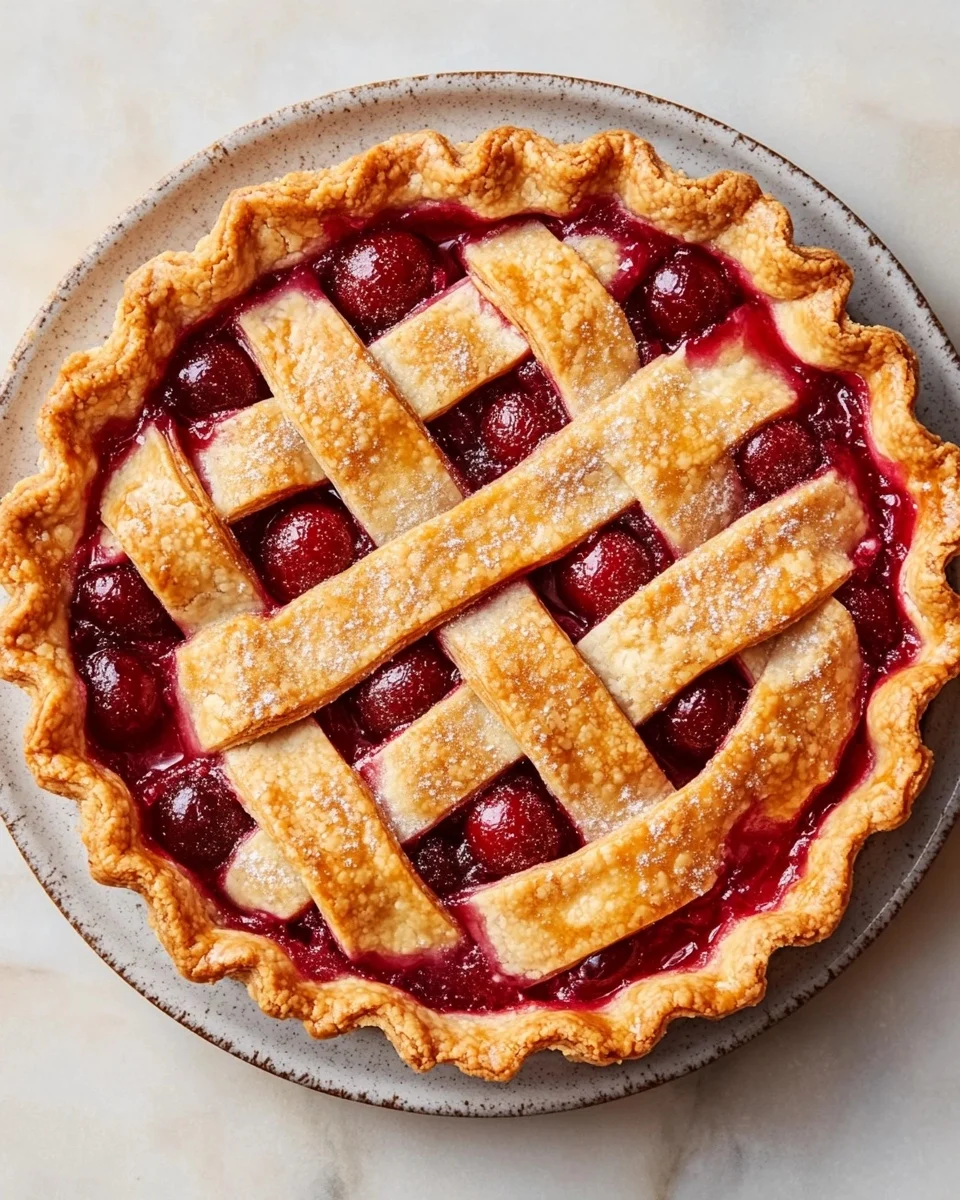
There’s something timeless about a classic cherry pie — the flaky, buttery crust, the ruby red filling that’s the perfect balance of tart and sweet, and the way it makes any gathering feel like home. Whether you’re preparing for a holiday dinner, summer BBQ, or simply satisfying a pie craving, this classic cherry pie recipe is about to become your go-to.
In this detailed guide, we’ll walk through every step of making the perfect cherry pie — from choosing the right cherries, creating a luscious filling, mastering a golden crust, baking tips, common mistakes, serving ideas, storage, variations, and much more. By the time you’re done reading, you’ll feel like a cherry pie master. 🍒
Let’s begin your delicious journey to the ultimate homemade cherry pie!
🍒 Why This Classic Cherry Pie Recipe Is a Must-Try
The classic cherry pie recipe you’re about to make is not only easy to follow but also packed with flavor and love. It’s the kind of dessert that steals the show at any dinner table.
Here’s what makes it stand out:
- Rich, tangy cherry filling that holds together beautifully
- Golden, flaky crust that bakes up crisp every time
- Easy-to-find ingredients, no fancy tools needed
- Versatile for holidays, casual weekends, and celebrations
- 100% homemade, which means no artificial pie fillings!
This is not just any pie. This is your pie, made with care, attention to detail, and the freshest ingredients.
📝 Ingredients You’ll Need
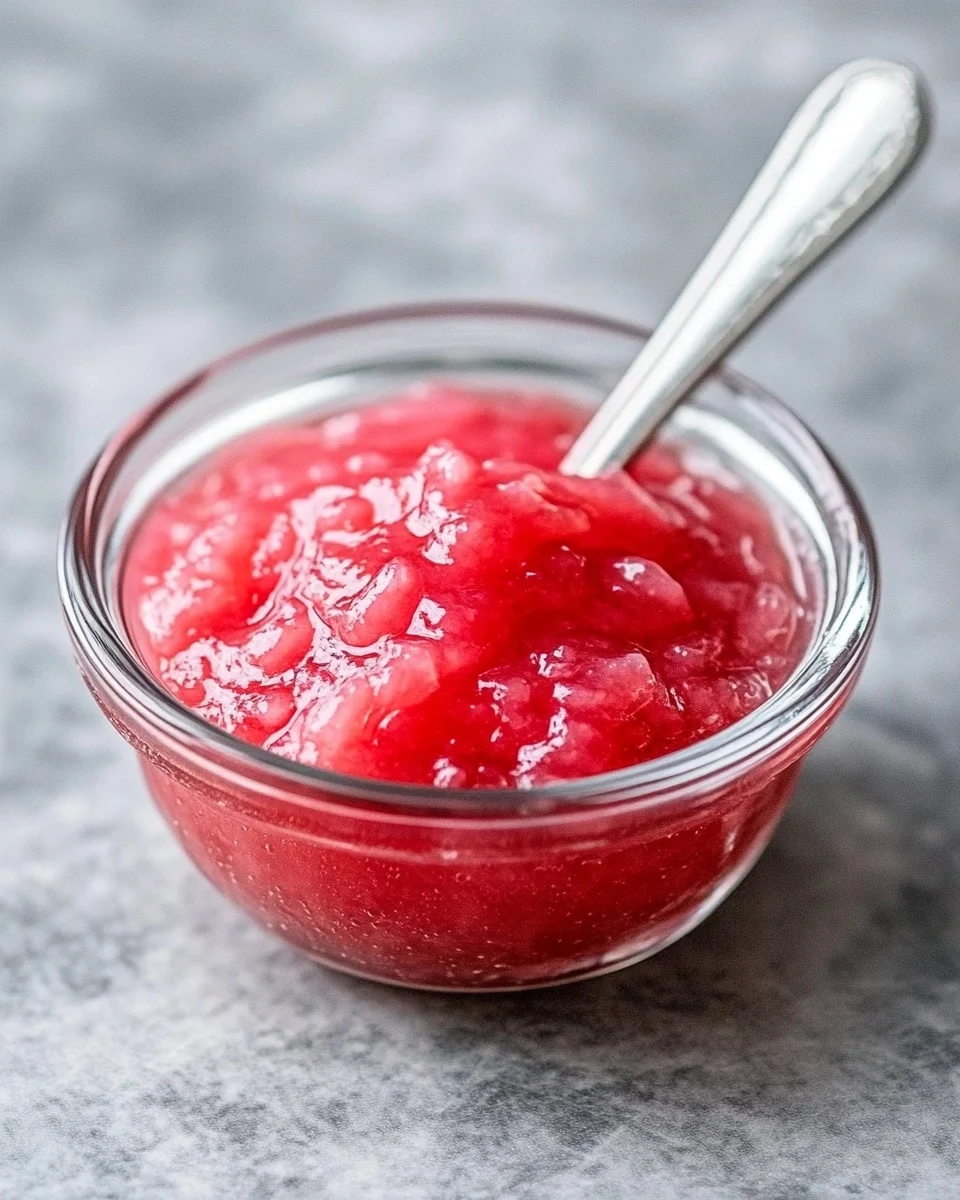
🍒 For the Cherry Pie Filling:
- ▪️ 4 cups pitted cherries (fresh or frozen, thawed and drained)
- ▪️ 1 cup granulated sugar
- ▪️ ¼ cup cornstarch
- ▪️ 1 tbsp lemon juice
- ▪️ ½ tsp almond extract (optional, but amazing!)
- ▪️ ⅛ tsp salt
🥧 For the Perfect Pie Crust:
- ▪️ 2 unbaked 9-inch pie crusts (store-bought or homemade)
- ▪️ 1 tbsp butter (cut into small pieces, for dotting)
- ▪️ 1 egg (for egg wash)
- ▪️ 1 tbsp milk (for egg wash)
- ▪️ 1 tbsp coarse sugar (optional, for sprinkling)
⏲️ Time & Yield:
- Prep Time: 20 minutes
- Cook Time: 55 minutes
- Total Time: 1 hour 15 minutes
- Serving Size: 8 slices
- Calories: ~400 kcal per slice

🧁 Step-by-Step Instructions
Step 1: Prep the Cherries
In a large mixing bowl, combine the cherries, granulated sugar, cornstarch, lemon juice, almond extract, and salt. Stir everything together and let it sit for 5–10 minutes. This gives the cherries time to release their natural juices and allows the cornstarch to begin thickening the mixture.
Tip: If using frozen cherries, make sure they are completely thawed and well-drained. Excess water can cause a runny pie.
Step 2: Prepare Your Crust
Line your 9-inch pie dish with the bottom crust. Press gently to ensure it fits snugly into the dish and up the sides. Spoon the cherry filling into the crust and spread evenly. Dot the filling with small pieces of butter.
Step 3: Seal the Deal
Place your top crust over the filling. Whether you prefer a full top crust or a beautiful lattice, make sure the edges are sealed by pinching or crimping. If you use a full crust, cut a few slits to allow steam to escape.
Step 4: Egg Wash & Sugar Dust
Whisk together 1 egg and 1 tablespoon of milk to make a simple egg wash. Brush it over the top crust for a golden finish. For a touch of sparkle and crunch, sprinkle on some coarse sugar.
Step 5: Bake to Perfection
Place the pie on a baking sheet to catch any drips. Bake at 400°F (200°C) for 20 minutes, then reduce the temperature to 350°F (175°C) and bake for an additional 30–35 minutes. The crust should be golden and the filling should bubble up through the vents.
Tip: If your crust starts browning too quickly, cover the edges with foil or a pie shield.
Step 6: Cool Before Slicing
This part is tough, but crucial. Let the pie cool for at least 2 hours before slicing. This gives the filling time to set and ensures neat, picture-perfect slices.
🔥 Pro Tips for the Perfect Classic Cherry Pie
- Use tart cherries if available. They provide that bright, tangy flavor cherry pies are known for.
- Cornstarch is your friend. Don’t skip it—it thickens the juices and keeps the pie from being soupy.
- Almond extract = secret weapon. It complements cherries perfectly with just a drop or two.
- Egg wash gives that golden crust. Brushing the crust isn’t just for looks—it adds flavor and structure.
- Always cool completely. A hot pie will ooze and fall apart. Give it time to rest!
🥣 Variations on the Classic Cherry Pie Recipe
Want to get creative with your cherry pie? Here are some fun ways to switch it up:
🍫 Chocolate Cherry Pie
Add a layer of chocolate chips under the filling or swirl melted chocolate into the filling itself.
🥥 Cherry Coconut Pie
Mix ½ cup of shredded coconut into the filling for a tropical twist.
🍏 Cherry-Apple Pie
Replace 2 cups of cherries with sliced apples for a sweet-tart flavor blend.
🧀 Cherry Cheesecake Pie
Add a sweetened cream cheese layer at the bottom of the pie crust before adding the cherry filling.
🍨 Serving Suggestions
Here’s how to elevate your classic cherry pie experience:
- Top with vanilla ice cream 🍨
- Drizzle with warm chocolate syrup
- Whip up fresh whipped cream 🥄
- Serve chilled with coffee or tea
- Pair with a glass of red wine for a gourmet touch
🧊 Storing and Reheating Tips
🧊 How to Store Cherry Pie:
- At room temperature: up to 2 days, covered loosely
- In the fridge: up to 4–5 days, wrapped well or in a container
- In the freezer: wrap tightly in foil and store for up to 3 months
🔥 How to Reheat Cherry Pie:
- Oven: warm at 325°F (160°C) for 10–15 minutes
- Microwave: heat slices for 15–30 seconds, though the crust may lose crispness
🍽️ Nutritional Information (per slice)
- Calories: ~400 kcal
- Carbs: ~58g
- Sugar: ~35g
- Fat: ~16g
- Protein: ~4g
- Fiber: ~2g
Note: Exact nutrition may vary based on your ingredients and portion size.
❓ Frequently Asked Questions (FAQs)
Can I use canned cherries?
Yes, but make sure they’re not cherry pie filling. Use canned cherries in water or juice and drain them thoroughly.
What’s the best cherry for cherry pie?
Tart cherries like Montmorency are classic, but you can use sweet cherries with a bit of extra lemon juice to balance the flavor.
How do I keep my cherry pie from being runny?
Let the filling sit to release juice, don’t skip the cornstarch, and allow the pie to cool completely before slicing.
Can I make this pie ahead of time?
Absolutely! You can prepare the filling up to two days in advance and refrigerate the assembled unbaked pie overnight.
How do I get a crispy bottom crust?
Blind baking isn’t necessary here, but placing the pie on a preheated baking sheet can help crisp the bottom.
Is almond extract necessary?
It’s optional but adds a depth of flavor that beautifully complements cherries. Start with just ½ tsp.
🏁 Conclusion
There you have it — the ultimate guide to the best classic cherry pie recipe you’ll ever bake. From the flakiest crust to the juiciest filling, this recipe delivers every single time. With a bit of patience and a lot of flavor, you’re not just baking dessert — you’re creating memories that will last a lifetime.
So the next time you’re craving something sweet, nostalgic, and downright delicious, remember this: nothing beats a homemade classic cherry pie. 🍒🥧
Whether it’s your first pie or your fiftieth, this recipe will never let you down. Happy baking, and don’t forget to share a slice with someone you love!