Introduction: The Sweet Taste of Summer
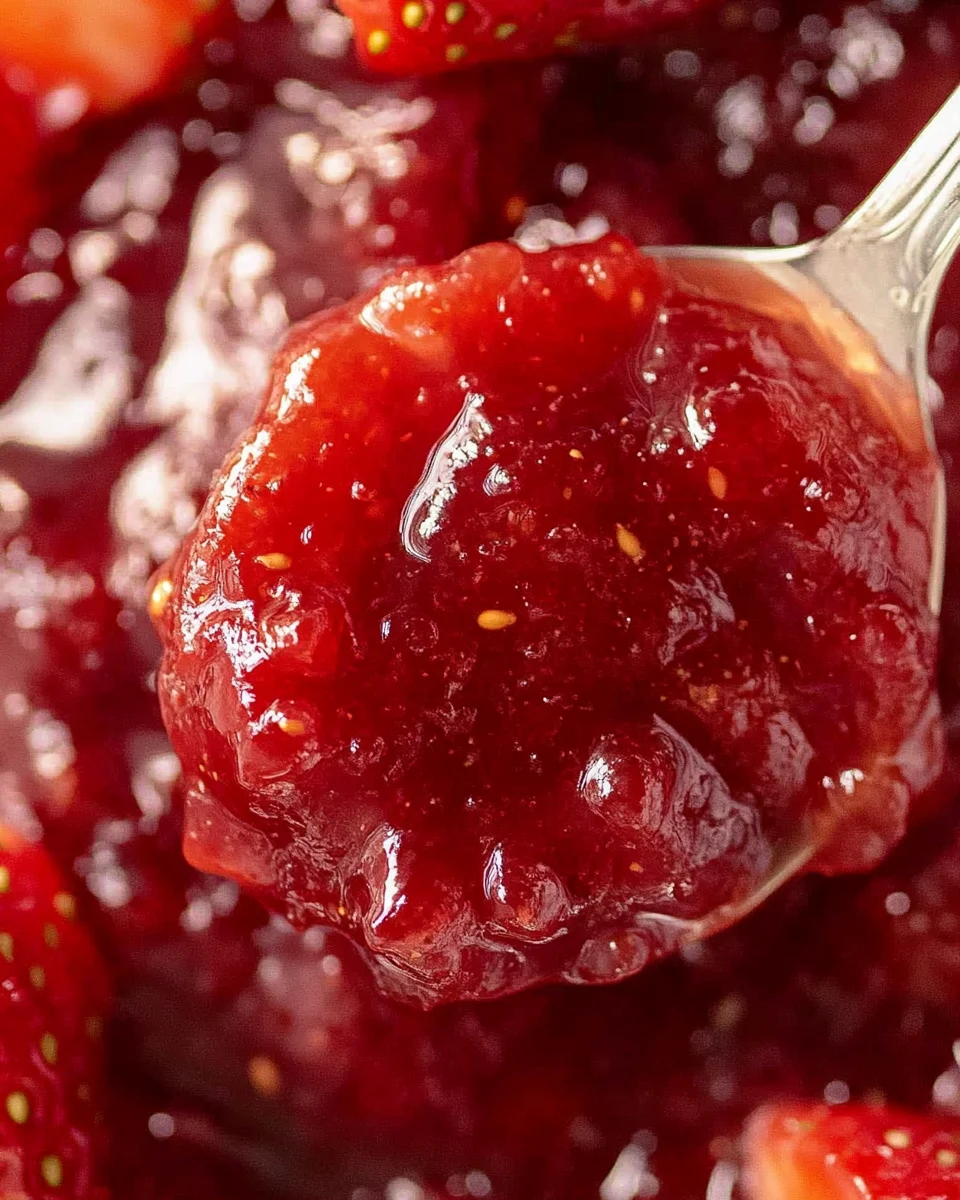
There is nothing quite like the taste of homemade Fresh Strawberry Jam. It brings back memories of sunny afternoons, picnics in the park, and the comfort of warm toast slathered in sweet, tangy goodness. This article is your ultimate guide to making, enjoying, and preserving your very own batch of Fresh Strawberry Jam—from understanding your ingredients to troubleshooting texture, we’ve got everything you need for a jam that’s better than anything you can buy.
Why Make Your Own Fresh Strawberry Jam?
In a world of convenience foods, taking the time to make your own Fresh Strawberry Jam is a delicious act of self-care. Not only do you get to control the ingredients (and avoid all those mystery preservatives), but you’ll also be amazed at how much flavor and freshness you can pack into a single jar.
Store-bought jams might be easy to grab off the shelf, but they often pale in comparison to the bold, bright taste of a batch made from ripe, hand-picked strawberries. Once you experience the satisfaction of spooning homemade strawberry jam over a buttery biscuit or into your favorite yogurt, you may never go back to the commercial stuff again.
Ingredients Matter: Choosing the Best for Your Jam
Before we dive into the steps of making Fresh Strawberry Jam, let’s talk ingredients. The quality of your jam starts with what goes into it.
- Fresh Strawberries (2 lbs): Look for strawberries that are firm, fully red, and free of blemishes. The riper the berry, the sweeter the flavor. Local or organic strawberries often offer the best taste.
- Granulated Sugar (2 cups): Sugar is essential—not just for sweetness, but for helping your jam set. It also acts as a preservative.
- Lemon Juice (2 tablespoons): Adds acidity to balance the sweetness and helps with the setting process.
- Lemon Zest (1 tablespoon, optional): This brightens the flavor and adds a subtle citrusy kick that enhances the strawberries.

Pro Tip: If you’re planning to make jam regularly, invest in a kitchen scale. Accurate measurements make a big difference, especially when dealing with fruit.
Tools You’ll Need for Jam-Making Success
Having the right tools on hand makes the process smoother and safer:
- Large saucepan or stockpot
- Wooden spoon or silicone spatula
- Potato masher (or fork)
- Sterilized glass jars with lids
- Jar funnel (optional, but helpful)
- Chilled plate (for testing set)
Step-by-Step: How to Make Fresh Strawberry Jam
Let’s walk through the process of making Fresh Strawberry Jam in simple steps:
- Prepare Your Strawberries: Wash, hull, and chop your strawberries into small pieces. You want even chunks so the jam cooks uniformly.
- Mix Ingredients: In a large saucepan, combine the chopped strawberries, sugar, lemon juice, and lemon zest (if using). Stir well to combine.
- Cook Over Medium Heat: Place the pot over medium heat, stirring often. As the sugar dissolves, the strawberries will release their juices and the mixture will begin to bubble.
- Mash the Berries: Use a potato masher to break down the strawberries to your desired consistency—chunky or smooth, it’s up to you!
- Simmer Until Thick: Let the mixture simmer for 20 to 30 minutes. Stir regularly to prevent sticking. You’ll see it thicken and reduce.
- Test the Jam: Place a spoonful of jam on a chilled plate. After a minute, run your finger through it—if it wrinkles slightly and holds its shape, it’s ready. If not, continue cooking and test again in 5-minute intervals.
- Cool and Store: Remove from heat and let cool slightly. Spoon the jam into sterilized jars, seal, and refrigerate. For long-term storage, process the jars in a water bath.
Tips for the Best Strawberry Jam Texture
The consistency of your Fresh Strawberry Jam is a big part of its appeal. Here’s how to get it just right:
- Don’t skip the lemon juice—it helps the natural pectin in strawberries do its job.
- Avoid overcooking, which can result in a stiff or sticky texture.
- Stir constantly during the final stages to prevent burning.
- Chill your testing plate in advance for accurate set testing.
Flavor Variations to Try
Love to experiment in the kitchen? Here are some fun twists on the classic Fresh Strawberry Jam:
- Strawberry Basil Jam: Add a few torn fresh basil leaves during the cooking process for a herbal twist.
- Spiced Strawberry Jam: Add a pinch of cinnamon, nutmeg, or even ground ginger.
- Strawberry Vanilla Jam: Stir in a splash of vanilla extract once removed from the heat.
- Boozy Strawberry Jam: Add a tablespoon of balsamic vinegar or a splash of red wine for a gourmet flair.
How to Store and Preserve Fresh Strawberry Jam
Once you’ve made your jam, proper storage is essential:
- Refrigerator: If you’re not processing the jars, store them in the fridge for up to 3 weeks.
- Water Bath Canning: To store at room temperature, process the jars in boiling water for 10 minutes. This gives you a shelf life of up to a year!
- Freezer Jam: You can also pour cooled jam into freezer-safe containers and store for up to 6 months.
Creative Ways to Use Fresh Strawberry Jam
Sure, you can spread your Fresh Strawberry Jam on toast—but why stop there? Get creative with these ideas:
- Swirl it into Greek yogurt
- Top pancakes, waffles, or French toast
- Layer it in parfaits or trifles
- Fill thumbprint cookies
- Spoon over cheesecake
- Use as a glaze for roasted meats or grilled cheese
Troubleshooting Common Jam Problems
- Jam too runny? It may need more cooking time. Return to heat and test again.
- Too thick? Add a bit of water or strawberry juice and gently reheat.
- Too sweet? Try adding a splash more lemon juice to balance it out.
- Foamy top? Skim the foam before jarring for a cleaner look.
FAQs About Fresh Strawberry Jam
1. Can I reduce the sugar in this recipe? Yes, but the texture and shelf life may change. Use a low-sugar pectin if you plan to reduce the sugar.
2. Can I use frozen strawberries instead of fresh? Absolutely! Thaw and drain them before cooking, and expect a slightly different texture.
3. Is pectin necessary? Not in this recipe. Strawberries have some natural pectin, and the lemon juice helps them set.
4. Can I make this jam in a slow cooker? Yes, but you’ll need to cook it uncovered on high for a few hours and stir frequently to get the right consistency.
5. Can I double the recipe? It’s best to make jam in small batches for optimal consistency, but you can double it—just increase the cooking time slightly.
Conclusion: Homemade Fresh Strawberry Jam is Always a Good Idea
There’s something deeply satisfying about creating your own Fresh Strawberry Jam from scratch. With just a few ingredients and a little time, you can capture the sweet taste of summer in every spoonful. Whether you’re spreading it on morning toast or gifting a jar to a friend, homemade jam offers unbeatable flavor, freshness, and personal touch. So go ahead—preserve the season, one delicious jar at a time.
Stay tuned for even more jam and preserve recipes to keep your pantry stocked with love and flavor all year round!
Print
Homemade Fresh Strawberry Jam Recipe – Easy, Sweet & Delicious
Ingredients
2 lbs fresh strawberries, hulled and chopped
2 cups granulated sugar
2 tablespoons lemon juice
1 tablespoon lemon zest (optional)
Instructions
-
In a large saucepan, combine strawberries, sugar, lemon juice, and zest (if using).
-
Cook over medium heat, stirring often, until sugar dissolves and mixture begins to bubble.
-
Use a potato masher or spoon to mash the strawberries to your desired consistency.
-
Continue to simmer the jam, stirring frequently, for 20–30 minutes, or until thickened and reduced.
-
To test the jam, place a small spoonful on a chilled plate — if it wrinkles when pushed, it’s ready.
-
Remove from heat and let cool slightly.
-
Transfer to sterilized jars and refrigerate for up to 3 weeks, or process in a water bath for longer storage.


