Introduction
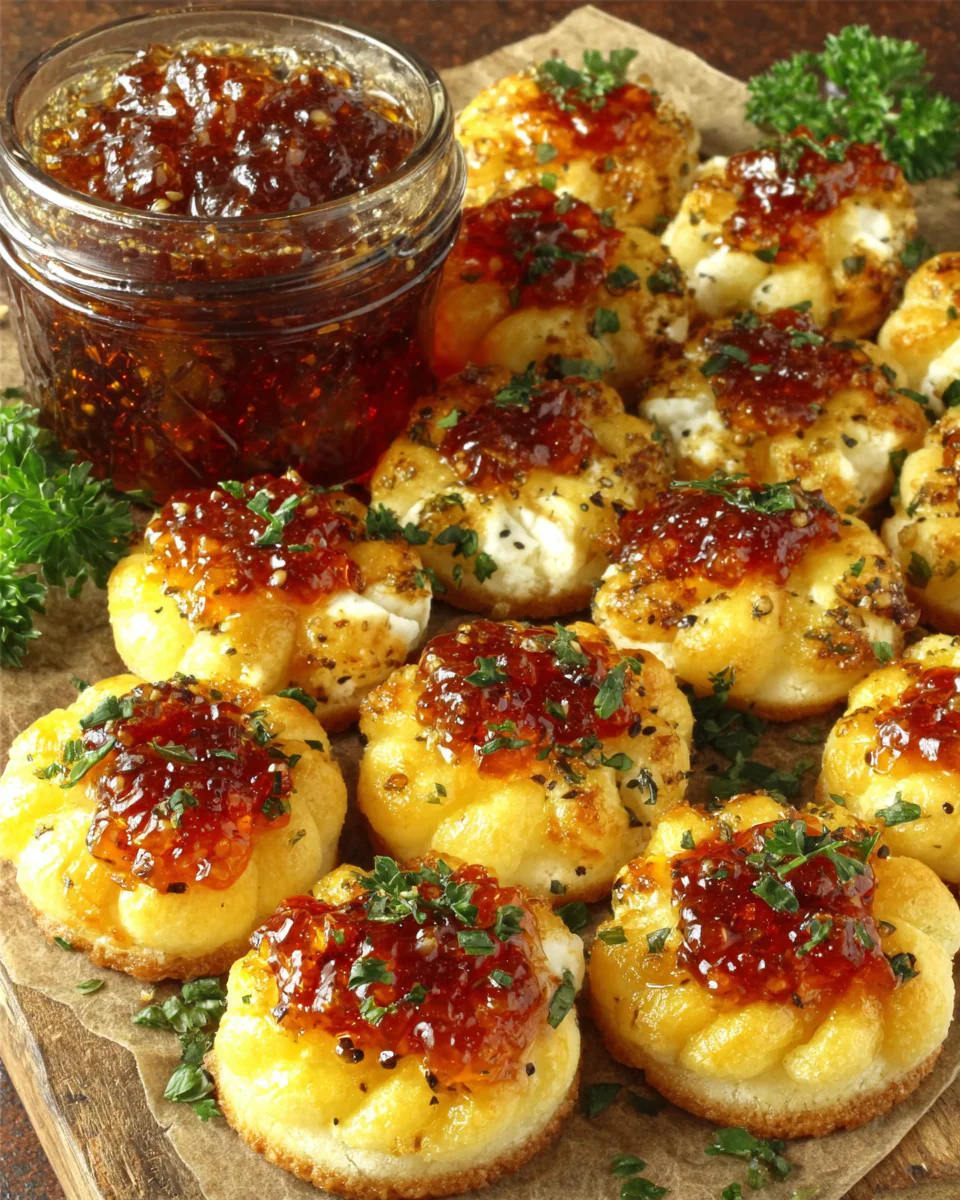
If you're looking for a crowd-pleasing appetizer that offers a delightful contrast of flavors, these cheesy thumbprint appetizers with hot pepper jelly are the answer. Easy to prepare and fun to serve, they are perfect for any gathering, from casual get-togethers to festive celebrations.
The creamy, gooey cheese pairs wonderfully with the sweet and spicy notes of the hot pepper jelly, creating a balanced flavor that will keep your guests coming back for more. Not only do they taste great, but they're also a visual treat, making them an impressive addition to your appetizer spread.
Ingredients
- 1 cup all-purpose flour
Flour serves as the base for the dough, providing structure and stability. Using all-purpose flour gives the appetizers a nice texture and helps them maintain their shape during baking. - 1/2 cup unsalted butter, softened
Butter adds richness and flavor to the dough, contributing to a tender texture. The fat content helps create a flaky crumb while keeping the appetizers moist. - 1 cup shredded sharp cheddar cheese
Cheddar cheese delivers a bold flavor and gooey consistency that melts beautifully. The sharpness of the cheese complements the sweetness of the hot pepper jelly, providing a delightful taste experience. - 1/2 teaspoon garlic powder
Garlic powder infuses the dough with a savory note that enhances the overall flavor. It gives an extra kick that balances the sweetness of the topping. - 1/4 teaspoon salt
Salt is essential to elevate all the flavors in the dish. It helps to enhance the taste of the cheese and counterbalance the sweetness of the jelly. - 1/2 cup hot pepper jelly
Hot pepper jelly acts as the star topping for the appetizers, offering a sweet and spicy flavor burst. It creates a beautiful contrast with the cheesy base, making each bite exciting. - Fresh herbs for garnish (optional)
Fresh herbs like cilantro or parsley can add a pop of color and freshness to the finished appetizer. They enhance the visual appeal and provide a minor flavor accent that complements the cheese and jelly.
Directions & Preparation
Step 1: Preheat your oven to 350°F (175°C).
Preheating your oven is a crucial step that ensures even baking. By setting the oven temperature early, you allow it to reach the ideal heat level for baking the appetizers, which helps them cook consistently and rise to the right texture.
Step 2: In a mixing bowl, combine the softened butter and shredded cheese.
Mixing the butter and cheese together creates a rich base that will bind the flour later on. The warmth of the softened butter allows the cheese to incorporate more easily, leading to a smooth dough.
Step 3: Add the flour, garlic powder, and salt into the cheese mixture.
Incorporating the dry ingredients into the wet mixture is vital for achieving the right consistency. This step gradually forms the dough while ensuring that the flavors from the garlic powder and salt are evenly distributed.
Step 4: Mix until the dough just comes together but is not overworked.
Avoid overmixing the dough, which can toughen the texture of your appetizers. Mixing until just combined ensures a tender bite that complements the crispy exterior, yielding delightful cheesy morsels.
Step 5: Roll the dough into small balls and then create a thumbprint in the center of each.
Shaping the dough into balls and creating a thumbprint helps to hold the jelly after baking. This step also forms the aesthetic impression that makes these appetizers stand out, inviting your guests to take a bite.
Step 6: Place the thumbprint cookies on a baking sheet lined with parchment paper.
Using parchment paper prevents the appetizers from sticking to the baking sheet, making cleanup easier. It also helps to evenly distribute heat, promoting an evenly baked product.
Step 7: Bake for 15-20 minutes until golden brown.
Baking until the edges are golden indicates that the appetizers have reached the perfect level of doneness. Keep an eye on them as baking times may vary depending on your oven.
Step 8: Remove from oven and fill thumbprints with hot pepper jelly immediately.
Filling the thumbprints right after removing them from the oven allows the jelly to melt slightly, helping it adhere to the cheesy base. It's also the moment when the aroma will entice your guests.
Step 9: Let cool slightly before serving, garnishing with fresh herbs if desired.
Allowing your appetizers to cool briefly helps to set the jelly and makes them easier to handle. Garnishing with herbs adds color and freshness, enhancing the overall presentation.

Choosing the Right Cheese
Selecting the cheese is key to the success of your cheesy thumbprint appetizers. While sharp cheddar is recommended for its robust flavor, consider trying other cheeses like pepper jack for an added kick or cream cheese for a creamier texture. Experimenting with different cheeses can yield exciting flavor profiles and win over palates with varied preferences.
Variations on Hot Pepper Jelly
Hot pepper jelly is versatile, and you can easily customize it to suit your taste. Consider making your own jelly using different types of peppers for varying heat levels or sweetness. If you're not a fan of spice, look for milder alternatives or fruit-infused jellies that provide a fruity balance alongside the cheese.
Presentation Tips for Your Appetizers
The presentation of your cheesy thumbprint appetizers can elevate your gathering. Serve them on a colorful platter or a rustic wooden board, and add small bowls of extra hot pepper jelly for dipping. Enhance the arrangement with fresh herbs or slices of vegetables, creating an inviting spread that will entice guests to indulge.
FAQs
What if the dough seems too crumbly?
If your dough is too crumbly, it may be a sign that you need to add a bit of moisture. Try mixing in a teaspoon of cold water, one at a time, until the dough comes together.
Can I use a different type of jelly besides hot pepper jelly?
Absolutely! Any flavor of jelly can work, but consider choosing sweet and tangy varieties like raspberry or apricot for an interesting twist.
What adjustments can I make for dietary restrictions?
For gluten-free options, substitute all-purpose flour with a suitable gluten-free flour blend. Additionally, you can opt for dairy-free cheese alternatives if needed.
Why did my thumbprints spread out too much during baking?
If your thumbprints spread excessively, it might be due to soft butter not being properly creamed with the cheese or not chilling the dough before baking.
How can I make sure the jelly doesn't overflow during baking?
To avoid overflow, be cautious not to overfill the thumbprint. A small spoonful of jelly is typically sufficient, as it will spread. Better to err on the side of caution.
What can I do if I want to make these appetizers spicier?
To increase the heat level, consider mixing diced chilis into the cheese mixture or using extra spicy hot pepper jelly. Experimenting with different heat sources can provide delicious results.
Can I make a vegetarian version of these appetizers?
Yes, these appetizers are naturally vegetarian as they do not include meat. Just ensure that any cheese or jelly you choose is suitable for vegetarian diets.
Conclusion
Cheesy thumbprint appetizers with hot pepper jelly are a delightful addition to any gathering, bringing together the comforting elements of cheese and the electrifying zing of spicy jelly. As you indulge in these simple yet flavorful bites, you'll find that your guests will appreciate the balance of flavors and textures, elevating their snacking experience.
So next time you're hosting an event or simply looking for a tasty treat, give these cheesy morsels a try. They’re sure to impress with their vibrant flavors and charming presentation, making them a new favorite in your recipe repertoire.
Recipe Card
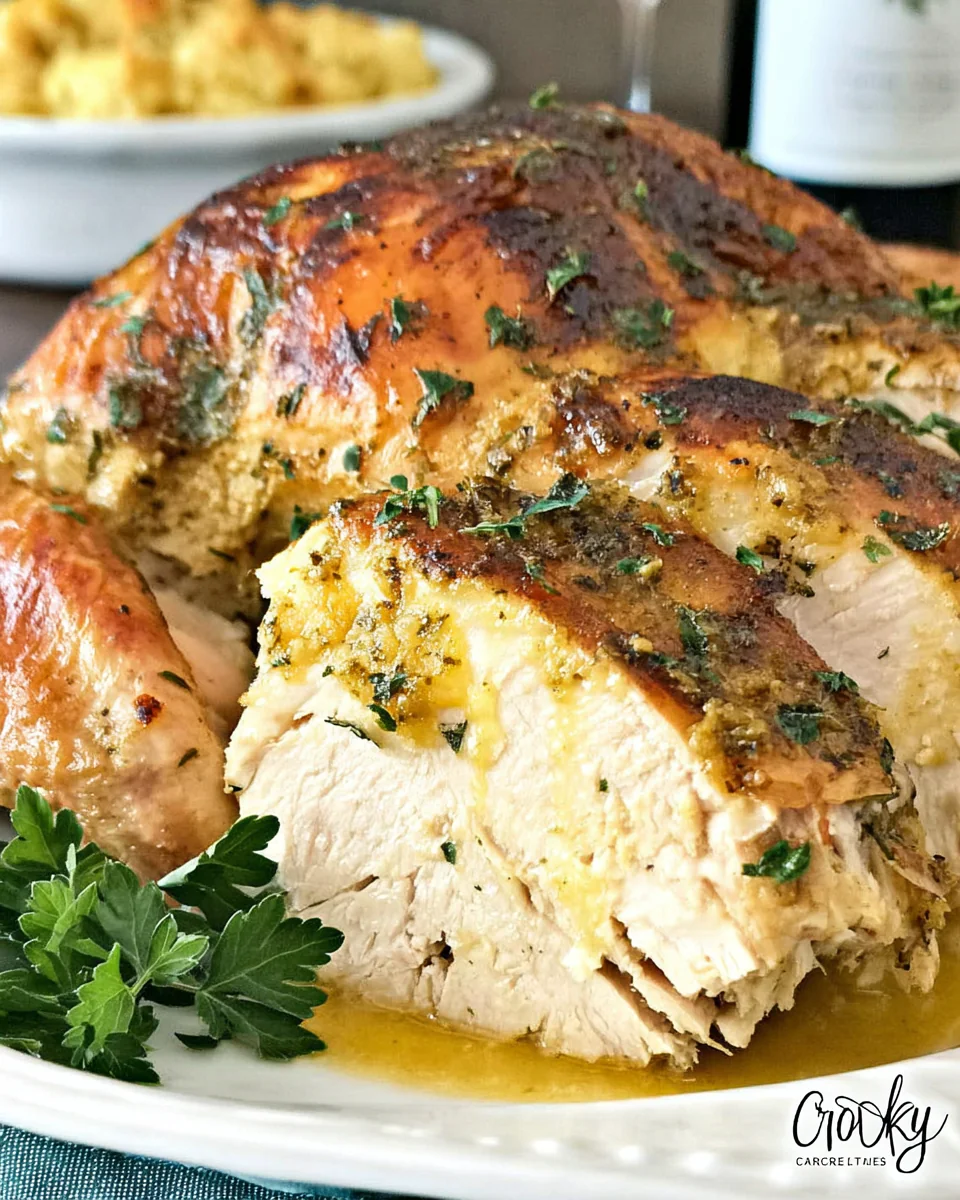
Savory Crockpot Turkey Breast for Easy Meals
Ingredients
Method
- Prepare the crockpot and turkey breast
- Make the seasoning mix
- Season the turkey breast
- Sear the turkey (optional)
- Place turkey in the crockpot
- Add liquid ingredients
- Cook on low for 6-8 hours
- Rest the turkey before slicing
- Serve and enjoy
Tried this recipe?
Let us know how it was!Notes
Additional serving suggestions: pair with a crisp salad, garlic bread, or roasted seasonal vegetables for balance.
For make-ahead, prep components separately and assemble just before heating to preserve texture.
Taste and adjust with acid (lemon/vinegar) and salt right at the end to wake up flavors.