Introduction
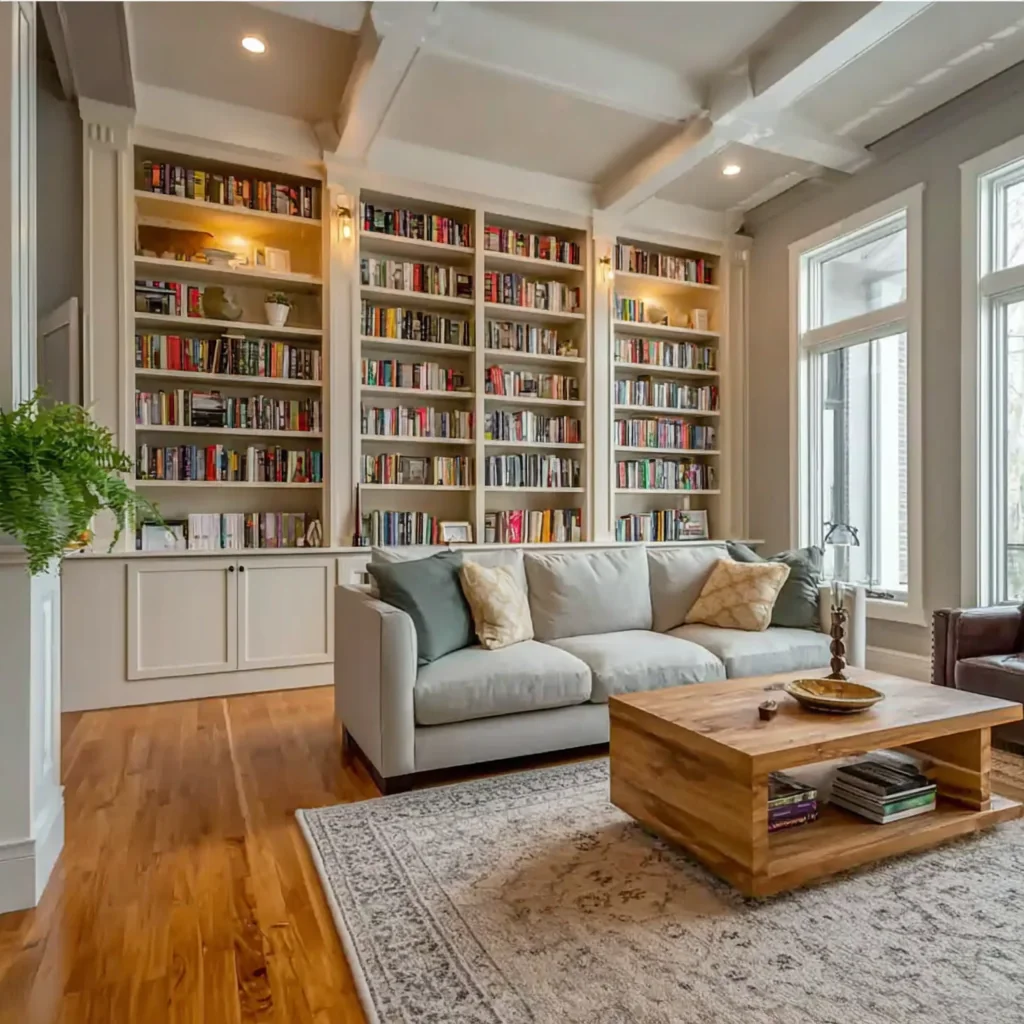
Custom built-in bookshelves can transform a living room from ordinary to extraordinary. They serve not only as functional storage but also as an eye-catching focal point that showcases your personality and style.
Whether you're an avid reader or someone who cherishes decorative items, these shelves can be tailored to meet your unique needs. They bring organization to the chaos while adding architectural interest to your space.
Ingredients
- 1 lumber of your choice (e.g., pine, oak, birch) – 12 ft
- 2 L-brackets – 4 pieces
- 3 wood screws – 1 box
- 4 wood glue – 1 bottle
- 5 paint or wood stain – 1 quart
- 6 sandpaper – 1 pack (various grits)
- 7 wood primer – 1 quart
- 8 shelf brackets – 8 pieces (if not using built-in supports)
- 9 adjustable connectors – 4 pieces (for leveling)
- 10 measuring tape – 1 piece
Directions & Preparation
- Decide on the dimensions of your built-in bookshelves, considering both height and width to ensure they fit perfectly in your living room.
- Choose the type of wood that matches your existing décor. Measure and cut your lumber according to the desired dimensions.
- Sand all surfaces of the cut wood until smooth, paying special attention to edges and corners.
- Apply a coat of wood primer to your lumber and allow it to dry completely before painting or staining.
- Once the primer is dry, apply your chosen paint or wood stain, allowing adequate drying time between coats for a polished finish.
- Secure the L-brackets to the wall based on the height of your shelves. Ensure they are fully leveled before tightening the screws.
- Attach the wood shelves to the brackets, securing them with wood screws or clips, depending on your design.
- Consider adding adjustable connectors to ensure that your shelves remain level with any slight wall inconsistencies.

FAQs
What kind of wood should I choose for my bookshelves?
Pine is cost-effective, while oak or birch offers durability and aesthetic appeal.
What is the best way to ensure my shelves are level?
Use a level tool when securing the brackets to the wall and adjust until perfectly horizontal.
What can I do if my bookshelves are sagging after installation?
Check the supports and ensure they are installed correctly; consider adding extra brackets for heavier loads.
Can I install built-in bookshelves in a rental space?
Yes, but consult your landlord for approval and consider removable options for wall mounting.
What should I do if my shelves are too thick for my space?
Look for thinner lumber options or adjust your design to accommodate slimmer shelves.
How can I customize the height of the shelves?
Simply adjust your measurements before cutting the wood to create shelves at your preferred height.
Conclusion
Creating custom built-in bookshelves is a fulfilling project that enhances both storage and aesthetics in your living room. With careful planning and execution, the results can be stunning.
Let your creativity shine through this design while providing functionality to your space. Enjoy the satisfaction that comes with crafting something uniquely yours.
Recipe Card
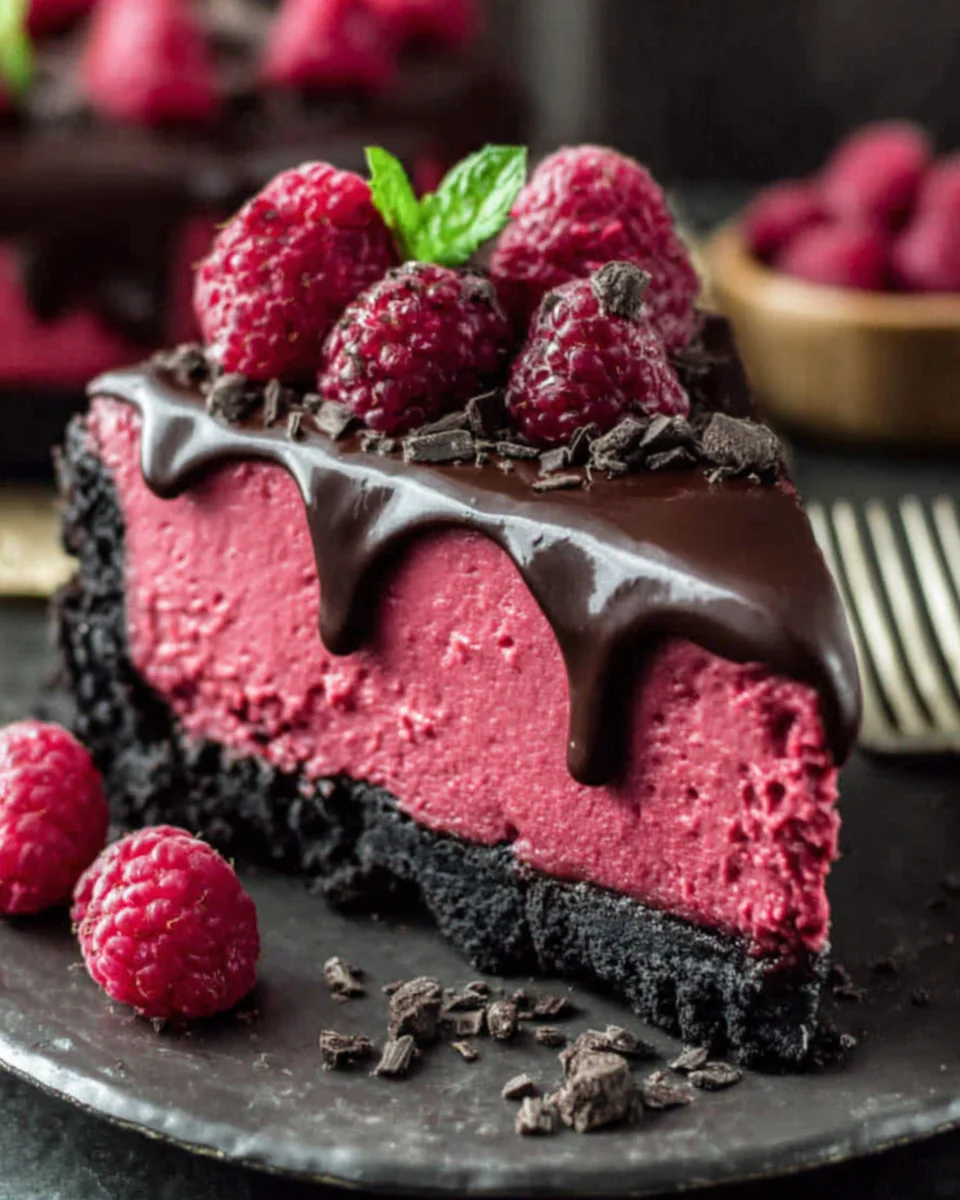
Dark Chocolate Raspberry Cheesecake: A Rich, Creamy Delight
Ingredients
Method
- Prepare the crust by preheating the oven to 350°F (175°C).
- In a medium bowl, combine the graham cracker crumbs and melted butter until well mixed.
- Press the crumb mixture into the bottom of a springform pan and bake for 10 minutes.
- While the crust cools, melt the dark chocolate in a microwave or double boiler until smooth.
- In a large mixing bowl, beat the softened cream cheese and sugar until light and fluffy.
- Add the melted chocolate and vanilla extract to the cream cheese mixture and mix until combined.
- Add eggs, one at a time, mixing well after each addition until fully incorporated.
- Fold in the sour cream and fresh raspberries gently using a spatula.
- Pour the mixture over the cooled crust in the springform pan and smooth the top.
- Bake in the preheated oven for 50-60 minutes or until the edges are set but the center still jiggles slightly.
- Once baked, turn off the oven and crack the door slightly, allowing the cheesecake to cool in the oven for an hour.
- After an hour, remove the cheesecake from the oven and let it cool at room temperature before refrigerating for at least 4 hours or overnight.
- Before serving, garnish with additional raspberries and a drizzle of melted chocolate if desired.
Tried this recipe?
Let us know how it was!Notes
Additional serving suggestions: pair with a crisp salad, garlic bread, or roasted seasonal vegetables for balance.
For make-ahead, prep components separately and assemble just before heating to preserve texture.
Taste and adjust with acid (lemon/vinegar) and salt right at the end to wake up flavors.