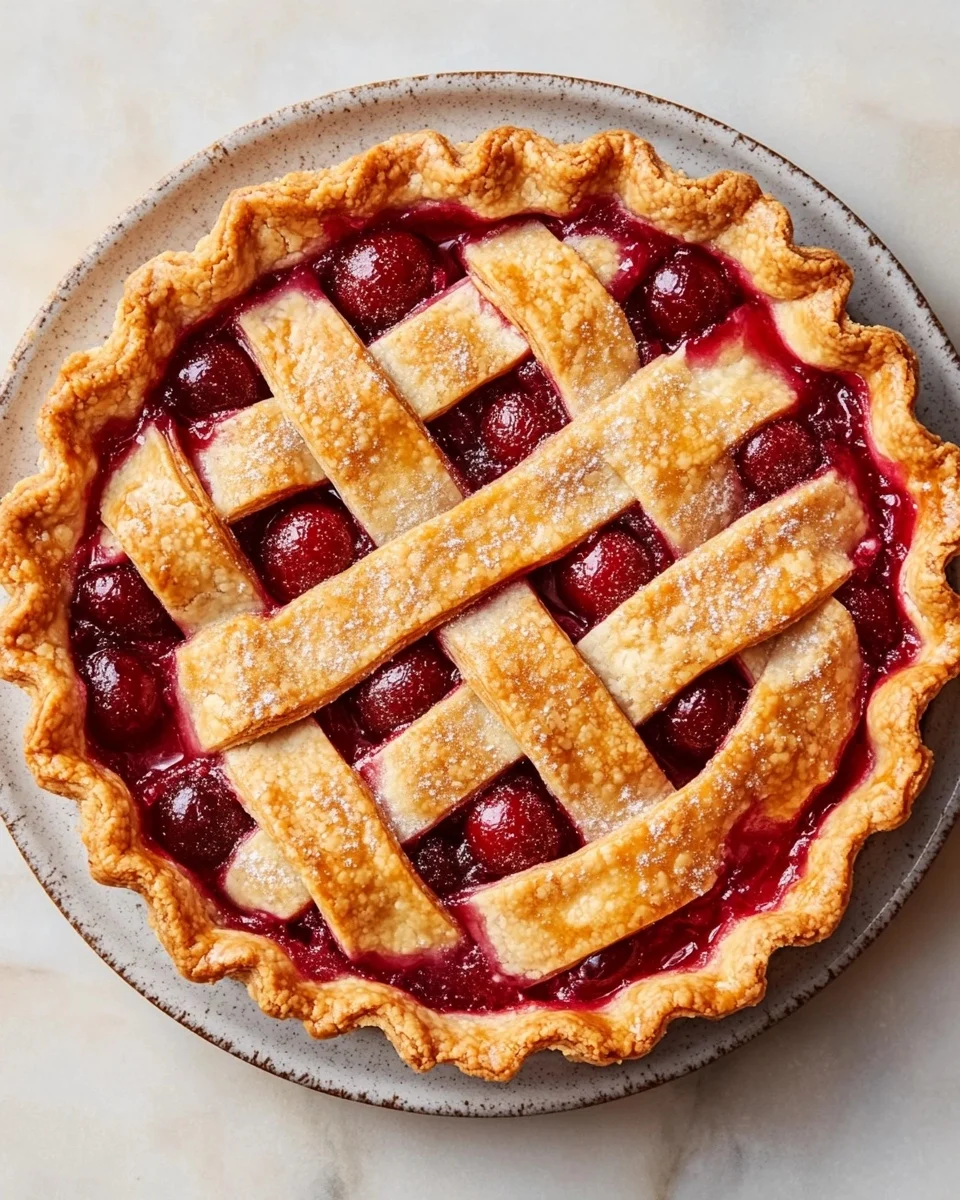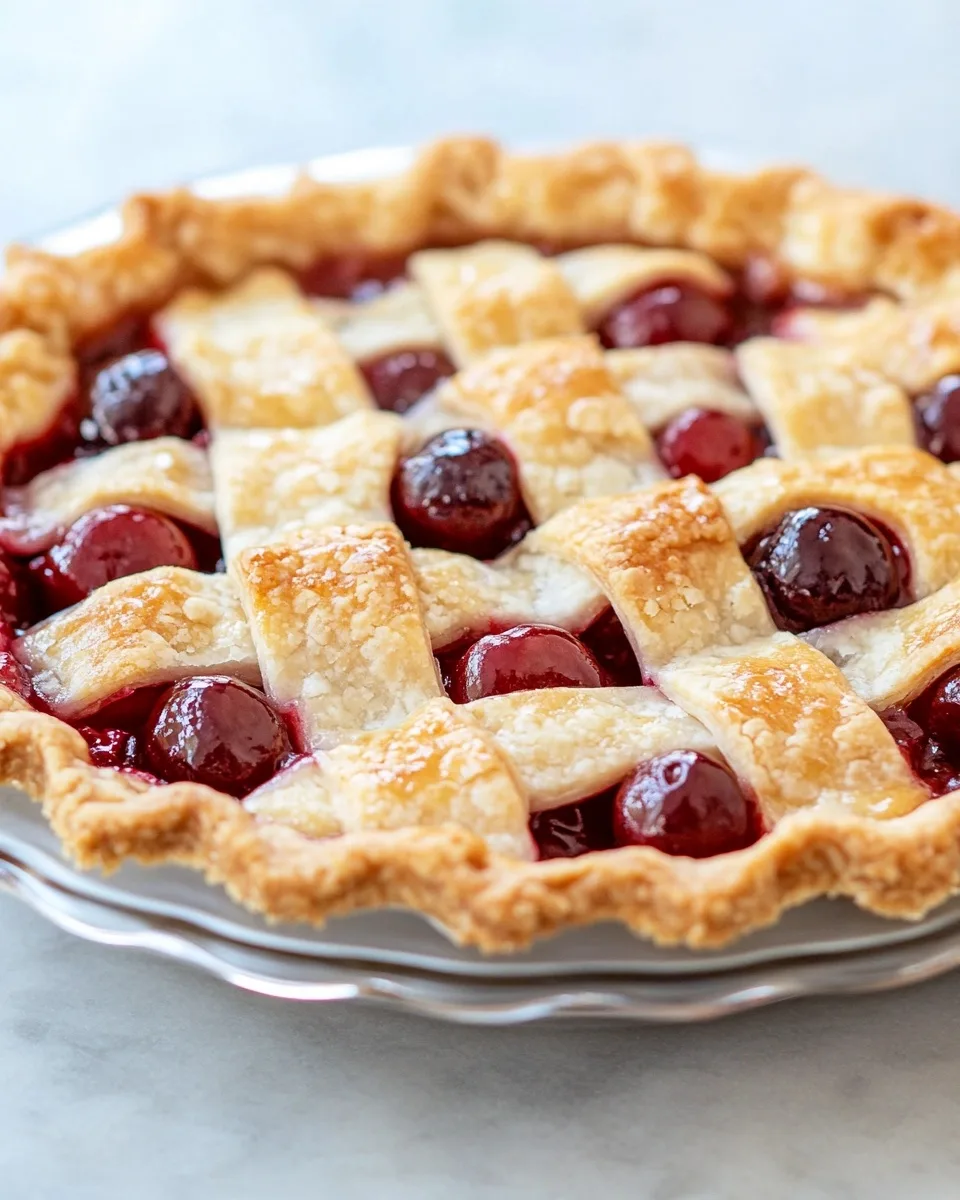
There’s just something so comforting and nostalgic about a homemade cherry pie. But what if you could take all that goodness and shrink it down into a bite-sized treat? Welcome to the world of cherry pie bites, where traditional meets fun-sized! These delicious cherry pie bites pack all the punch of a full-sized cherry pie into a mini, poppable version that’s perfect for parties, picnics, or simply satisfying a sweet craving. In this article, we’ll explore not only how to make these cherry pie bites, but also tips, tricks, variations, storage ideas, and so much more to make your cherry pie adventure a flavorful success.
Why Cherry Pie Bites are a Game-Changer 🍒
In a world full of desserts, cherry pie bites have carved out their own unique niche. They offer the perfect ratio of crust to filling, are incredibly versatile, and can be adapted for just about any occasion. Whether you’re hosting a party, packing a lunchbox, or craving something sweet and simple, these tiny treats deliver.
And guess what? They don’t require hours in the kitchen! The ingredients are straightforward, the steps are easy, and the result is always crowd-pleasing. Plus, they bake in under 20 minutes. That’s a sweet deal!
🍒 Ingredients for Cherry Pie Bites
Here are the ingredients you’ll need to make these delectable cherry pie bites:
- ▪️ 1 package refrigerated pie crusts (or homemade, 2 crusts)
- ▪️ 1 cup cherry pie filling (store-bought or homemade)
- ▪️ 1 egg (for egg wash)
- ▪️ 1 tbsp water
- ▪️ 1 tbsp coarse sugar (optional, for sprinkling)
- ▪️ ½ tsp cinnamon (optional, mix with sugar for topping)
- ▪️ Powdered sugar or glaze (optional, for drizzling)

This simple list comes together beautifully in every bite. The best part? You likely already have most of these ingredients at home.
🧁 Step-by-Step Directions
Follow these instructions carefully to ensure your delicious cherry pie bites turn out golden, flaky, and irresistibly sweet:
- Preheat your oven to 375°F (190°C). Line a baking sheet with parchment paper to prevent sticking.
- Roll out the pie crusts on a floured surface. Use a round cookie cutter or a glass (about 3-inch diameter) to cut out as many circles as possible. Re-roll the dough scraps as needed.
- Spoon 1–2 teaspoons of cherry filling onto the center of half the circles.
- Top each with another pie crust circle. Gently press the edges to seal.
- Crimp the edges using a fork to secure them, and cut a small slit on top for venting.
- Make the egg wash by beating the egg with water. Brush it over each pie bite.
- Sprinkle with coarse sugar and optional cinnamon for an extra touch of texture and flavor.
- Bake for 15–18 minutes or until golden brown and bubbly.
- Cool slightly before serving. Optional: drizzle with a simple glaze made of powdered sugar and a splash of milk.
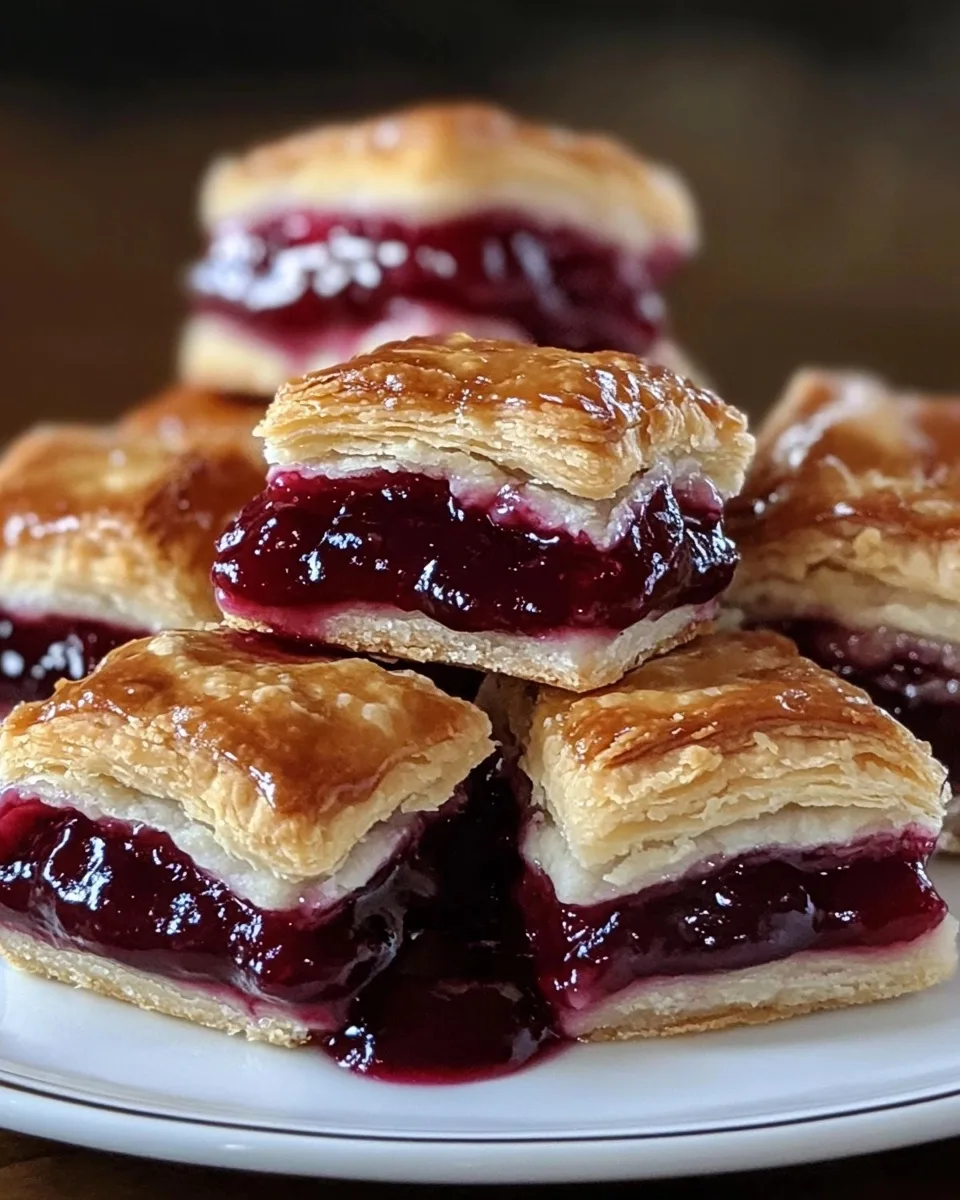
There you go—your very own tray of homemade cherry pie bites, warm, golden, and ready to enjoy!
🍽️ Creative Serving Ideas
Want to make your cherry pie bites even more exciting? Here are some fun ways to serve them:
- A la Mode: Serve warm with a scoop of vanilla ice cream 🍦
- Party Platters: Arrange with mini cupcakes, brownie bites, and fruit skewers for a colorful dessert tray 🎉
- Chocolate Dipped: Half-dip each bite in melted dark or white chocolate for an elegant twist 🍫
- Holiday Style: Top with red and green sprinkles for Christmas, or pastel glaze for Easter
These ideas aren’t just fun—they add flair and flavor that elevates your cherry pie bites from simple snacks to star desserts.
🥣 Tips and Tricks for Perfect Cherry Pie Bites
Baking is both an art and a science, and with these pro tips, you’ll be mastering delicious cherry pie bites like a seasoned baker:
- Don’t overfill! Too much cherry filling can cause leaks and messy edges.
- Seal tightly. Use a little water on the edges before crimping to help them stay shut.
- Cool before serving. This helps the filling set and keeps you from burning your tongue!
- Use homemade pie dough if you have the time. It brings out an extra level of flakiness and flavor.
- Make ahead. Prepare the bites and freeze them before baking. Just pop them in the oven when needed.
Little adjustments like these can make your cherry pie bites look and taste bakery-perfect!
🍒 Variations on Cherry Pie Bites
The beauty of this recipe is how easy it is to customize. Here are some exciting spins:
- Mixed Berry Bites: Add blueberries or raspberries to your cherry filling.
- Nutty Bites: Sprinkle finely chopped pecans or almonds inside for a little crunch.
- Cream Cheese Surprise: Add a dollop of sweetened cream cheese with the cherry filling.
- Spiced Up: Mix in cloves or nutmeg for a deeper, warmer flavor.
- Savory Twist: Skip the sugar and make mini hand pies with meat and cheese instead!
No matter how you tweak them, the core of delicious cherry pie bites remains intact—sweet, flaky, and oh-so-good.
🧊 Storage and Freezing Guide
Wondering how to keep your cherry pie bites fresh? Here’s how:
- Room Temperature: Store in an airtight container for up to 2 days.
- Refrigerator: They last up to 5 days in a sealed container.
- Freezer: Freeze unbaked bites for up to 2 months. Bake directly from frozen, adding 3–5 minutes to the baking time.
Reheat baked bites in a 300°F oven for 5–10 minutes to bring back the crispy crust!
📊 Nutritional Information
Each cherry pie bite contains approximately 120 kcal, depending on your filling and crust choices. Here’s a quick breakdown:
- Carbohydrates: ~18g
- Fats: ~5g
- Proteins: ~1g
- Sugars: ~10g
These aren’t exactly health food, but they make up for it in joy!
❓ FAQs about Cherry Pie Bites
Q: Can I use frozen cherries instead of canned pie filling?
A: Yes! Just cook them down with sugar and cornstarch to thicken. Homemade fillings give you full control over sweetness and flavor.
Q: What if my pie bites split open during baking?
A: That’s usually due to overfilling or not sealing properly. Keep fillings minimal and edges sealed tight.
Q: Are cherry pie bites good for gifting?
A: Absolutely! Place in mini cupcake liners and box them up—they look adorable and travel well.
Q: Can I air-fry cherry pie bites?
A: Yes, set your air fryer to 350°F and cook for 10–12 minutes, checking often.
Q: How can I make these vegan?
A: Use a vegan pie crust, skip the egg wash, and check your filling for animal products.
Q: Can I double the batch?
A: Of course. Just make sure not to crowd the baking tray. Bake in batches if necessary.
🍒 Conclusion
When it comes to desserts that blend tradition, taste, and ease, nothing beats delicious cherry pie bites. They capture the spirit of classic cherry pie in a form that’s convenient, creative, and fun. Whether you’re making them for a party, a lunchbox treat, or just because you love cherries, these bites are sure to delight.
With their golden, flaky crust and juicy cherry center, cherry pie bites are more than just a dessert—they’re a bite-sized celebration of flavor. So roll up those sleeves, preheat that oven, and bake up some joy today. Because sometimes, happiness really does come in small packages.