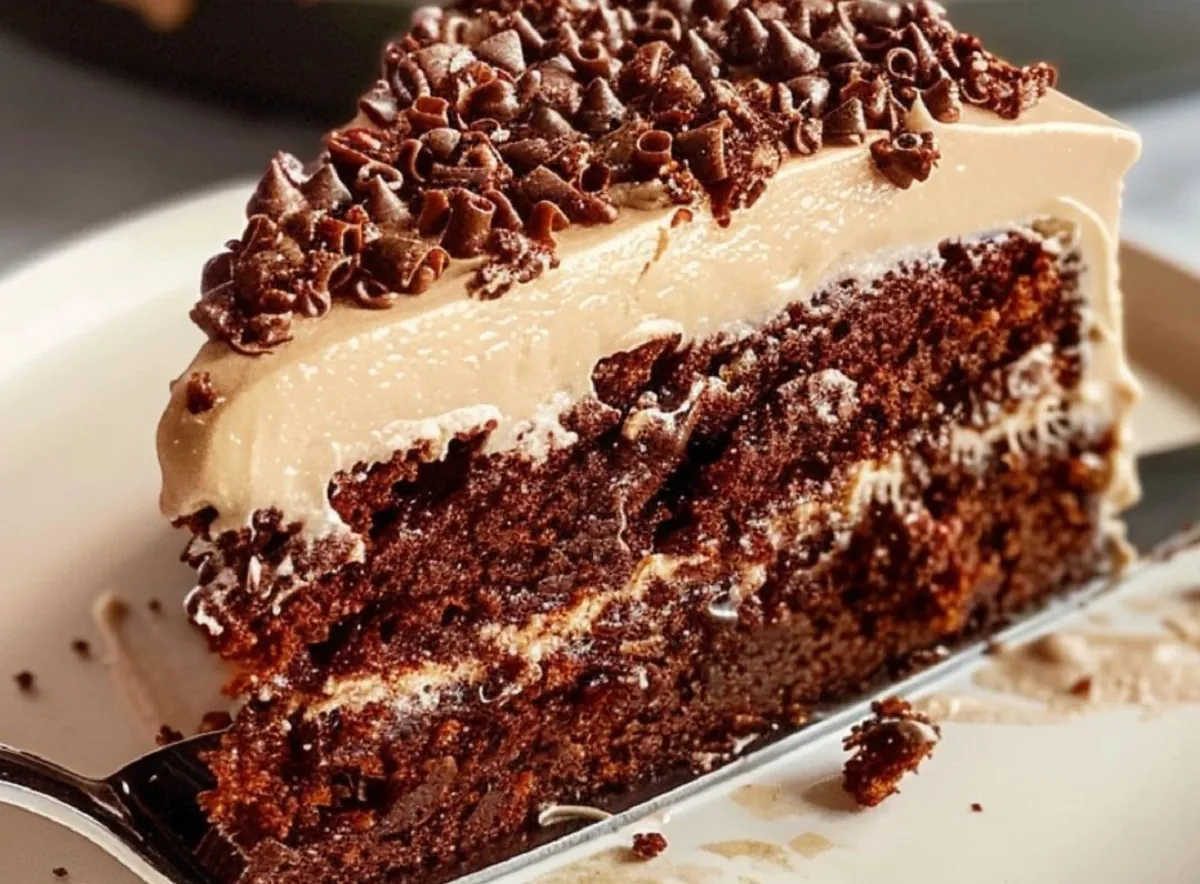
Chocolate cake is a timeless dessert that can be found at celebrations, birthdays, and family gatherings. But what if you could elevate this classic with a delightful twist? Enter the Dr. Pepper Chocolate Cake! This cake combines the rich, moist texture of chocolate cake with the unique flavors of Dr. Pepper soda, creating a sweet and fizzy delight that is sure to impress your friends and family.
In this article, we will explore the recipe for Dr. Pepper Chocolate Cake in detail, providing step-by-step directions, tips for preparation, and answers to frequently asked questions. So, let’s dive into this delicious creation!
The Inspiration Behind Dr. Pepper Chocolate Cake
The combination of soda and cake mix is not a new concept; many bakers have experimented with using soda in cake recipes to achieve moistness and enhanced flavors. Dr. Pepper, known for its unique blend of 23 flavors, adds a distinctive taste that pairs beautifully with chocolate. The carbonation in the soda not only contributes to the cake’s moisture but also helps it rise, resulting in a fluffy texture.
This cake is perfect for those who enjoy a little adventure in their baking. Whether you’re hosting a party, bringing a dessert to a potluck, or simply indulging in something sweet at home, this Dr. Pepper Chocolate Cake is bound to be a hit.
Ingredients for Dr. Pepper Chocolate Cake
To make this scrumptious cake, you will need the following ingredients:
For the Cake:
- 1 box chocolate cake mix: This is the base for our cake. Using a mix saves time and ensures a consistent result.
- 1 cup Dr. Pepper soda: The star ingredient that adds flavor and moisture.
- 1/2 cup melted butter: Adds richness and flavor to the cake.
- 3 large eggs: Essential for binding the ingredients together.
- 1 tsp vanilla extract: Enhances the chocolate flavor.
- 1/2 cup chocolate chips (optional): For those who want an extra chocolatey treat!
For the Frosting:
- 1/2 cup butter, softened: This will give our frosting a creamy texture.
- 1/4 cup Dr. Pepper soda: To incorporate that signature soda flavor into the frosting.
- 1/4 cup cocoa powder: Provides rich chocolate flavor to the frosting.
- 2 1/2 cups powdered sugar: To sweeten the frosting and achieve the right consistency.
- 1 tsp vanilla extract: For additional flavor.
Directions and Preparation Method
Now that we have our ingredients ready, let’s go through the preparation process step by step.
Step 1: Preheat the Oven
First things first! Preheat your oven to 350°F (175°C). This ensures that the oven is hot enough to bake the cake evenly.
Step 2: Prepare the Baking Pan
Grease and flour a 9×13-inch baking pan. This will help the cake to release easily once it’s baked.
Step 3: Combine the Ingredients
In a large mixing bowl, combine the following:
- 1 box chocolate cake mix
- 1 cup Dr. Pepper soda
- 1/2 cup melted butter
- 3 large eggs
- 1 tsp vanilla extract
Using an electric mixer, beat the mixture on medium speed until it becomes smooth and well combined. Make sure there are no lumps in the batter.
Step 4: Fold in Chocolate Chips
If you’re using chocolate chips, gently fold in 1/2 cup chocolate chips at this stage. This adds an extra layer of chocolatey goodness to your cake.
Step 5: Pour and Bake
Pour the batter into the prepared baking pan. Spread it out evenly with a spatula.
Now, place the baking pan in the preheated oven and bake for 30-35 minutes. To check if the cake is done, insert a toothpick into the center; if it comes out clean, the cake is ready. Once baked, remove it from the oven and allow it to cool completely in the pan on a wire rack.
Step 6: Prepare the Frosting
While the cake is cooling, you can prepare the frosting. In a medium bowl, whisk together:
- 1/2 cup softened butter
- 1/4 cup Dr. Pepper soda
- 1/4 cup cocoa powder
Once these ingredients are combined, gradually add in 2 1/2 cups powdered sugar, mixing continuously until the frosting is smooth and fluffy. Finally, stir in 1 tsp vanilla extract.
Step 7: Frost the Cake
Once the cake has completely cooled, spread the frosting evenly over the top using a spatula. Be generous with the frosting, as it complements the cake beautifully!
Step 8: Slice and Serve
Now comes the best part! Slice the cake into 12 pieces and serve. Enjoy this delightful dessert with a glass of Dr. Pepper or your favorite beverage.
FAQs
1. Can I use homemade chocolate cake instead of a box mix?
Absolutely! If you prefer to make your chocolate cake from scratch, feel free to substitute your favorite homemade recipe. Just ensure the batter consistency is similar to what a box mix would yield.
2. Is it necessary to use Dr. Pepper soda?
While Dr. Pepper adds a unique flavor, you can substitute it with any other soda you prefer, such as root beer or cola. However, keep in mind that the flavor profile will change accordingly.
3. Can I make this cake ahead of time?
Yes, you can prepare this cake a day or two in advance. Just store it in an airtight container to keep it fresh. Frost it right before serving to maintain its texture.
4. How should I store leftovers?
Store any leftover cake in an airtight container at room temperature for up to 3 days. If you want to keep it longer, you can refrigerate it for up to a week.
5. Can I freeze Dr. Pepper Chocolate Cake?
Yes, you can freeze the unfrosted cake for up to 3 months. Just wrap it tightly in plastic wrap and then in aluminum foil to prevent freezer burn. Thaw in the refrigerator before serving.
Conclusion
The Dr. Pepper Chocolate Cake is a fun and delicious way to enjoy a classic dessert with a twist. With its moist texture, rich chocolate flavor, and unique hints of soda, this cake is sure to become a favorite in your household.
Whether you’re celebrating a special occasion or simply treating yourself to something sweet, this cake will impress your guests and family alike. So gather your ingredients, follow the steps outlined in this article, and bake your way to a delightful Dr. Pepper Chocolate Cake!


