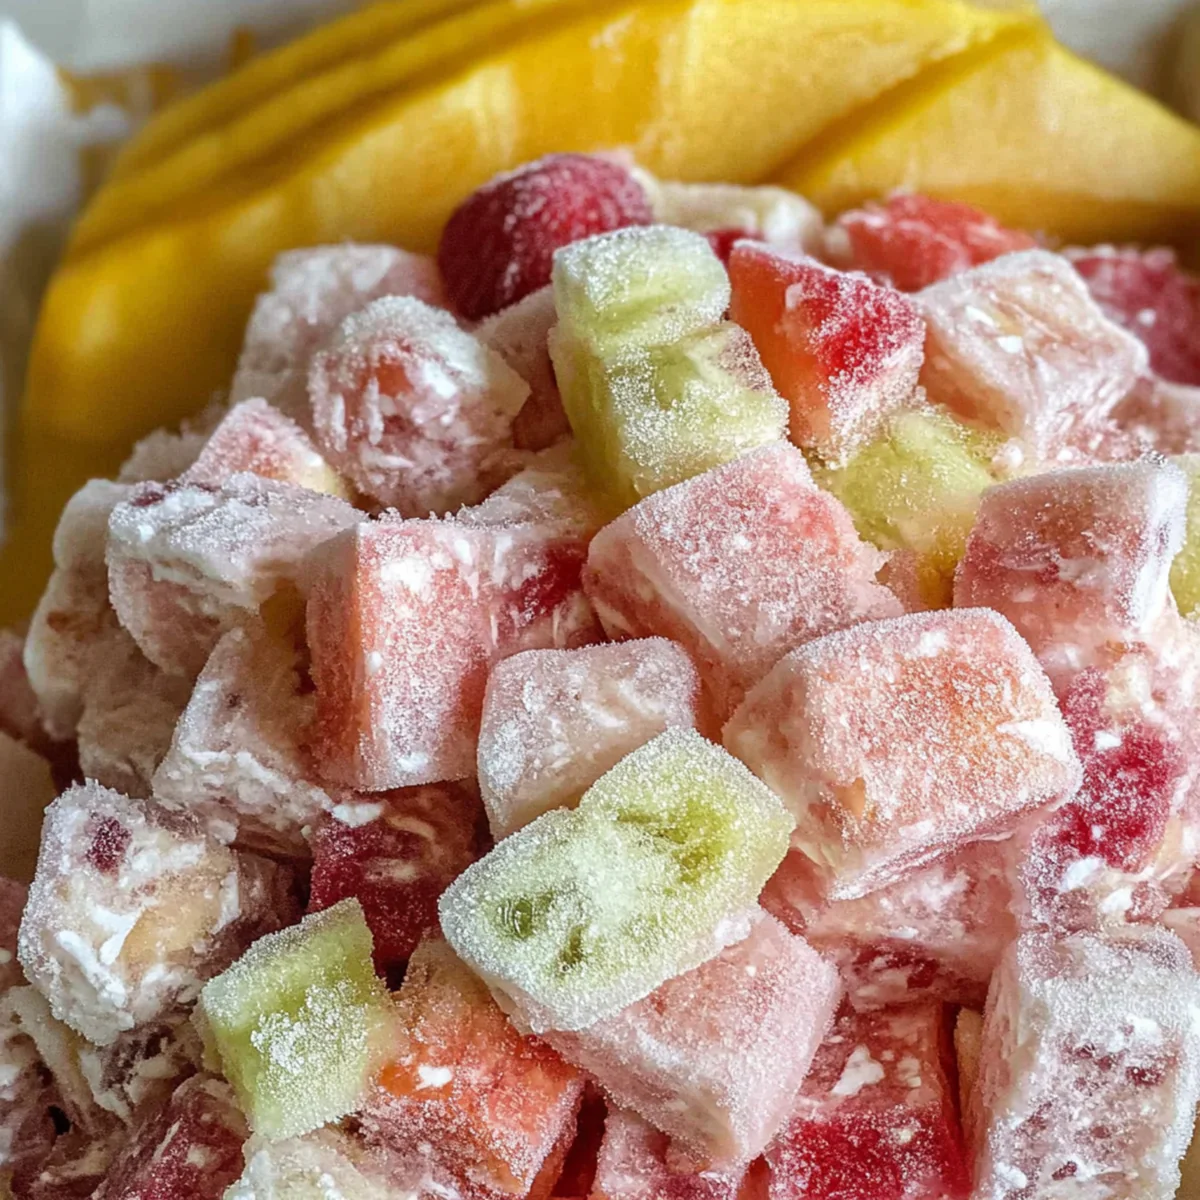
When it comes to sweet treats that are both refreshing and delicious, few desserts rival the appeal of a frozen fruit salad. This dish combines the creamy richness of cream cheese, the fruity sweetness of pineapple and strawberries, and the crunch of bananas and pecans to create a dish that’s not only satisfying but also incredibly versatile. Whether you’re hosting a family gathering, preparing for a summer picnic, or simply craving a cool and creamy dessert, Frozen Fruit Salad is the perfect choice to serve.
In this article, we will dive deep into the preparation of this beloved dessert, explaining each step, highlighting the ingredients, and offering tips and tricks to make sure you create the best Frozen Fruit Salad possible. We’ll also explore how to optimize the flavor and texture while making sure this dish is easy to prepare and perfect for a variety of occasions. Let’s get started!
What Makes Frozen Fruit Salad So Special?
Frozen fruit salad is more than just a dessert; it’s a combination of textures and flavors that come together in a wonderfully satisfying way. The creamy base formed from cream cheese and Cool Whip gives the salad a rich, smooth texture that contrasts beautifully with the crunchy pecans and bananas. The frozen nature of the salad ensures that it’s chilled and firm, making it the perfect way to cool off during warmer months or after a hearty meal.
Another great thing about Frozen Fruit Salad is its versatility. While the ingredients listed in this recipe are common and traditional, there’s plenty of room to get creative and incorporate your favorite fruits and nuts. You can easily adapt the recipe to include other fruits like mango, blueberries, or grapes, depending on what’s in season or what you enjoy.
The Ingredients You Need to Make Frozen Fruit Salad
To create the perfect Frozen Fruit Salad, the following ingredients are essential:
- 8 ounces cream cheese, softened
- ¾ cup granulated sugar
- 20-ounce can crushed pineapple, drained
- 8 ounces Cool Whip, thawed
- 16 ounces frozen sliced strawberries in juice, thawed
- 2 bananas, chopped
- ¾ cup chopped pecans

Each of these ingredients plays a vital role in the dish’s overall texture and flavor profile. The cream cheese provides a smooth and creamy base, while the sugar sweetens the mixture to perfection. The pineapple and strawberries contribute a fruity, tropical sweetness, while the bananas and pecans add a delightful crunch and richness.
Step-by-Step Guide to Making Frozen Fruit Salad
1. Mix Cream Cheese and Sugar:
Start by softening your cream cheese if it’s not already at room temperature. This ensures that it mixes well with the granulated sugar and doesn’t result in lumps. In a medium-sized mixing bowl, beat the cream cheese and sugar together until the mixture is smooth, creamy, and free of lumps. This step is essential as it creates the rich, smooth base for the salad.
2. Add Fruits:
Next, it’s time to bring the fruity flavors into play! Drain the crushed pineapple to remove any excess liquid, which could make the salad too runny. Add the drained pineapple and the thawed sliced strawberries (with their juice) to the cream cheese and sugar mixture. Stir well to ensure the fruits are fully incorporated and the mixture is uniform in texture. The sweet and tangy combination of the pineapple and strawberries will give the salad its distinct fruity flavor.
3. Fold in Cool Whip:
Now it’s time to fold in the Cool Whip. This step adds a light and fluffy texture to the salad that contrasts beautifully with the cream cheese base. Use a gentle folding motion to mix the Cool Whip into the fruit mixture. Be careful not to over-mix, as you want to preserve the fluffiness and airy texture that Cool Whip provides.
4. Incorporate Bananas and Pecans:
Once the Cool Whip is fully incorporated, it’s time to add the bananas and pecans. Chop the bananas into small bite-sized pieces, and chop the pecans as well. Gently fold them into the mixture, ensuring that the pieces are evenly distributed throughout the salad. The bananas add a soft, creamy texture, while the pecans provide a delightful crunch and nutty flavor that balances out the sweetness of the fruits.
5. Prepare for Freezing:
Once everything is mixed together, it’s time to transfer the mixture to a freezer-safe dish. You can choose from a variety of options:
- Two 9”x5” loaf pans
- Three 8”x3” loaf pans
- One 13”x9” freezer-safe dish
- Individual serving dishes
Choose whatever works best for your serving needs. Make sure the container is lined with plastic wrap or has a lid to cover the salad as it freezes.
6. Freeze:
Cover your chosen dish with plastic wrap or a tight-fitting lid and place it in the freezer. Let the Frozen Fruit Salad freeze for at least 4 hours, or until it is firm to the touch. The freezing time allows the flavors to meld together, giving the salad its icy, refreshing texture that makes it so unique.
7. Serve:
When you’re ready to serve, allow the salad to sit at room temperature for about 10-15 minutes. This helps the salad soften slightly, making it easier to scoop or slice. The Frozen Fruit Salad should be firm, yet smooth and creamy, with perfectly blended flavors and textures.
Why You’ll Love This Frozen Fruit Salad Recipe
This Frozen Fruit Salad is loved for several reasons:
- Ease of Preparation: With only a few simple ingredients and easy steps, this recipe is perfect for both beginners and seasoned home cooks.
- Great for Any Occasion: Whether you’re hosting a summer barbecue, holiday gathering, or just need a refreshing dessert on a warm day, Frozen Fruit Salad fits the bill.
- Customizable: You can change up the fruits and nuts to make the salad uniquely your own. Add grapes, mangoes, or kiwi for a tropical twist, or swap out the pecans for walnuts if preferred.
- Kid-Friendly: The combination of creamy ingredients and sweet fruits makes this an easy dessert to serve to children and adults alike.
- Make-Ahead Dessert: This is a great dessert to prepare in advance. It keeps well in the freezer, making it an ideal choice for parties or potlucks.
Health Benefits of Frozen Fruit Salad
While it’s always a treat to indulge in a delicious dessert, Frozen Fruit Salad offers several health benefits as well. Here’s a closer look at some of the nutritional perks:
- Rich in Fiber: The fruits used in this recipe, especially bananas, pineapple, and strawberries, are excellent sources of fiber, which helps with digestion and promotes a healthy gut.
- Vitamins and Minerals: Pineapple and strawberries are packed with Vitamin C, an antioxidant that supports the immune system and helps with collagen production for healthy skin.
- Healthy Fats from Pecans: Pecans provide healthy fats and are rich in nutrients like Vitamin E, which has anti-inflammatory properties and supports heart health.
Tips for Perfecting Your Frozen Fruit Salad
- Use Frozen Fruits for the Best Texture: The texture of the salad is influenced by the frozen fruits. Frozen strawberries and bananas help the salad maintain a firm, scoopable consistency after freezing.
- Don’t Skip the Freezing Time: Be patient and let the salad freeze for at least 4 hours. This ensures the right texture and allows the flavors to develop.
- Avoid Over-Mixing: When folding in the Cool Whip and bananas, be gentle. Over-mixing can cause the salad to lose its fluffy texture.
Conclusion: A Dessert That’s Always a Hit
In conclusion, Frozen Fruit Salad is a dessert that combines the best of both worlds: it’s both refreshing and decadent. With its smooth cream cheese base, sweet tropical fruits, and crunchy pecans, this dish is a crowd-pleaser for any occasion. By following this simple, easy-to-follow recipe, you can create a Frozen Fruit Salad that’s sure to impress your guests and leave them asking for seconds. Remember, the key to success is in the quality of your ingredients, the balance of flavors, and a little patience while the salad freezes to perfection. So, the next time you’re looking for a dessert that is both satisfying and easy to prepare, give this recipe a try—you won’t be disappointed!


