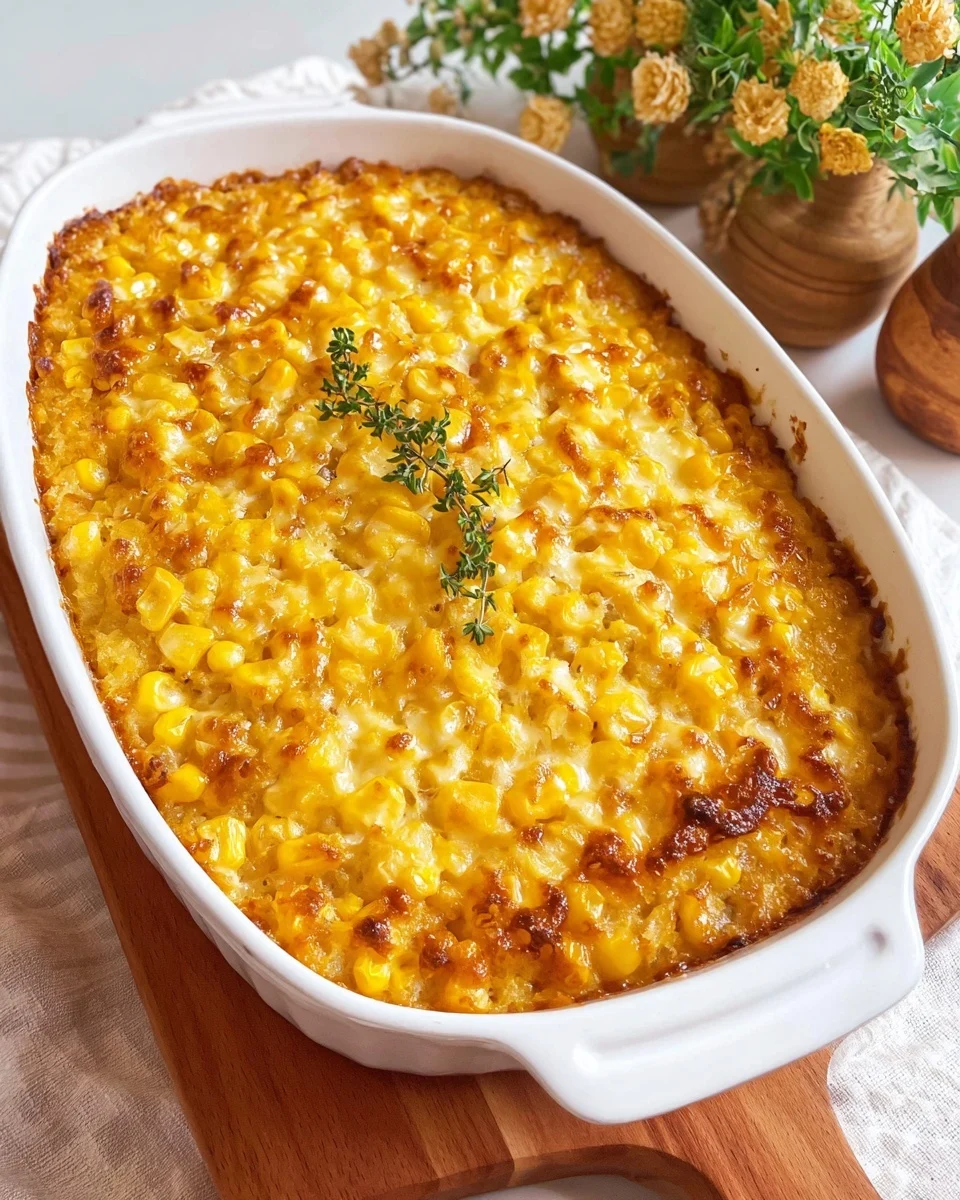
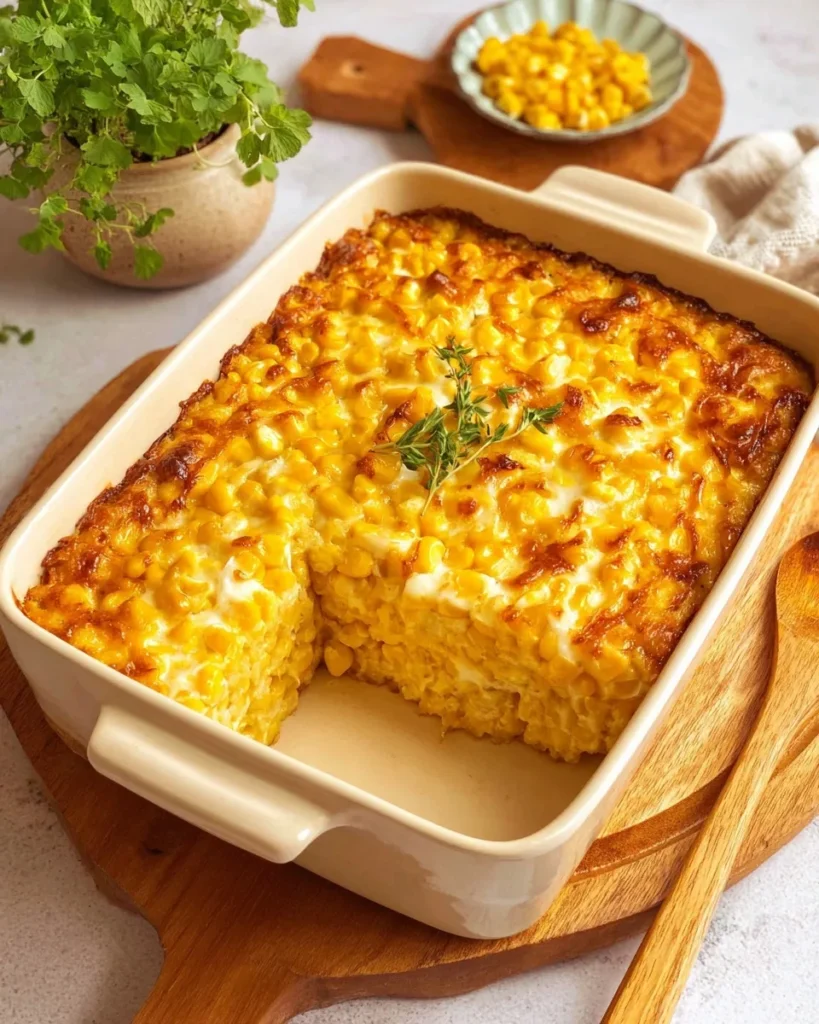
When it comes to comfort food, nothing quite hits the spot like a warm, buttery corn casserole fresh from the oven. But what if you could take that nostalgic favorite and make it even better? Enter the Honey-Glazed Corn Casserole—a sweet, savory, and utterly irresistible side dish that brings a modern twist to a beloved classic. This recipe takes the familiar corn casserole we all know and love and elevates it with the subtle sweetness of honey and a rich, golden glaze that adds flavor, texture, and a whole lot of wow.
Whether you’re hosting a family holiday, a backyard BBQ, or a simple weeknight dinner, this honey-glazed corn casserole is a guaranteed crowd-pleaser. It’s easy to make, requires no fancy equipment, and combines everyday ingredients in a way that transforms them into something truly special. Even better? You only need one bowl and one baking dish to make it happen.
In this article, we’re going to explore everything you need to know about making the perfect honey-glazed corn casserole—from step-by-step instructions and ingredient breakdowns to helpful tips, variations, and storage advice. We’ll also answer some of the most frequently asked questions about this dish, so you’ll feel totally confident whipping it up in your kitchen.
What Makes This Honey-Glazed Corn Casserole So Special?
Let’s break it down:
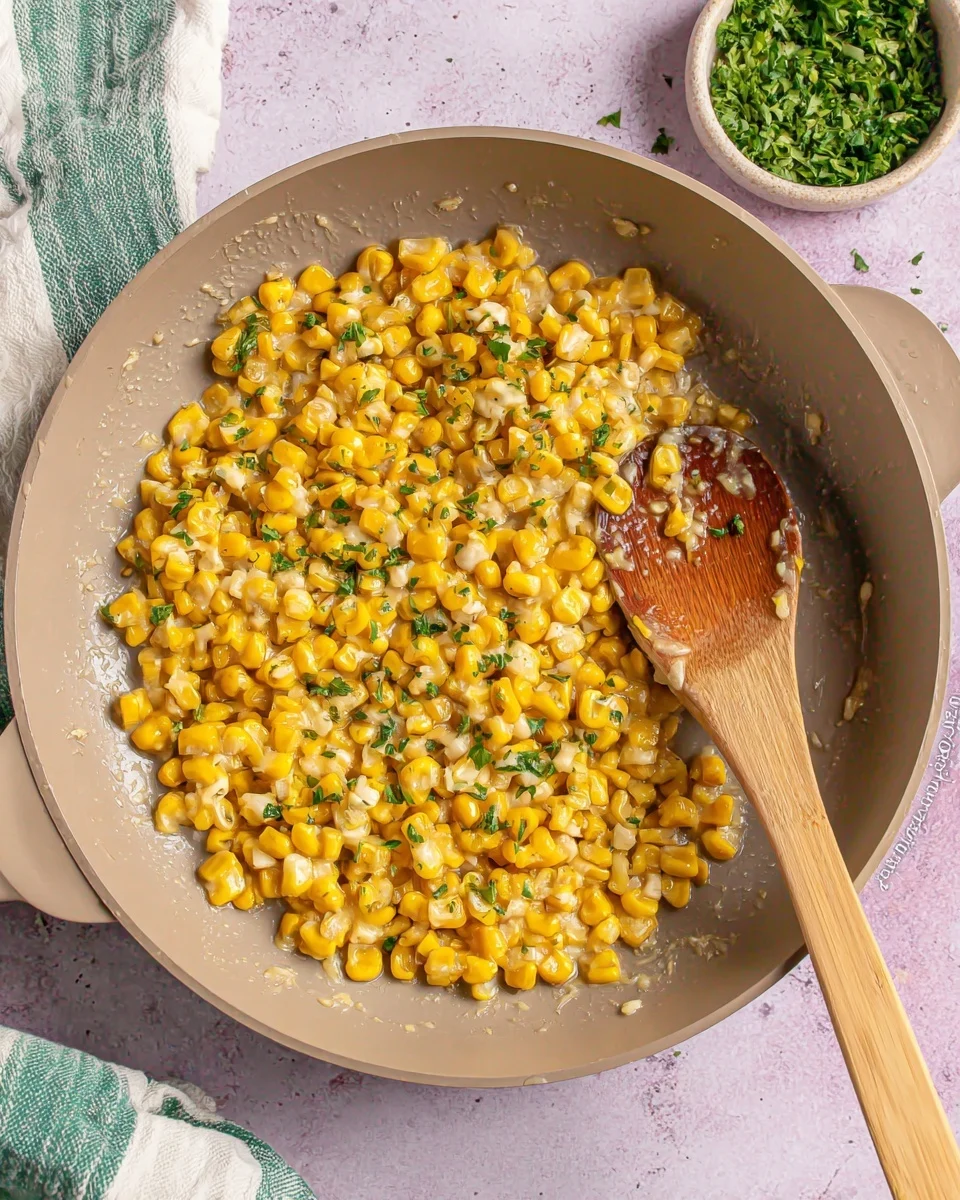
- Sweet, Savory & Buttery: The combination of whole corn, creamed corn, and honey results in a rich, slightly sweet flavor that pairs beautifully with meats like ham, turkey, and chicken—or even a platter of roasted vegetables.
- One-Bowl Wonder: No electric mixer needed! Just toss everything into a bowl, stir until combined, and bake.
- Perfect for Any Occasion: Whether it’s Thanksgiving, Easter, or a summer potluck, this dish fits right in.
- Kid-Approved: Kids love the sweet edge and the soft, pudding-like texture.
- Customizable: Want to spice it up? Add jalapeños. Craving something richer? Mix in shredded cheese or crispy bacon.
This dish might look simple, but don’t be fooled. It packs bold flavor in every bite and will likely disappear before your other sides even get touched.
Ingredients You’ll Need
Here’s a breakdown of the simple, pantry-friendly ingredients that come together to make this honey-glazed corn casserole shine:
Casserole Base:
- 1 (15 oz) can whole kernel corn, drained
Adds texture and bursts of sweetness. - 1 (15 oz) can creamed corn
Brings a creamy, luscious consistency. - 1 cup sour cream
Gives the casserole richness and tang. - ½ cup (1 stick) unsalted butter, melted
Because butter makes everything better. - 1 box (8.5 oz) Jiffy corn muffin mix
The secret ingredient that adds structure and just the right amount of cornmeal flavor. - 2 tablespoons honey
The star of the show—adds natural sweetness and depth. - ¼ teaspoon salt
Balances the sweetness and enhances all the flavors.
Optional Honey Glaze (Highly Recommended):
- 2 tablespoons honey
To enhance the golden, sweet finish. - 1 tablespoon butter
Helps the glaze spread evenly and adds richness. - ¼ teaspoon cinnamon (optional)
Adds a warm, cozy note—perfect for the holidays.
Step-by-Step Instructions for the Best Corn Casserole
You don’t need to be a pro chef to master this recipe. Follow these easy steps, and you’ll be rewarded with a casserole that’s golden on top, creamy inside, and kissed with honey glaze perfection.
Step 1: Preheat the Oven
Set your oven to 350°F (175°C). Lightly grease a 9×9-inch baking dish or casserole pan with cooking spray or butter to prevent sticking.
Step 2: Mix the Casserole
Grab a large mixing bowl and combine:
- Drained whole kernel corn
- Creamed corn
- Sour cream
- Melted butter
- Corn muffin mix
- Honey
- Salt
Stir until just combined. Do not overmix—this batter doesn’t need to be perfectly smooth. Small lumps are fine and will bake out.
Step 3: Pour and Bake
Pour the mixture into your prepared baking dish and smooth out the top with a spatula. Place in the oven and bake for 45 to 50 minutes, or until the top is golden brown and the center is just set.
Tip: If the top is browning too quickly, loosely tent the dish with foil in the last 10 minutes.
Step 4: Make the Honey Glaze (Optional but Worth It)
While the casserole is baking, melt the honey and butter together in a small saucepan or in the microwave. Stir in the cinnamon if you’re using it. As soon as the casserole comes out of the oven, brush the glaze generously over the top.
Step 5: Let It Rest and Serve
Let the casserole sit for 5 to 10 minutes before slicing and serving. This allows it to firm up slightly and makes for easier serving.
Tips for Success
- Don’t skip the sour cream. It’s what makes the texture so creamy and decadent.
- Use unsalted butter. This helps you control the overall saltiness, especially if you’re serving the casserole with salty meats.
- Bake it uncovered. This gives the top that golden, slightly crispy finish.
- Let it rest. Cutting into it too soon can make it fall apart. Give it a few minutes after baking for the best texture.
- Double the recipe. If you’re cooking for a crowd or want leftovers, this recipe easily doubles—just use a 9×13-inch pan and adjust the baking time slightly.
Creative Variations
Once you’ve made this casserole once, you’ll start dreaming up all sorts of delicious tweaks. Here are some favorite variations:
1. Cheesy Corn Casserole
Add 1 to 1½ cups of shredded cheddar, pepper jack, or gouda to the base mixture for a cheesy twist. You can also sprinkle some on top before baking.
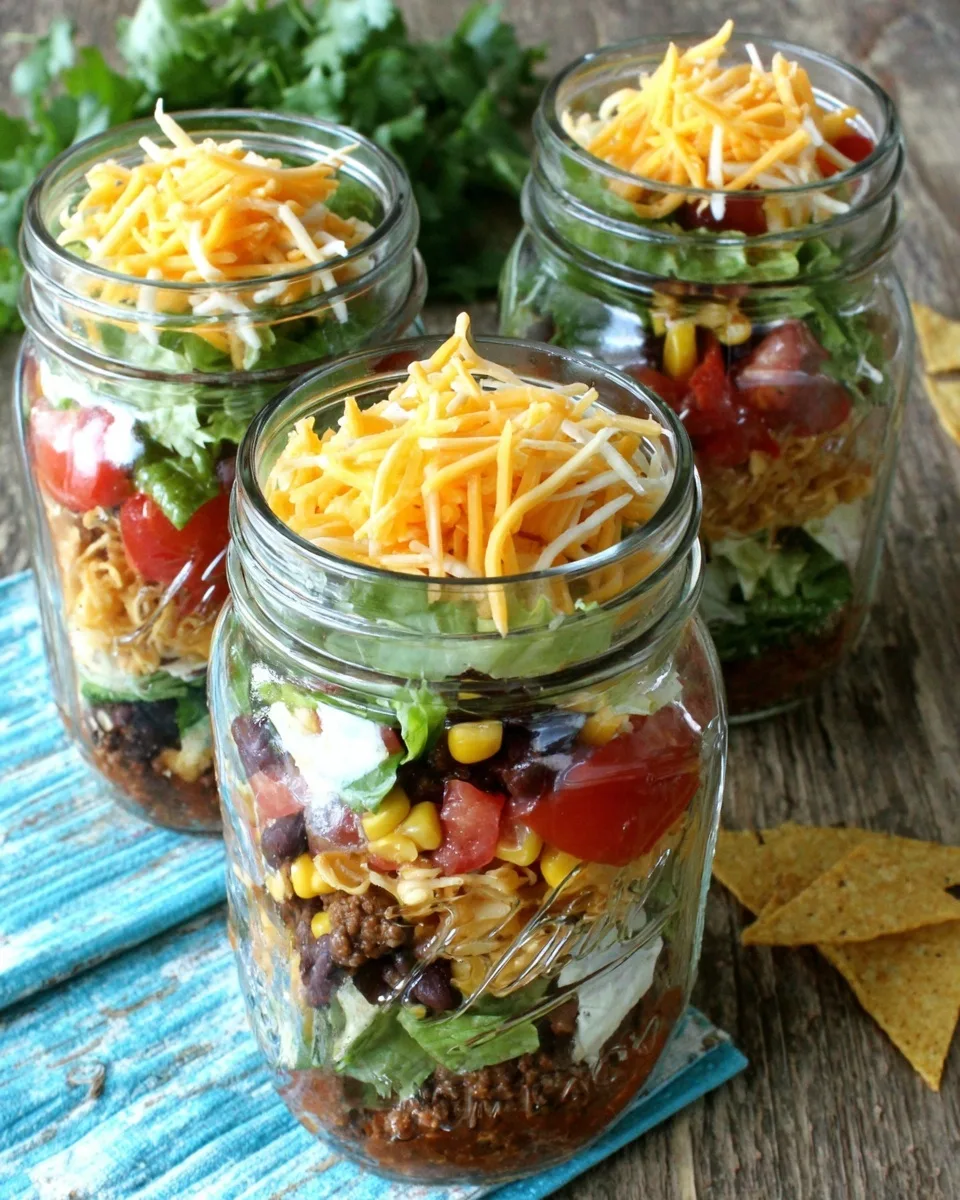
2. Spicy Southwest Style
Mix in a chopped jalapeño or a few dashes of hot sauce. Stir in some black beans and diced red bell pepper for added color and flavor.
3. Bacon-Lover’s Version
Stir in ½ cup of cooked, crumbled bacon into the batter. Top with more bacon after baking for maximum flavor.
4. Herb-Infused
Add chopped fresh herbs like chives, thyme, or parsley to give the dish an aromatic lift. Perfect if you’re serving this at a spring brunch or Easter table.
5. Thanksgiving-Ready
Toss in ½ teaspoon of dried sage or poultry seasoning for a more savory profile that fits perfectly with your holiday spread.
Perfect Pairings: What to Serve with Honey-Glazed Corn Casserole
This versatile dish goes with almost anything. Here are some meal ideas to round out your menu:
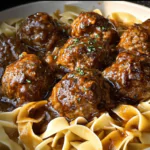
- Glazed ham – The sweetness of both the ham and casserole is a match made in heaven.
- Roast turkey or chicken – Makes for a satisfying Sunday dinner or holiday feast.
- Grilled BBQ ribs – That smoky, tangy flavor is perfect with the sweet corn casserole.
- Roasted vegetables – Try brussels sprouts, carrots, or sweet potatoes for a hearty vegetarian plate.
- Fried or grilled fish – Especially with a southern or Cajun twist.
Add a side salad and a light dessert, and you’ve got a meal that’s comforting, colorful, and well-balanced.
Storage and Reheating Tips
Have leftovers? Lucky you. Here’s how to store and enjoy your honey-glazed corn casserole later:
Refrigerator
Store in an airtight container in the refrigerator for up to 4 days. You can also keep it in the original baking dish covered tightly with foil.
Freezer
Yes, you can freeze this dish! Wrap the baked and cooled casserole tightly in plastic wrap and foil. Freeze for up to 2 months. Thaw overnight in the fridge before reheating.
Reheating
Reheat in the oven at 325°F (160°C) until warmed through (about 15–20 minutes). If reheating just one serving, a quick zap in the microwave (1–2 minutes) will do.
Frequently Asked Questions
Can I make honey-glazed corn casserole ahead of time?
Absolutely. You can prepare the batter and pour it into your baking dish the night before. Cover and refrigerate overnight. Let it sit at room temperature for 30 minutes before baking as usual.
Is it okay to skip the honey glaze?
Yes, the casserole is delicious without it. But the glaze adds a beautiful finish and a touch more sweetness that really takes it over the top.
Can I use homemade cornbread mix instead of Jiffy?
Definitely! If you prefer to avoid prepackaged mixes, substitute with ⅔ cup cornmeal, ¼ cup flour, 1 tablespoon sugar, 1 teaspoon baking powder, and a pinch of salt.
Is this dish gluten-free?
Not as written, since Jiffy mix contains wheat flour. But you can make a gluten-free version by using a certified gluten-free cornbread mix.
What’s the texture like?
Soft, spoonable, and slightly custardy on the inside with a golden crust on top. Think of it as a cross between cornbread and corn pudding.
Can I double the recipe?
Yes! Use a 9×13-inch baking dish and bake for 55–60 minutes. Just keep an eye on it and use a toothpick to check for doneness.
Conclusion
This Honey-Glazed Corn Casserole is more than just a side dish—it’s a celebration of sweet and savory harmony. With its creamy texture, golden crust, and irresistible honey glaze, it’s no wonder this recipe is quickly becoming a staple at everything from family dinners to festive feasts. It’s easy enough for a casual weeknight and impressive enough for the holidays.
So the next time you’re looking for something comforting, crowd-pleasing, and just a little bit different, reach for this honey-glazed corn casserole recipe. It’s proof that a few simple ingredients can come together to create something truly memorable.