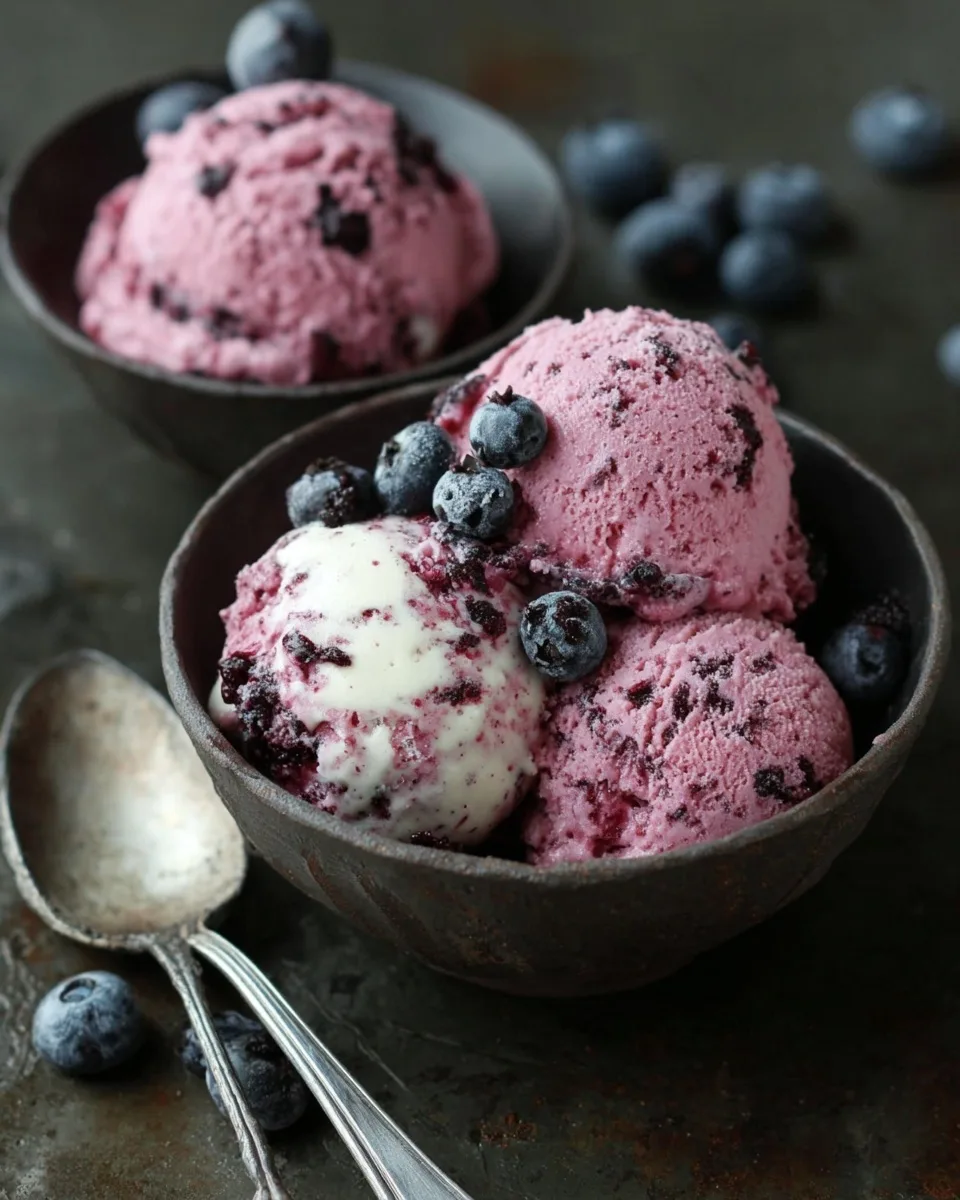
There’s something magical about homemade ice cream. It’s creamy, comforting, and brimming with personality that you just can’t find in store-bought versions. And when you throw fresh, tart huckleberries into the mix, you’re elevating your ice cream game to a whole new level. This Huckleberry Ice Cream Recipe is more than just a frozen treat—it’s a tribute to summer’s boldest berry, wrapped in a smooth, vanilla-kissed cream base with vibrant purple swirls that delight both the eyes and the palate.
In this detailed guide, we’ll walk through everything from the ingredients and step-by-step instructions to helpful tips, variations, and storage suggestions. Whether you’re a novice at making homemade ice cream or a seasoned pro looking for your next signature flavor, this recipe will not disappoint.
Why You’ll Love This Huckleberry Ice Cream Recipe
Before diving into the actual process, let’s talk about why this huckleberry ice cream stands out:
- Homemade Goodness: Made from scratch with real ingredients—no artificial flavors or preservatives.
- Bold Flavor: Huckleberries are the stars here, offering a mix of tart and sweet that’s incredibly unique.
- Customizable: This recipe can be tweaked to suit your preferences, whether you want it dairy-free, extra fruity, or even mixed with other flavors.
- Perfect Texture: Thanks to a rich base of heavy cream and whole milk, the result is a velvety texture that rivals the best ice cream shops.
Ingredients Breakdown
To make the perfect huckleberry ice cream, you need two components: the huckleberry swirl and the ice cream base. Each part is simple but essential in achieving that balanced flavor and texture.
For the Huckleberry Swirl:
- 1 ½ cups fresh or frozen huckleberries – These dark purple berries are the heart of the recipe. If using frozen, do not thaw before cooking.
- ½ cup granulated sugar – Sweetens the tart huckleberries.
- 1 tablespoon lemon juice – Adds brightness and enhances the berry flavor.
- 1 teaspoon cornstarch (optional) – Helps thicken the swirl for more defined ribbons in the final product.
For the Ice Cream Base:
- 2 cups heavy cream – Provides richness and a creamy texture.
- 1 cup whole milk – Balances the richness of the cream without compromising texture.
- ¾ cup granulated sugar – Sweetens the base while keeping it smooth.
- 1 tablespoon vanilla extract – Enhances the creamy flavor and complements the berries.
- Pinch of salt – A tiny bit goes a long way to bring out all the other flavors.
Step-by-Step Instructions
Ready to make some magic? Here’s how to create your own batch of huckleberry ice cream from scratch.
1. Make the Huckleberry Sauce
This vibrant sauce is what gives the ice cream its gorgeous swirl and punchy flavor.
- In a small saucepan, combine huckleberries, sugar, and lemon juice.
- Heat over medium until it begins to simmer.
- If you like a thicker swirl, dissolve 1 tsp cornstarch in 1 tbsp cold water and stir it into the mixture.
- Let the mixture simmer for about 5 to 7 minutes, stirring occasionally, until it becomes syrupy and thick.
- Remove from heat and cool completely before refrigerating. You want it chilled before swirling into the ice cream.
2. Prepare the Ice Cream Base
The creamy canvas for your huckleberry swirls.
- In a large mixing bowl, whisk together the heavy cream, whole milk, sugar, vanilla extract, and salt.
- Stir until the sugar is completely dissolved. This may take a few minutes.
- Cover and place in the refrigerator to chill for at least 1–2 hours, or overnight if time allows. A cold base churns better and yields a smoother texture.
3. Churn the Ice Cream
Bring the base to life with your ice cream machine.
- Pour the chilled ice cream base into your ice cream maker.
- Churn according to your manufacturer’s instructions. Most machines take 20 to 25 minutes to reach soft-serve consistency.
- It should be thick but still soft enough to swirl in your fruit sauce.
4. Add the Huckleberry Swirl
This is where your ice cream becomes art.
- Spoon half of the churned ice cream into a freezer-safe container (like a loaf pan).
- Dollop half of the cooled huckleberry sauce over the top.
- Use a butter knife to gently swirl the sauce through the ice cream. Don’t overmix—it’s all about ribbons, not blending.
- Repeat with the remaining ice cream and sauce.
- Lightly cover with parchment paper or a lid.
5. Freeze Until Firm
Let it set and become scoopable perfection.
- Place your swirled ice cream in the freezer.
- Freeze for at least 4 hours, or overnight, until it firms up to your preferred texture.
- Scoop, serve, and enjoy the creamy, berry-rich indulgence.
Expert Tips for Perfect Huckleberry Ice Cream
- Use fresh berries if possible—they have a brighter, fresher flavor.
- If using frozen huckleberries, don’t thaw them first; toss them straight into the saucepan.
- Chill everything thoroughly. A cold base equals creamier ice cream.
- For an even richer texture, some people substitute part of the milk with half-and-half.
- Use a metal loaf pan for freezing. It helps the ice cream freeze faster and more evenly.
Delicious Variations to Try
Want to give your huckleberry ice cream a creative twist? Here are some flavor-enhancing ideas:
- Lemon Zest Ice Cream Base: Add a teaspoon of lemon zest to the base for a citrusy touch.
- White Chocolate Chunks: Fold in chopped white chocolate during the last minute of churning.
- Huckleberry Cheesecake Swirl: Add crushed graham crackers and dollops of sweetened cream cheese for a cheesecake-inspired flavor.
- Coconut Cream Base: Substitute part of the dairy with coconut cream for a tropical twist.
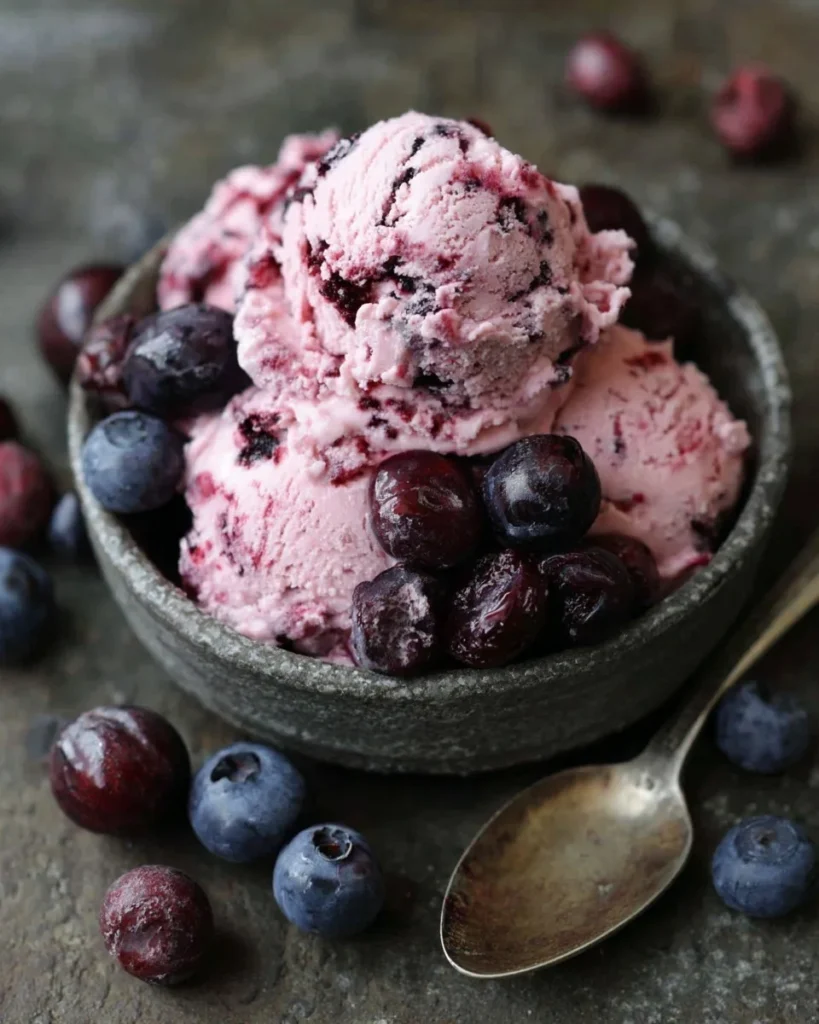
Best Ways to Serve Huckleberry Ice Cream
There’s more than one way to enjoy this berry beauty:
- Classic in a cone or bowl – Can’t go wrong with a scoop (or three).
- Huckleberry Ice Cream Sandwiches – Use soft sugar cookies for the ultimate treat.
- Topped on warm cobbler or pie – A match made in dessert heaven.
- Blended into milkshakes – Add a splash of milk and blend for a dreamy drink.
- On waffles or pancakes – Brunch just got a serious upgrade.
Storage Instructions
To keep your homemade huckleberry ice cream tasting its best:
- Store in an airtight, freezer-safe container to prevent freezer burn.
- Press a layer of parchment paper or plastic wrap directly on the surface of the ice cream before sealing.
- Best enjoyed within 2–3 weeks, though it’s unlikely to last that long!
Frequently Asked Questions (FAQs)
1. Can I use other berries instead of huckleberries?
Yes! While huckleberries are the star, you can substitute with blueberries, blackberries, or a mix of berries if needed. Just adjust the sweetness accordingly.
2. Do I need an ice cream maker?
For best texture, yes. But if you don’t have one, you can still make it using a no-churn method: whip the cream until soft peaks form, fold in the sweetened condensed milk (as a substitute for milk and sugar), add vanilla, and then swirl in your huckleberry sauce before freezing.
3. What if I don’t want a swirl and prefer a uniform berry flavor?
Blend the chilled huckleberry sauce into the base before churning for an evenly fruity ice cream.
4. Can I make this recipe dairy-free?
Absolutely. Use full-fat coconut milk and a plant-based cream alternative. Make sure your sugar and vanilla extract are also vegan-friendly.
5. Why does my homemade ice cream turn icy?
This often happens when too much water content (from fruit or milk) isn’t properly balanced. Be sure to reduce the huckleberry sauce well and use full-fat dairy for the base.
6. Is this recipe gluten-free?
Yes, the ingredients are naturally gluten-free. Just ensure there’s no cross-contamination if you’re serving someone with celiac disease.
7. How long should I freeze it before serving?
Freeze for at least 4 hours for a firm texture. Let it sit at room temperature for 5–10 minutes before scooping for easier serving.
Conclusion: A Scoop of Summer in Every Bite
This Huckleberry Ice Cream Recipe captures the very essence of homemade comfort and seasonal flavor. With its smooth, creamy base and rich, fruity swirl, it’s the kind of dessert that makes memories. Whether you serve it at a summer BBQ, enjoy it during a cozy movie night, or simply savor it on your own back porch, each spoonful tells a story of sweetness, craftsmanship, and joy.
There’s something deeply satisfying about making your own ice cream. You control the ingredients, the flavor intensity, and the final texture. And with huckleberries lending their vibrant charm to this recipe, it’s bound to become one of your favorite frozen treats.
So go ahead—churn up a batch and see why huckleberry ice cream is worth every second of effort. Once you taste it, you’ll never want to go back to store-bought again.
Print
Huckleberry Ice Cream Recipe: A Creamy Summer Delight You’ll Want All Year Long
Ingredients
For the Huckleberry Swirl:
-
1 ½ cups fresh or frozen huckleberries
-
½ cup granulated sugar
-
1 tbsp lemon juice
-
1 tsp cornstarch (optional, for thickening)
For the Ice Cream Base:
-
2 cups heavy cream
-
1 cup whole milk
-
¾ cup granulated sugar
-
1 tbsp vanilla extract
-
Pinch of salt
Instructions
1. Make the Huckleberry Sauce
-
In a saucepan, combine huckleberries, sugar, and lemon juice.
-
Bring to a simmer over medium heat.
-
If you prefer a thicker swirl, mix in cornstarch dissolved in 1 tbsp water.
-
Cook 5–7 minutes until thick and syrupy.
-
Cool completely and refrigerate.
2. Make the Ice Cream Base
-
In a mixing bowl, whisk together cream, milk, sugar, vanilla, and salt until sugar dissolves.
-
Chill in the fridge for at least 1–2 hours (or overnight).
3. Churn the Ice Cream
-
Pour chilled base into your ice cream maker and churn according to manufacturer’s instructions (usually 20–25 minutes) until soft-serve consistency.
4. Add Huckleberry Swirl
-
Transfer half the churned ice cream into a loaf pan or freezer container.
-
Spoon half the huckleberry sauce over it and gently swirl with a knife.
-
Repeat with the remaining ice cream and sauce. Don’t overmix.
5. Freeze
-
Cover and freeze for at least 4 hours or until firm.