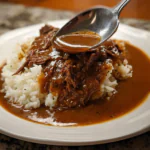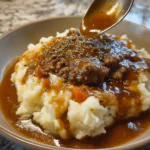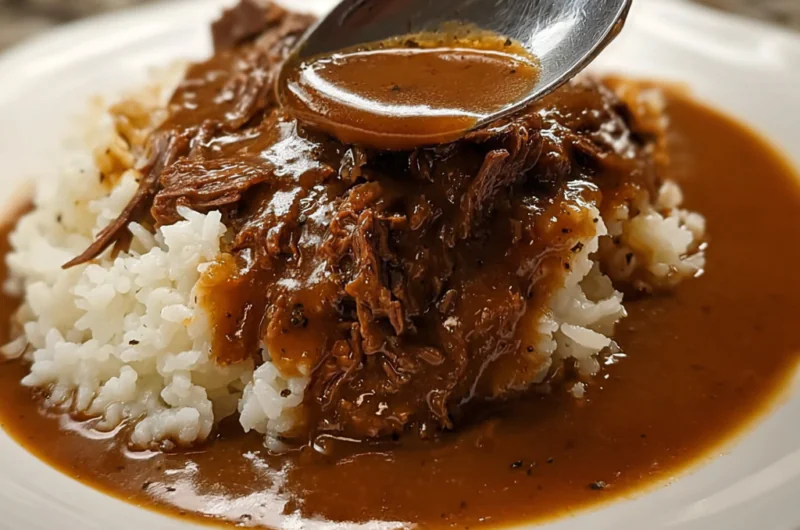
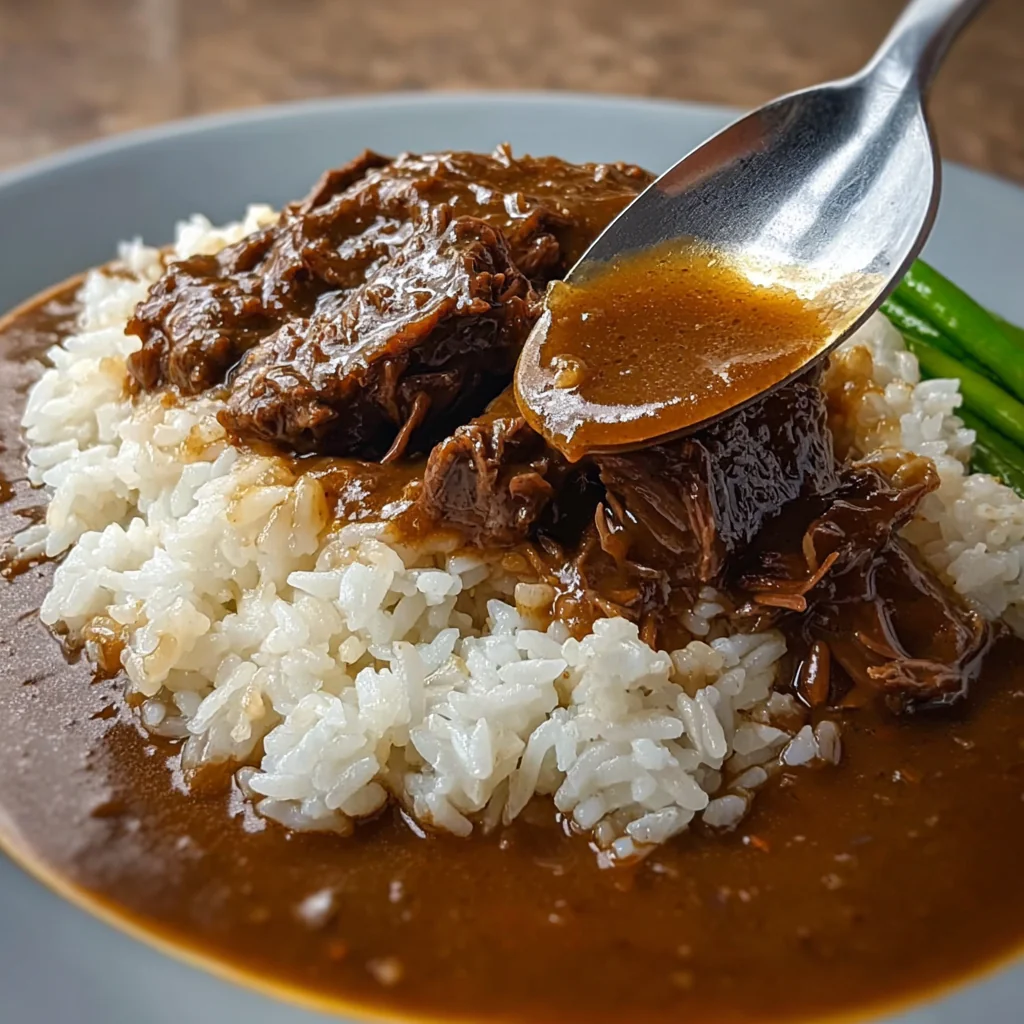
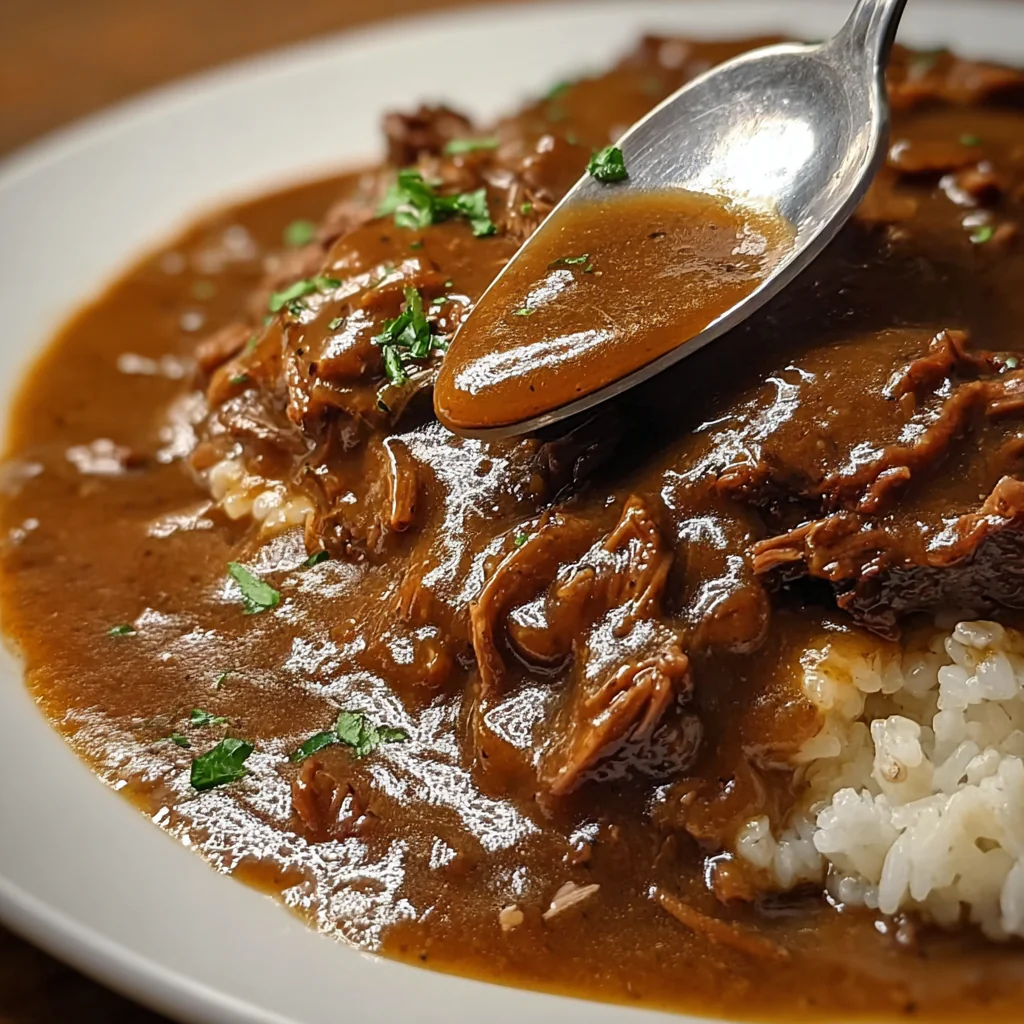
A set-it-and-forget-it comfort food classic with melt-in-your-mouth beef smothered in rich, savory gravy.
📋 In This Article
- Introduction
- Why This Recipe Works (The Science of Low and Slow)
- Ingredients You’ll Need (The Mighty Three)
- Step-by-Step Instructions
- Common Mistakes to Avoid
- Variations & Enhancements
- Storage & Reheating Tips
- Pro Tips for the Perfect Gravy
- Serving Suggestions
- Frequently Asked Questions (FAQ)
- Conclusion
Introduction
Some nights, you want to braise a chuck roast until it’s fork-tender and ladle it over mashed potatoes with gravy so rich it makes you close your eyes. Other nights, you don’t have the bandwidth for searing, deglazing, or even chopping an onion. That’s where this 3-Ingredient Slow Cooker Beef & Gravy comes in. Three ingredients. Zero browning required. Eight hours later, you’ve got a pot roast that tastes like you tried way harder than you did.
Here’s the thing: this isn’t a compromise recipe. It’s a strategy. The slow cooker does the heavy lifting, transforming a humble boneless beef chuck roast into something that shreds at the mere suggestion of a fork. The gravy builds itself from a packet and broth, deepening as the meat releases its juices. It’s the kind of dinner that makes you look like a genius on a Tuesday.
Why This Recipe Works (The Science of Low and Slow)
The magic here isn’t just convenience—it’s chemistry. Boneless beef chuck roast comes from the shoulder, a hardworking muscle rich in connective tissue. That connective tissue is mostly collagen, and collagen is tough. But when you cook it slowly at temperatures between 160°F and 180°F for several hours, something remarkable happens: that collagen dissolves into gelatin. The meat doesn’t just get soft; it becomes velvety, almost silky, while the gelatin thickens the cooking liquid into a sauce with body.
This is why slow cooker recipes shine with tough cuts. High heat would seize the proteins and push out moisture before the collagen has time to break down. Low and slow gives the transformation time to work. By hour six or seven, the muscle fibers have relaxed, the gelatin has dispersed, and you’re left with meat that holds together but yields to gentle pressure.
The gravy mix shortcut works because it provides pre-gelatinized starch and concentrated seasonings—salt, onion powder, caramelized sugar, sometimes yeast extract—all designed to dissolve into a smooth sauce. Combined with beef broth, it creates a braising liquid that seasons the meat as it cooks. No standing at the stove whisking lumps out of a roux.
Ingredients You’ll Need (The Mighty Three)
For the Beef & Gravy
- Boneless Beef Chuck Roast (3 pounds): The ideal cut for this dish. Look for good marbling—those white streaks of fat render during cooking, basting the meat from within. You can substitute beef stew meat in a pinch, but I prefer a whole roast because it shreds more elegantly and retains moisture better than pre-cut chunks.
- Brown Gravy Mix (1 packet, about 1 ounce): Not all gravy mixes are created equal. Check the ingredient list for actual seasonings rather than just salt and cornstarch. Brands like McCormick or Knorr tend to have more depth. If you’re watching sodium, look for a low-sodium option or plan to dilute with extra broth.
- Beef Broth (1 cup): Low-sodium is your friend here—the gravy mix already contains salt, and you want control over the final seasoning. If you only have regular broth, taste the gravy before adding any additional salt. Water works as a substitute, but you’ll lose some of that beefy backbone.
Step-by-Step Instructions
Gather your ingredients. Pull out a 3-pound chuck roast, one packet of brown gravy mix, and a cup of beef broth. That’s it. No cutting board required.
Prepare the slow cooker. Place the roast directly into your slow cooker. If it’s too large to lie flat, cut it into 2-3 pieces—this won’t affect the cooking time and actually helps the meat fit better.
Mix the braising liquid. In a measuring cup or bowl, whisk the gravy mix into the beef broth until smooth. No lumps? Perfect. Pour it over the roast, turning the meat once to coat both sides.
Cook low and slow. Cover and cook on LOW for 7-8 hours. (High heat works in a pinch—4-5 hours—but the texture won’t be quite as tender.) You’ll know it’s done when the roast yields easily to a fork and shreds with minimal effort.
Rest before serving. I know it’s tempting to dive straight in, but let the meat rest in the gravy for about 10-15 minutes after cooking. This allows the muscle fibers to relax and reabsorb some of the juices. Slice or shred the beef, then ladle that glossy gravy over the top.
⚠️ Common Mistakes to Avoid
Using the wrong cut of meat. Lean cuts like sirloin or round steak lack the collagen needed for that fall-apart texture. They’ll dry out before they get tender. Stick with chuck, or try brisket if you want to experiment.
Skimping on liquid. The gravy mix needs liquid to dissolve and create sauce, and the meat needs moisture to braise properly. If your slow cooker runs hot or has a loose seal, you might need to add an extra 1/4 cup of broth halfway through.
Overcooking on high. I tested this side-by-side: high for 5 hours versus low for 8 hours. The low-and-slow version had a noticeably better texture—more cohesive, less stringy. High heat works, but you sacrifice some of that velvety quality.
Seasoning blindly. Gravy mixes vary wildly in salt content. Always taste the finished sauce before adding more salt or pepper. The first time I made this, I added a generous pinch of salt at the end—big mistake. The result was nearly inedible.
Skipping the rest period. Meat that’s been cooking for hours is holding onto a lot of internal pressure. Slice into it immediately, and you’ll lose juice onto the cutting board instead of keeping it in the meat.
Variations & Enhancements
This recipe is a blank canvas. Here are a few ways to make it your own:
Add aromatics. Diced onions, smashed garlic cloves, or carrot chunks can all go in at the start. They’ll soften and release their flavors into the gravy. Just know that vegetables will become very soft after 8 hours—if you want texture, add them in the last 2 hours of cooking.
Try different gravy mixes. Mushroom gravy adds earthy depth. Onion gravy leans sweeter. There’s even a peppercorn variety that gives the sauce a mild kick. Each one transforms the dish slightly.
Finish with acid. A splash of red wine vinegar or balsamic right before serving brightens the whole pot. Acid cuts through richness and makes the beefy flavors pop.
Serving ideas. Mashed potatoes are the classic choice—they’re practically designed to catch gravy. Buttered egg noodles work beautifully too. For a lighter meal, serve the beef over polenta or tuck it into sandwich rolls for an open-faced style dinner.
Storage & Reheating Tips
Leftovers keep well. Transfer cooled beef and gravy to an airtight container and refrigerate for up to 4 days. The flavors actually deepen overnight—this is one of those dishes that might taste better the next day.
For longer storage, freeze in a freezer-safe container for up to 3 months. Leave about an inch of headspace for expansion. Thaw overnight in the refrigerator before reheating.
Reheating. Gentle heat is key. Warm the beef and gravy together in a saucepan over medium-low, stirring occasionally. If the gravy has thickened too much in the fridge, add a splash of broth or water to loosen it. Microwave works for single servings—heat in 45-second intervals, stirring between each.
💡 Pro Tips for the Perfect Gravy
Want it thicker? Remove the lid for the last 30 minutes of cooking to let some liquid evaporate. Or make a quick slurry: whisk 1 teaspoon cornstarch with 1 tablespoon cold water, then stir it into the gravy and cook on high for 15-20 minutes.
Want it thinner? Add more broth, a quarter cup at a time, until you reach your desired consistency.
Boost the flavor. A tablespoon of tomato paste stirred in during the last hour adds umami depth. A dash of Worcestershire sauce does something similar—think of it as liquid seasoning with personality.
Deglaze if you sear. If you decide to brown the meat before slow cooking (totally optional but adds flavor), don’t let those browned bits go to waste. Pour a little broth into the hot pan, scrape up the fond, and add that liquid to the slow cooker. That’s pure concentrated flavor.
Serving Suggestions
This dish was made for starchy sides that soak up gravy. Here are my favorites:
- Creamy mashed potatoes — The classic choice. Pile the beef and gravy over a generous scoop.
- Buttered egg noodles — Wide noodles catch the sauce in their folds. A little parsley on top finishes it.
- Steamed white rice — Simple and satisfying. The gravy seasons the rice as it soaks in.
- Roasted vegetables — Green beans, carrots, or Brussels sprouts add color and balance.
- Crusty bread — Tear off a chunk to swipe through the gravy. No shame in it.
Frequently Asked Questions (FAQ)
+Why is my slow cooker beef tough?
Tough beef usually means one of two things: either the cut was too lean (like sirloin or round), or it didn’t cook long enough. Collagen needs time to break down into gelatin—that’s what makes the meat tender. If you’re at hour 6 and it’s still firm, give it another hour. Also, make sure you’re using a cut with good marbling and connective tissue, like chuck roast.
+Can I put frozen beef in the slow cooker?
Technically, yes—but I don’t recommend it. Frozen meat keeps the slow cooker in the “danger zone” (40°F-140°F) for too long, which can allow bacteria to grow. Thaw your roast in the refrigerator overnight for food safety and more even cooking.
+Do I need to sear the beef first?
Nope. Searing triggers the Maillard reaction, which creates hundreds of new flavor compounds on the surface—delicious, but not essential here. The gravy mix provides plenty of savory depth, and the long cook time extracts flavor from the meat itself. If you have an extra 10 minutes and want deeper flavor, go ahead and sear. If not, skip it guilt-free.
+How do I know when the beef is done?
The fork test is your best friend. Insert a fork into the thickest part of the roast and try to twist it gently. If the meat gives easily and starts to shred, it’s ready. For precision, you can check the internal temperature—it should reach at least 195°F for that fall-apart texture. Below that, the collagen hasn’t fully broken down.
+Can I make this without gravy mix?
You can, but you’ll need to build the gravy yourself. Brown the meat first, then deglaze with broth and add aromatics like onion and garlic. Whisk in a slurry of flour or cornstarch at the end to thicken. The packet version is a shortcut; the from-scratch version is a project.
+How long do leftovers last?
Store the beef and gravy together in an airtight container in the refrigerator for up to 4 days. For longer storage, freeze for up to 3 months. Reheat gently to preserve texture.
Conclusion
This 3-Ingredient Slow Cooker Beef & Gravy is proof that simple doesn’t mean boring. With just a chuck roast, a packet of gravy mix, and some broth, you get a dinner that tastes like it came from a bistro. The slow cooker handles the work, the science handles the texture, and you handle the compliments. Whether you serve it over mashed potatoes, noodles, or straight from the pot with a hunk of bread, this is comfort food at its most unfussy. Make it once, and it might just become your weeknight staple.