If you’ve ever dreamed of combining the lush, velvety richness of red velvet cake with the creamy indulgence of cheesecake, then mini red velvet cheesecake is your ultimate dessert match made in heaven. These delightful, bite-sized treats capture the best of both worlds—classic red velvet flavor wrapped around a smooth, luscious cheesecake filling—perfect for parties, holidays, or simply treating yourself.
In this comprehensive guide, you’ll learn how to master the art of making these heavenly mini cheesecakes, starting from a buttery red velvet crumb crust to a perfectly balanced creamy filling, baked to perfection in a convenient muffin tin. We’ll explore ingredients, detailed preparation steps, baking tips, variations, serving ideas, nutritional insights, and even answer frequently asked questions about mini red velvet cheesecake to ensure your baking experience is seamless and rewarding.
Why Mini Red Velvet Cheesecake Is a Must-Try Dessert
Before we dive into the recipe, let’s talk about why this mini red velvet cheesecake is a crowd-pleaser and an excellent dessert choice:
- Portion Control and Presentation
Because these cheesecakes are made in mini muffin tins, they’re perfectly portioned for individual servings. This makes them ideal for parties and gatherings where guests can grab a single, elegant dessert without any fuss. - Combination of Two Favorites
Red velvet cake and cheesecake are two beloved desserts on their own, but when combined, they create a rich, indulgent flavor profile that’s both familiar and exciting. The red velvet crumbs serve as a colorful, flavorful crust that adds texture and depth. - Easy to Customize
The recipe is wonderfully adaptable. You can add toppings like whipped cream, chocolate shavings, or even fresh berries to make them even more special. - Perfect for Any Season or Occasion
Whether it’s Valentine’s Day, Christmas, a birthday party, or just a weekend treat, these mini cheesecakes fit the bill. They’re festive and fun yet elegant enough for more formal events.
Ingredients You’ll Need to Make Mini Red Velvet Cheesecake
Let’s break down the ingredients for both the crust and the filling to ensure you have everything ready:
Crust Ingredients:
- 1 1/2 cups red velvet cake crumbs (from a baked and cooled red velvet cake) — This forms a vibrant, flavorful base.
- 3 tablespoons unsalted butter, melted — To bind the crumbs and create a sturdy crust.
Cheesecake Filling Ingredients:
- 16 oz cream cheese, softened — The key ingredient that gives the cheesecake its creamy texture.
- 1/2 cup granulated sugar — To sweeten the filling.
- 2 large eggs — These help the cheesecake set properly.
- 1 teaspoon vanilla extract — For a lovely aromatic flavor.
- 1/2 teaspoon red food coloring (optional) — For enhanced color and visual appeal.
- 1/2 teaspoon white vinegar — Reacts with baking soda to help create a tender texture.
- 1/2 teaspoon baking soda — Works with vinegar to improve texture and rise.

Step-by-Step Instructions for Perfect Mini Red Velvet Cheesecake
Now that you have all your ingredients, let’s walk through each step in detail for a flawless baking process.
Step 1: Preheat Your Oven and Prepare Muffin Tin
Begin by preheating your oven to 325°F (163°C). Line a standard muffin tin with paper liners. This step ensures easy removal and neat presentation of your mini cheesecakes.
Step 2: Prepare the Red Velvet Crust
In a medium bowl, combine the red velvet cake crumbs with the melted unsalted butter. Mix well until the crumbs are evenly coated and can hold together when pressed. Using a tablespoon, press about 1 tablespoon of this mixture firmly into the bottom of each muffin cup. This crust forms the delicious base that contrasts beautifully with the creamy filling.
Step 3: Make the Cheesecake Filling
In a large mixing bowl, beat the softened cream cheese and granulated sugar until smooth and fluffy. This ensures a creamy, lump-free filling.
Add the eggs one at a time, beating well after each addition to fully incorporate air and maintain the texture.
Mix in vanilla extract, red food coloring (optional), white vinegar, and baking soda. Blend until everything is fully combined into a smooth batter.
Step 4: Fill the Muffin Cups
Carefully pour the cheesecake batter over the red velvet crusts, filling each muffin cup about 3/4 full to allow space for slight rising during baking.
Step 5: Bake to Perfection
Place the muffin tin in the preheated oven and bake for 20–25 minutes. You want the centers to be set but still slightly jiggly when you gently shake the pan — this prevents overbaking, which can cause cracking or a dry texture.
Step 6: Cooling and Chilling
Once baked, remove the mini cheesecakes from the oven and allow them to cool to room temperature. Then, refrigerate them for at least 2 hours to let them firm up fully, enhancing the flavor and texture.
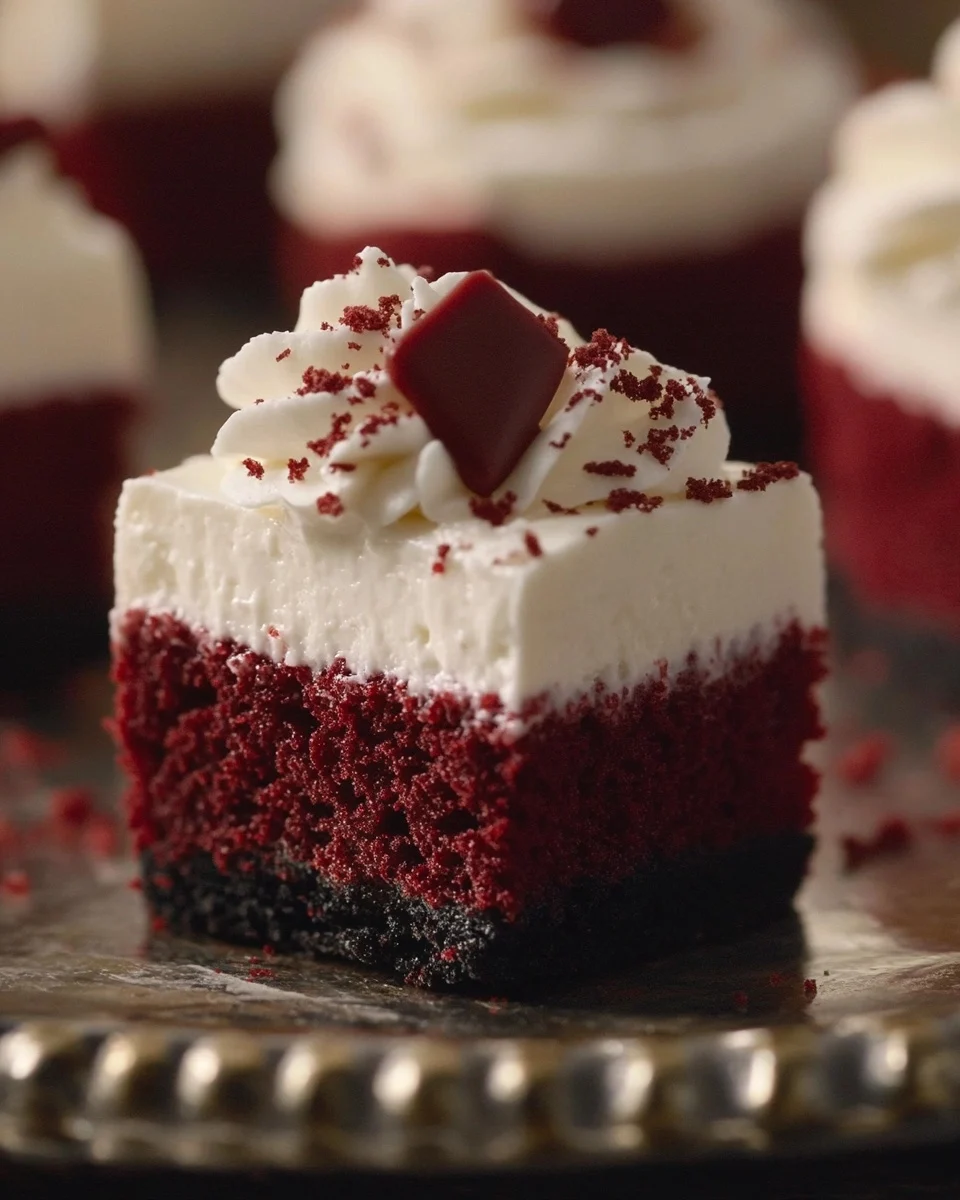
Step 7: Serving Suggestions
When ready to serve, you can add a dollop of whipped cream or sprinkle extra red velvet crumbs on top for a stunning finish. You can also get creative with toppings like fresh strawberries, chocolate drizzle, or crushed nuts.
Tips and Tricks for the Best Mini Red Velvet Cheesecake
To elevate your mini red velvet cheesecake to bakery-quality, here are some expert tips:
- Softened cream cheese is a must: To avoid lumps, make sure your cream cheese is at room temperature before mixing.
- Don’t overmix batter: Overbeating eggs can introduce too much air, causing cracks. Mix just until combined.
- Use fresh red velvet cake crumbs: Avoid stale crumbs, which can result in a dry crust.
- Line muffin tins properly: Paper liners make it easier to remove cheesecakes and help with cleanup.
- Don’t skip the chilling: Cheesecake tastes best when chilled for at least 2 hours or overnight.
- Room temperature ingredients blend better: This applies especially to eggs and cream cheese.
- Test doneness carefully: The slightly jiggly center ensures a creamy texture instead of dry or rubbery.
Variations and Creative Twists for Mini Red Velvet Cheesecake
Don’t hesitate to customize this recipe based on your preferences or the occasion:
- White Chocolate Mini Red Velvet Cheesecake: Fold melted white chocolate into the filling for extra decadence.
- Berry Topped Mini Cheesecakes: Fresh raspberries or blueberries provide a burst of freshness and color.
- Peanut Butter Swirl: Add a swirl of peanut butter into the batter before baking.
- Vegan Version: Use dairy-free cream cheese and egg replacers, plus plant-based butter.
- Gluten-Free Option: Use gluten-free red velvet cake crumbs or make your own with gluten-free flour.
- Chocolate Chips: Stir mini chocolate chips into the batter for texture and sweetness.
- Caramel Drizzle: Add a drizzle of caramel sauce before serving for a rich finish.
Nutritional Breakdown: What’s Inside a Mini Red Velvet Cheesecake?
Understanding the nutrition behind your favorite desserts can help you enjoy them mindfully.
- Calories: Each mini cheesecake contains roughly 400 kcal, making it a satisfying indulgence without overdoing it.
- Protein: Thanks to cream cheese and eggs, these bites offer a modest protein boost.
- Fat: Cream cheese and butter contribute to a moderate fat content, mostly saturated fats.
- Carbohydrates: The sugar and cake crumbs provide carbohydrates, primarily from sugars and refined flour.
- Vitamins and Minerals: Cream cheese adds calcium, while eggs contribute vitamin A and B vitamins.
For those watching their diet, consider smaller portion sizes or healthier ingredient swaps, such as reduced-fat cream cheese or sugar substitutes.
How to Store and Freeze Mini Red Velvet Cheesecake
If you want to prepare your mini red velvet cheesecake ahead of time or store leftovers, here’s how to do it safely:
- Refrigeration: Store in an airtight container in the fridge for up to 4 days.
- Freezing: Place cheesecakes in a single layer on a baking sheet, freeze until solid, then transfer to a freezer-safe container or bag. Freeze for up to 2 months. Thaw overnight in the fridge before serving.
Avoid leaving cheesecakes at room temperature for extended periods to prevent spoilage.
Serving Occasions and Presentation Ideas
These mini red velvet cheesecakes shine at any event. Here are some ideas to impress your guests:
- Holiday Parties: Their rich red color makes them festive for Christmas or Valentine’s Day.
- Wedding or Baby Showers: Serve on a beautiful platter with garnishes like edible flowers.
- Birthday Celebrations: Customize with candles or sprinkles.
- Afternoon Tea: Pair with tea or coffee for an elegant afternoon treat.
- Potlucks and Picnics: Easy to transport and serve.
FAQs About Mini Red Velvet Cheesecake
Q1: Can I use a boxed red velvet cake mix for the crumbs?
Yes, baking a red velvet cake from a boxed mix works perfectly. Just cool it completely before crumbing.
Q2: Is red food coloring necessary?
Not necessarily—if you use red velvet cake crumbs, you already have the color. Food coloring can enhance the cheesecake filling’s vibrancy.
Q3: How long can I keep mini red velvet cheesecakes in the fridge?
Up to 4 days in an airtight container.
Q4: Can I make this recipe dairy-free?
Yes, by using dairy-free cream cheese and butter substitutes, plus egg replacers.
Q5: What’s the best way to prevent cracks on the cheesecake surface?
Avoid overbaking and overmixing. Also, bake at a moderate temperature (325°F) and cool gradually.
Q6: Can I double the recipe?
Absolutely! Just bake in batches or use multiple muffin tins.
Conclusion
The mini red velvet cheesecake recipe offers a stunning blend of flavors and textures that is as impressive as it is delicious. With a buttery red velvet crumb crust and a smooth, creamy cheesecake filling, these mini desserts are perfect for any occasion — from festive holidays to casual get-togethers. By following the detailed instructions and tips shared here, you’ll create beautifully baked treats that will wow your family and friends every time. Whether you stick to the classic recipe or experiment with variations, these mini cheesecakes deliver irresistible indulgence in every bite. So preheat your oven, gather your ingredients, and get ready to bake the best mini red velvet cheesecakes you’ve ever tasted!
Print
Mini Red Velvet Cheesecake: The Perfect Bite-Sized Dessert for Every Occasion
Ingredients
Crust:
-
1 1/2 cups red velvet cake crumbs (from a baked and cooled red velvet cake)
-
3 tablespoons unsalted butter, melted
Cheesecake Filling:
-
16 oz cream cheese, softened
-
1/2 cup granulated sugar
-
2 large eggs
-
1 teaspoon vanilla extract
-
1/2 teaspoon red food coloring (optional, for extra color)
-
1/2 teaspoon white vinegar
-
1/2 teaspoon baking soda
Instructions
Preheat Oven:
Preheat oven to 325°F (163°C). Line a muffin tin with paper liners.
Prepare Crust:
Mix red velvet cake crumbs and melted butter until combined. Press about 1 tablespoon into the bottom of each muffin cup.
Make Filling:
In a large bowl, beat cream cheese and sugar until smooth. Add eggs one at a time, mixing well after each. Stir in vanilla, food coloring, vinegar, and baking soda until fully combined.
Fill Muffin Cups:
Pour cheesecake batter over crust in each muffin cup, filling about 3/4 full.
Bake:
Bake for 20–25 minutes or until centers are set but slightly jiggly.
Cool:
Remove from oven and let cool to room temperature. Then refrigerate for at least 2 hours before serving.
Serve:
Top with whipped cream or extra red velvet crumbs if desired.