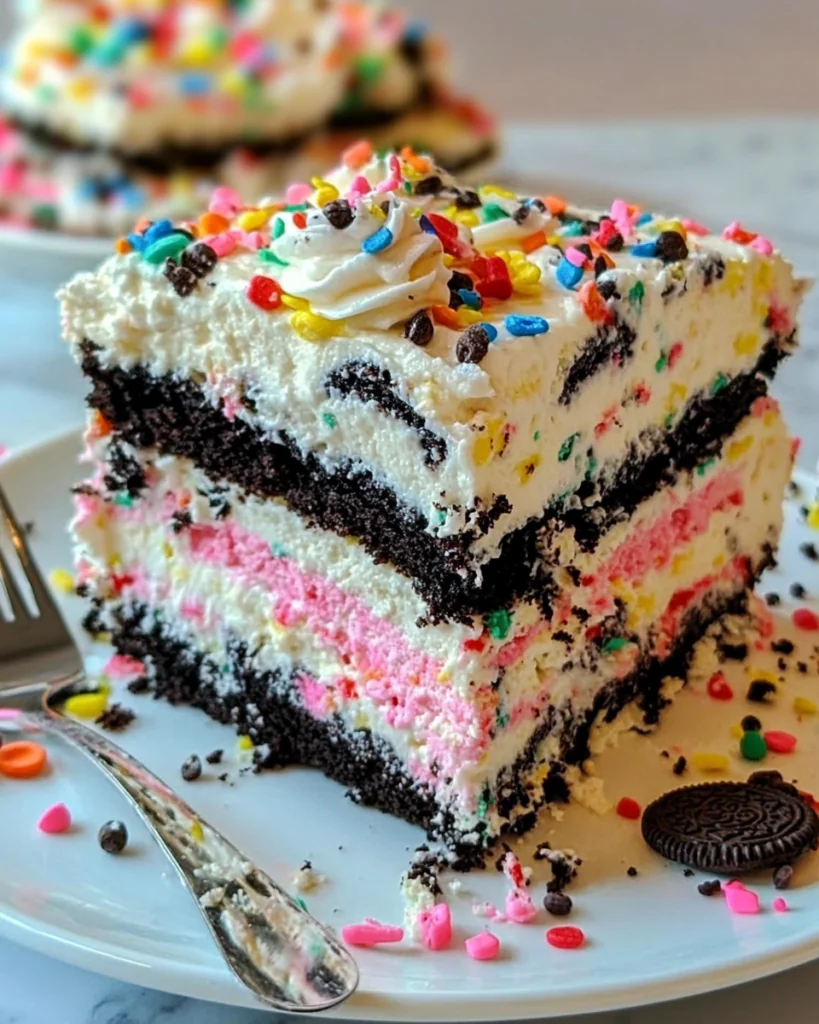
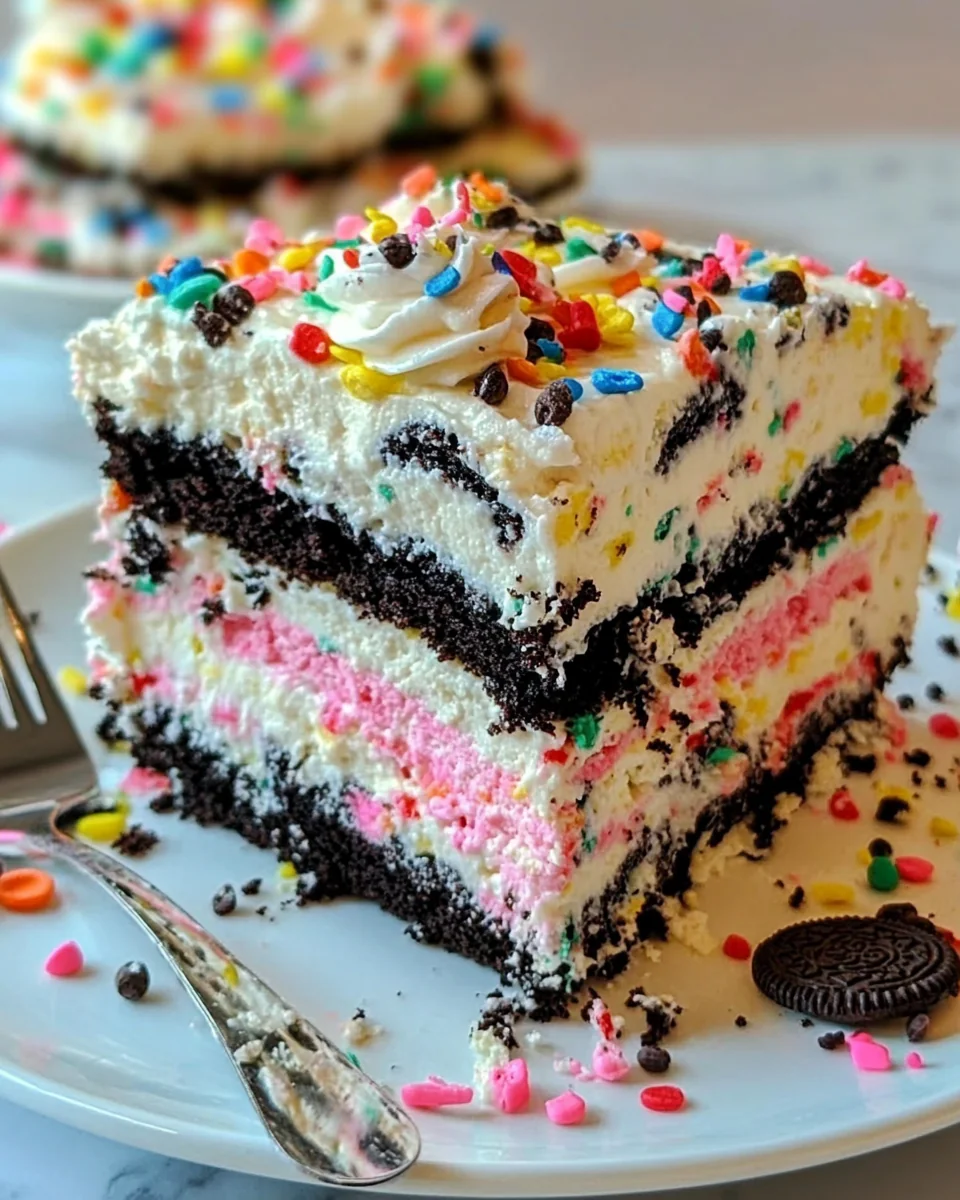
If you love Oreo desserts and have a soft spot for funfetti cake, this No-Bake Funfetti Oreo Icebox Cake is about to become your new favorite treat! This cake layers birthday cake-flavored Oreos, fluffy whipped cream, and a creamy vanilla pudding mixture, all topped with colorful rainbow sprinkles. The best part? There’s no baking involved! This dessert is perfect for birthdays, celebrations, or just whenever you need a fun and effortless sweet treat.
Why You’ll Love This No-Bake Funfetti Oreo Icebox Cake
This Oreo icebox cake is everything you could want in a dessert—sweet, creamy, crunchy, and bursting with fun colors. Here’s why you should try it:
- No-Bake Simplicity – Forget the oven! Just layer and chill.
- Minimal Ingredients – Requires only a handful of easy-to-find ingredients.
- Perfect for Any Occasion – Great for birthdays, holidays, or any day that needs a little extra fun.
- Kid-Friendly – A great recipe to make with kids since it’s mess-free and simple.
- Customizable – Switch up the Oreos, add chocolate chips, or top with whipped cream swirls.
Ingredients You Need
This no-bake Funfetti Oreo cake uses pantry staples to create a mouthwatering dessert. Here’s what you’ll need:
For the Icebox Cake Layers:
- 1 package (15.25 oz) Funfetti Oreos (Birthday Cake Oreos work too!)
- ½ cup rainbow sprinkles (for a festive touch)
For the Whipped Cream:
- 2 cups heavy whipping cream
- ¼ cup powdered sugar
- 1 teaspoon vanilla extract
For the Pudding Mixture:
- 1 box (3.4 oz) instant vanilla pudding mix
- 1 ½ cups cold milk
- ½ of the prepared whipped cream (from above)
Optional Garnishes:
- Extra Oreo crumbles
- More sprinkles
- Dollops of whipped cream

How to Make No-Bake Funfetti Oreo Icebox Cake
Making this Oreo icebox cake is incredibly easy. Just follow these steps:
Step 1: Make the Whipped Cream
- In a large bowl, beat heavy whipping cream, powdered sugar, and vanilla extract until stiff peaks form. This takes about 3-5 minutes with an electric mixer.
- Set aside half of the whipped cream for layering later.
Step 2: Prepare the Pudding Mixture
- In another bowl, whisk vanilla pudding mix and cold milk together until thickened (about 2 minutes).
- Gently fold in half of the whipped cream to create a light, creamy pudding mixture.
Step 3: Assemble the Icebox Cake
- Spread a thin layer of whipped cream at the bottom of an 8×8-inch dish.
- Place a single layer of Funfetti Oreos over the whipped cream.
- Spread half of the pudding mixture evenly over the Oreos.
- Repeat the layers: another layer of Oreos, followed by the remaining pudding mixture, and finishing with whipped cream on top.
- Sprinkle the top generously with rainbow sprinkles.
Step 4: Chill and Serve
- Cover and refrigerate for at least 4 hours (or overnight) to allow the Oreos to soften and the flavors to meld.
- Before serving, garnish with extra crushed Oreos, whipped cream, and sprinkles.
- Slice, serve, and enjoy this no-bake Funfetti Oreo icebox cake!
Pro Tips for the Best No-Bake Funfetti Oreo Icebox Cake
- Chill for the Best Texture – The longer it chills, the better it tastes! Overnight is ideal.
- Use Cold Heavy Cream – This helps create stiff peaks when whipping.
- Swap Out the Oreos – Try golden Oreos, chocolate Oreos, or even double-stuffed for an extra indulgent version.
- Add a Drizzle – Chocolate syrup or white chocolate ganache would take this dessert to the next level.
- Make It in Advance – This is the perfect make-ahead dessert since it tastes better after sitting in the fridge.
FAQs About No-Bake Funfetti Oreo Icebox Cake
How long does an Oreo icebox cake need to chill?
For best results, chill for at least 4 hours, but overnight is even better for softening the cookies.
Can I use store-bought whipped topping instead of homemade?
Yes! You can substitute Cool Whip if you want to save time, but homemade whipped cream gives a richer taste.
How long does this dessert last in the fridge?
It stays fresh for 3-4 days when covered and refrigerated.
Can I freeze this icebox cake?
Yes! Freeze it in an airtight container for up to 1 month. Thaw in the fridge before serving.
Can I make this gluten-free?
Absolutely! Just swap the Oreos for a gluten-free version, and you’re all set.
Conclusion
This No-Bake Funfetti Oreo Icebox Cake is a dream come true for any dessert lover. It’s easy, requires no oven, and tastes absolutely delicious. With layers of creamy vanilla pudding, fluffy whipped cream, and birthday cake-flavored Oreos, every bite is pure bliss. Whether you’re celebrating a special occasion or just craving something sweet, this Oreo icebox cake is sure to impress. Give it a try, and don’t forget to add extra sprinkles for a fun, festive touch!
Print
No-Bake Funfetti Oreo Icebox Cake – Easy & Colorful Dessert
Ingredients
1 package (15.25 oz) Funfetti Oreos (Birthday Cake Oreos work too)
2 cups heavy whipping cream
¼ cup powdered sugar
1 teaspoon vanilla extract
1 box (3.4 oz) instant vanilla pudding mix
1 ½ cups cold milk
½ cup rainbow sprinkles
Optional: Extra Oreos and sprinkles for garnish
Instructions
Prepare the Whipped Cream:
In a large bowl, beat heavy whipping cream, powdered sugar, and vanilla extract until stiff peaks form. Set aside.
Make the Pudding Layer:
In another bowl, whisk together the vanilla pudding mix and cold milk until thickened (about 2 minutes). Gently fold in half of the whipped cream to lighten the pudding mixture.
Assemble the Cake:
In an 8×8-inch dish, spread a thin layer of whipped cream on the bottom.
Arrange a single layer of Funfetti Oreos over the whipped cream.
Spread half of the pudding mixture over the Oreos.
Repeat layers (Oreos, pudding, then whipped cream) until all ingredients are used, finishing with a layer of whipped cream.
Sprinkle rainbow sprinkles over the top for a fun, festive touch.
Chill and Serve:
Cover and refrigerate for at least 4 hours (or overnight) to allow the cookies to soften.
Garnish with extra crushed Oreos and more sprinkles before serving.
Enjoy!
A fun, colorful, and sweet treat that requires zero baking—perfect for any occasion!


