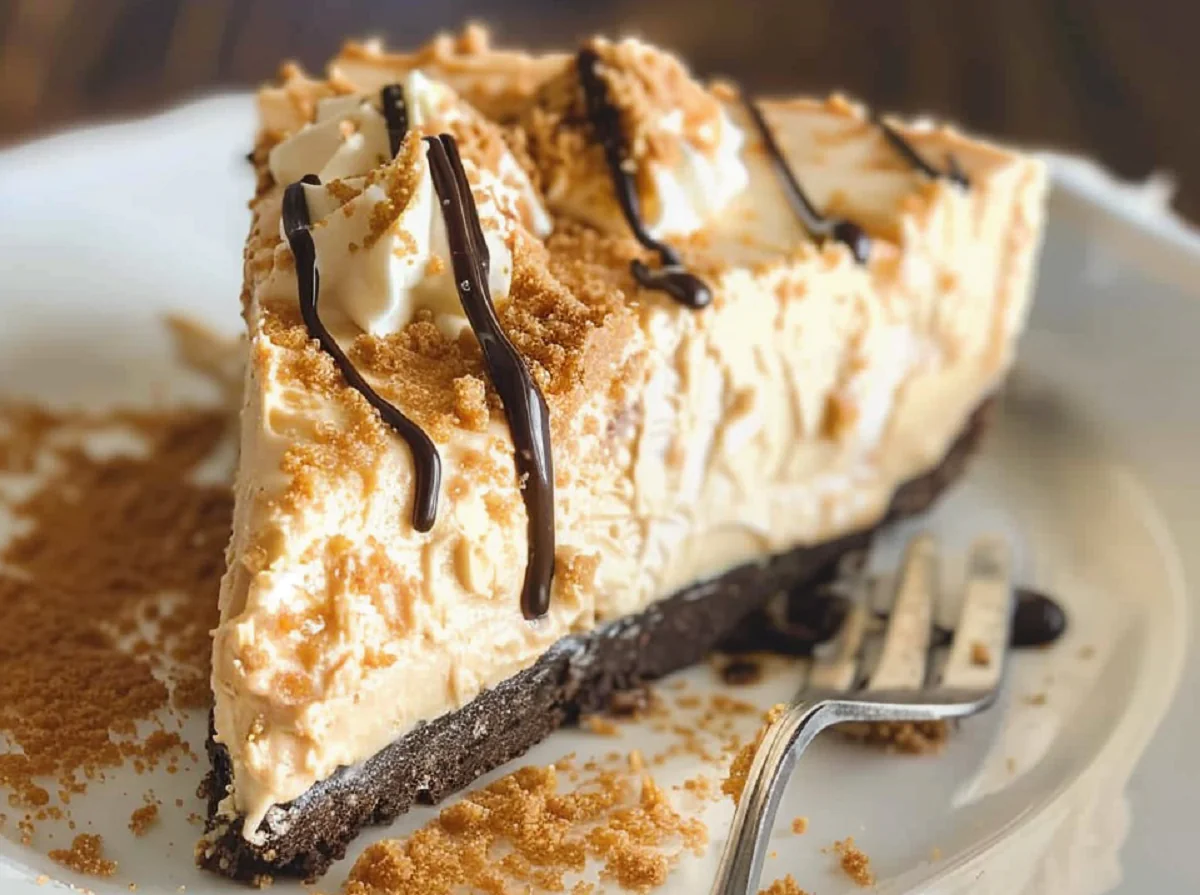
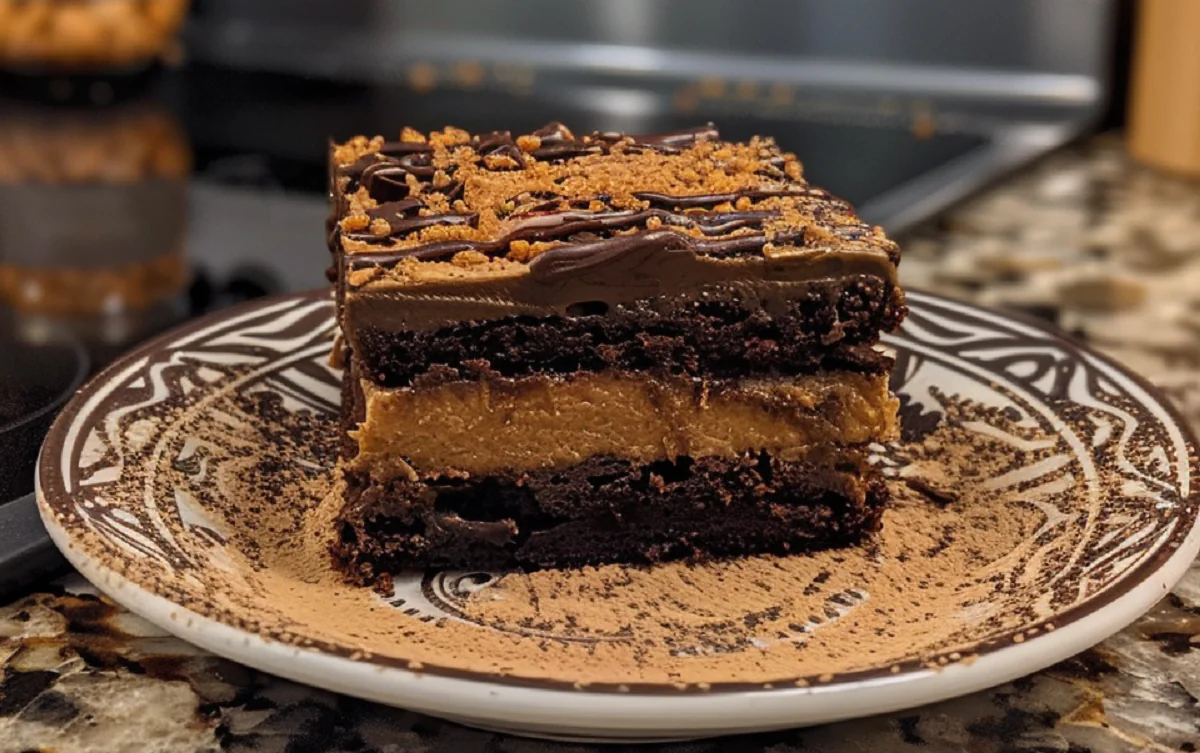
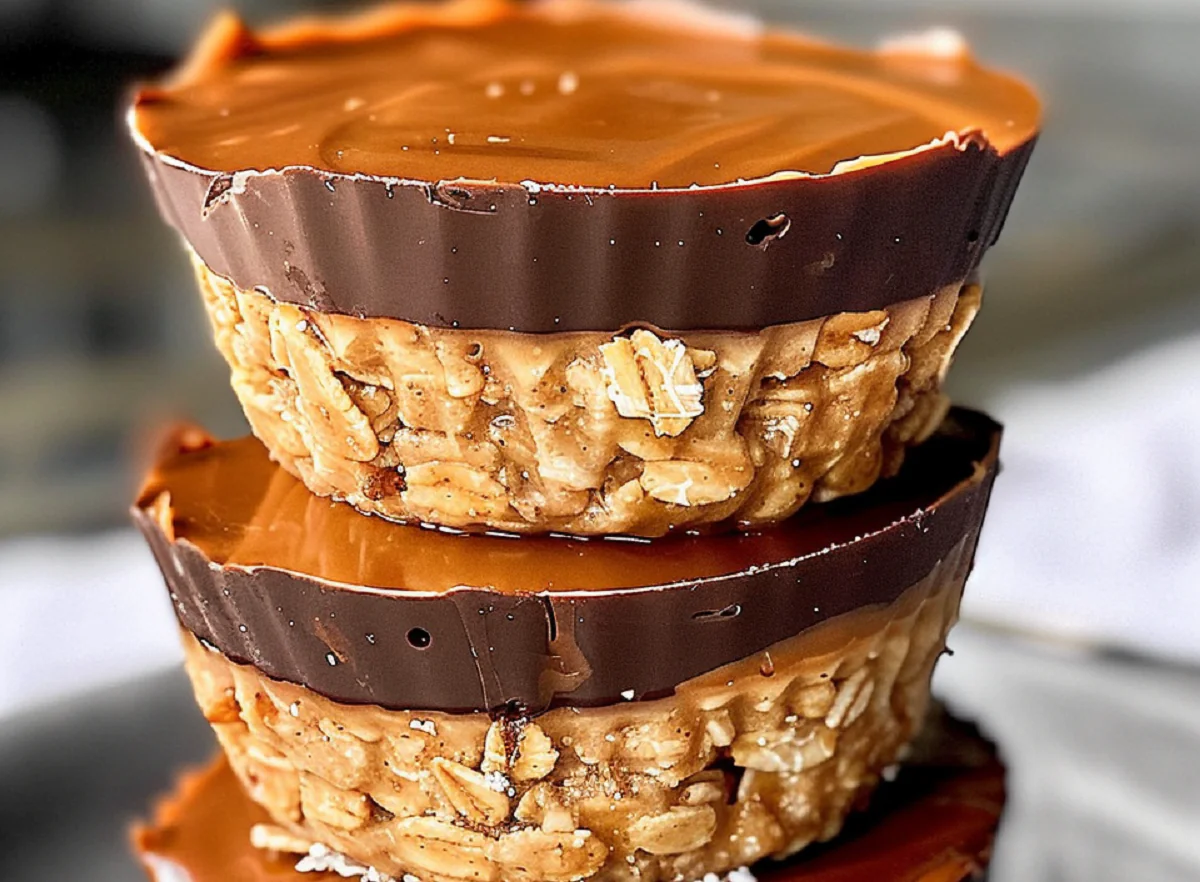
Peanut Butter Cream Pie is a dreamy dessert that combines the rich, nutty flavor of peanut butter with the smooth creaminess of whipped topping, all nestled in a graham cracker crust. Perfect for peanut butter lovers, this no-bake treat is quick to prepare and a guaranteed crowd-pleaser. Let’s explore how to create this delectable dessert step-by-step, along with some pro tips to make it truly exceptional.
Ingredients with Quantities
To craft this irresistible Peanut Butter Cream Pie, gather the following ingredients:
- 1 pre-made graham cracker pie crust (9-inch): The foundation of the pie, offering a buttery, crunchy contrast to the creamy filling.
- 1 cup creamy peanut butter: Ensures a smooth texture and a bold peanut butter flavor.
- 8 oz cream cheese, softened: Adds a tangy, velvety base for the filling.
- 1 cup powdered sugar: Sweetens the filling while keeping it smooth.
- 1 teaspoon vanilla extract: Enhances the flavor with a hint of warmth and complexity.
- 1 (8 oz) container whipped topping, thawed: Lightens the filling for a mousse-like texture.
- Chocolate syrup (optional for drizzling): Adds a touch of sweetness and visual appeal.
- Crushed peanuts or chocolate chips (optional for garnish): A delightful crunch or burst of chocolate flavor to top it off.
Directions and Preparation Method
Step 1: Prepare the Filling
- In a large mixing bowl, combine 1 cup creamy peanut butter, 8 oz softened cream cheese, 1 cup powdered sugar, and 1 teaspoon vanilla extract.
- Use a hand mixer to beat the ingredients until the mixture becomes smooth and creamy. This ensures that the peanut butter and cream cheese blend well, avoiding any lumps.
Step 2: Incorporate Whipped Topping
- Gently fold the 8 oz thawed whipped topping into the peanut butter mixture.
- Use a spatula to carefully combine until the mixture is fully blended and light, resembling a fluffy mousse.
Step 3: Assemble the Pie
- Spoon the prepared peanut butter filling into the pre-made graham cracker crust.
- Smooth the top using a spatula for an even surface.
Step 4: Add Garnishes (Optional)
- Drizzle chocolate syrup over the top for a decorative finish.
- Sprinkle with crushed peanuts or chocolate chips for added texture and flavor.
Step 5: Chill the Pie
- Refrigerate the pie for at least 3-4 hours or until the filling sets and becomes firm.
Step 6: Serve and Enjoy
- Once chilled, slice the pie into wedges.
- Serve chilled and enjoy the creamy, nutty, and indulgent flavors.
FAQs
1. Can I use a homemade graham cracker crust instead of pre-made?
Absolutely! To make your own, combine 1 ½ cups of graham cracker crumbs, ⅓ cup of sugar, and 6 tablespoons of melted butter. Press the mixture into a 9-inch pie pan and chill before adding the filling.
2. Can I substitute crunchy peanut butter for creamy?
Yes, you can use crunchy peanut butter if you prefer added texture in your pie filling. Keep in mind that it will change the smooth consistency slightly.
3. How long does the pie last in the refrigerator?
The Peanut Butter Cream Pie can be stored in an airtight container in the refrigerator for up to 5 days.
4. Can I freeze the pie?
Yes, you can freeze this pie for up to a month. Wrap it tightly in plastic wrap and aluminum foil before freezing. Allow it to thaw in the refrigerator for a few hours before serving.
5. What other toppings can I add?
You can top the pie with caramel sauce, chopped candy bars, or even a sprinkle of sea salt for a gourmet touch.
Conclusion
Peanut Butter Cream Pie is a fantastic dessert for any occasion, from casual family dinners to celebratory gatherings. Its no-bake nature makes it an effortless treat that anyone can master. With its creamy filling, crunchy crust, and optional garnishes, this pie is a true delight for peanut butter enthusiasts.
Whether you’re looking to impress guests or indulge in a simple yet decadent dessert, this recipe checks all the boxes. Try it today and watch as every slice disappears in no time!


