Introduction
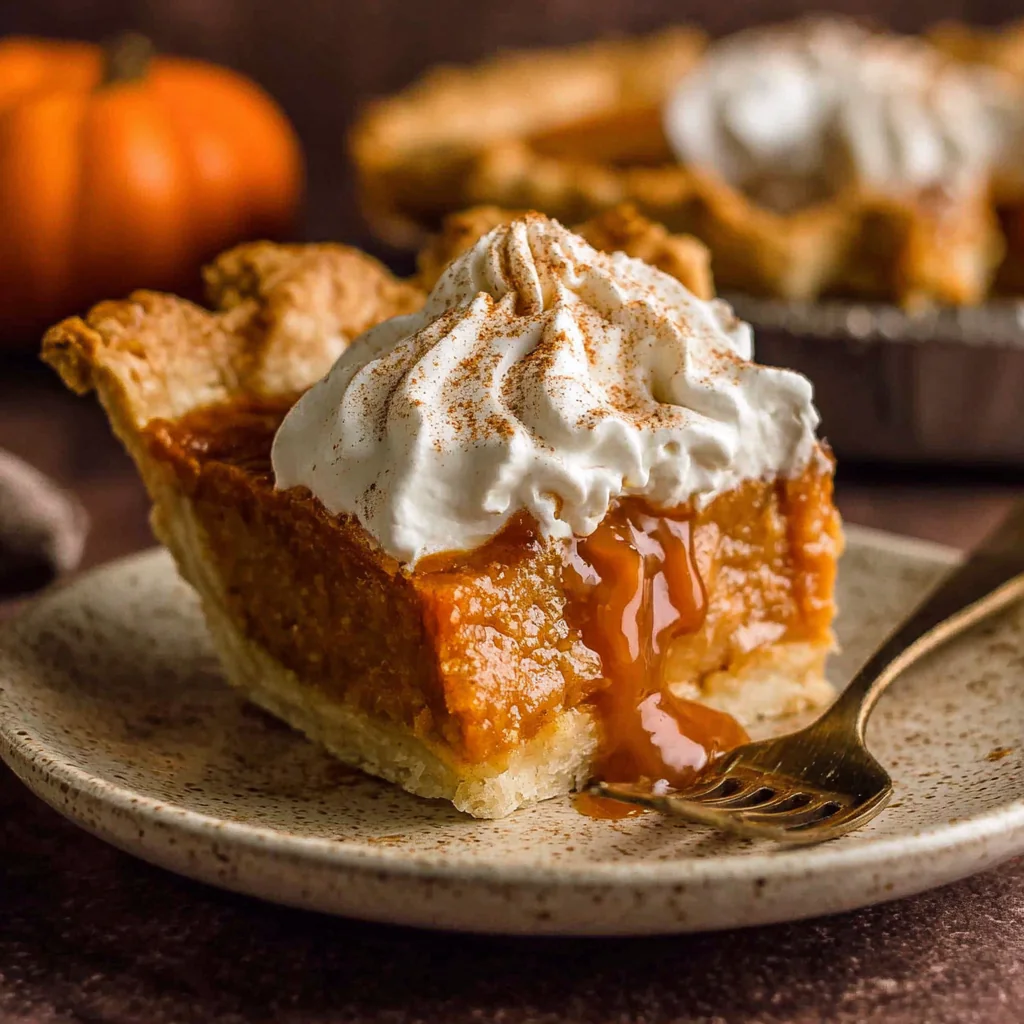
The scent of a freshly baked pie can transform any kitchen into a haven of warmth and comfort. This Pumpkin Apple Pie merges the cozy flavors of fall—a delightful blend of pumpkin and tart apples. It's not just a dessert; it’s a celebration of autumn's bounty.
Perfect for family gatherings or a festive dinner, this pie boasts a flaky crust that cradles a spiced pumpkin filling, enhanced by the natural sweetness and texture of apples. Each bite is a harmonious balance of flavors, inviting you to savor the season in a slice.
Ingredients
- 1 ½ cups all-purpose flour
The foundation of the pie crust, all-purpose flour provides structure and stability. Its gluten content helps the crust hold together while remaining tender. - ½ teaspoon salt
Salt enhances the flavor of the crust. It balances the sweetness of the filling and contributes to the overall taste profile. - ½ cup unsalted butter, cold and cubed
Butter adds richness and flavor to the crust. Using cold butter ensures a flaky texture as it creates steam during baking, causing the crust to puff slightly. - 5 to 6 tablespoons ice water
Ice water helps bind the dough without melting the butter, maintaining its coldness for that desirable flaky texture. The amount needed can vary based on humidity. - 2 cups pumpkin puree
This is the star of the pie, providing a creamy texture and earthy flavor. Pumpkin puree is rich in vitamins and gives the pie its signature color. - 1 cup apple, peeled and diced
Apples add natural sweetness and a contrasting texture to the filling. They also provide a fresh note that balances the richness of the pumpkin. - ¾ cup brown sugar
Brown sugar contributes a deep, caramel-like sweetness. Its moisture helps create a gooey filling, complementing the spices. - 1 teaspoon cinnamon
Cinnamon enhances the warm, comforting flavors of the pie. It plays well with both pumpkin and apple, tying the filling together. - ½ teaspoon nutmeg
Nutmeg adds depth and a hint of warmth to the pie. This spice elevates the flavor profile, making each bite more aromatic. - 2 large eggs
Eggs are essential for binding the filling. They also help set the mixture as it bakes, ensuring the filling has structure. - 1 teaspoon vanilla extract
Vanilla enhances all the flavors in the pie, providing a subtle sweetness and a fragrant aroma.
Directions & Preparation
Step 1: Prepare the Pie Crust
In a mixing bowl, combine the flour and salt. Add the cold, cubed butter, and use a pastry cutter or your fingers to mix until the mixture resembles coarse crumbs. Gradually add ice water, one tablespoon at a time, mixing until the dough holds together. This critical step sets the foundation of your pie, ensuring a flaky and flavorful crust.
Step 2: Chill the Dough
Wrap the dough in plastic wrap and refrigerate for at least 1 hour. Chilling solidifies the butter, preventing it from melting and ensures a flaky crust. This step is vital for achieving the perfect texture, especially if your kitchen is warm.
Step 3: Preheat the Oven
Preheat your oven to 425°F (220°C). This initial high temperature helps create a crispy crust. Knowing your oven's quirks can enhance your baking; if you find it runs cool, consider adjusting the temperature.
Step 4: Roll Out the Dough
On a floured surface, roll out the chilled dough into a 12-inch circle. Transfer it to a 9-inch pie pan, pressing it gently into the edges. Ensuring an even thickness prevents some parts from baking faster than others, giving you a beautifully even crust.
Step 5: Prepare the Filling
In a large mixing bowl, combine the pumpkin puree, diced apples, brown sugar, cinnamon, nutmeg, eggs, and vanilla extract. Mixing these ingredients thoroughly gives each bite a balanced flavor. Ensure there are no lumps for a smooth filling that bakes evenly.
Step 6: Fill the Pie Shell
Pour the filling into the prepared pie crust, spreading it evenly. Filling the crust to the edges allows for a beautiful rise while baking. If desired, you can sprinkle a little extra cinnamon on top for added aroma during baking.
Step 7: Bake the Pie
Bake the pie in the preheated oven for 15 minutes, then reduce the temperature to 350°F (175°C) and continue baking for 40-50 minutes. This two-stage baking process helps set the filling properly. Check for doneness by inserting a knife into the center; it should come out clean.
Step 8: Cool the Pie
Once baked, remove the pie from the oven and allow it to cool on a wire rack for at least 2 hours. Cooling is essential to set the filling completely and prevent it from being too runny when sliced. This step ensures you can serve beautiful pieces.
Step 9: Serve and Enjoy
Slice the cooled pie and serve with whipped cream or vanilla ice cream. The contrast between the warm pie and cold topping elevates the dessert experience. Creating this delightful pie not only brings joy to your table but also fills your home with irresistible aromas.

The Flaky Crust Magic
A flaky pie crust is essential for any good pie. The combination of cold butter and the right flour creates layers that add texture and contrast to the filling. Using ice water not only helps bind the dough but also ensures that the temperature remains low enough for proper flakiness. Keeping your work environment cool, and using a light hand when mixing, can make all the difference.
Apple Selection for Optimal Flavor
Choosing the right apples is key to complementing the pumpkin filling. Varieties like Granny Smith or Honeycrisp bring a tart sweetness that balances the richness of the pumpkin. When diced and mixed into the filling, they provide a juicy burst that contrasts wonderfully with the smooth puree. Be sure to chop them evenly for consistent cooking throughout the pie.
Spices: The Heart of the Flavor Profile
The spices used in pumpkin apple pie are not merely add-ons; they create warmth and complexity that resonate with the season. Cinnamon and nutmeg intermingle, creating a comforting aroma that evokes autumn. Using freshly ground spices can enhance the pie’s flavor profile, making each bite an explosion of seasonal delight. Pay attention to the balance of these spices to avoid overpowering the natural flavors.
FAQs
What if my pie filling turns out runny?
If your filling is too runny, it may have needed more time to bake. Ensure that it is baked until a knife inserted in the center comes out clean. Alternatively, using a thickening agent like cornstarch or flour in the filling can help achieve a more stable consistency.
Can I use pie crust from the store for convenience?
Absolutely! A store-bought pie crust can save you time and effort. Just ensure it is suitable for a 9-inch pie, and follow the same filling and baking instructions to achieve a delicious pie.
What if I find the pie too sweet?
If the pie is too sweet for your taste, consider reducing the amount of brown sugar or using a mixture of sweet and tart apples. Adjusting the sweetness to your liking can create a more balanced flavor in the filling.
How do I know when my pie crust is done baking?
The crust is done when it is golden brown and feels firm to the touch. A visual cue is the edges becoming slightly darker than the center. You can also gently lift the edge to see if it has firmed up.
Can I substitute fresh apples with canned ones?
While it’s best to use fresh apples for texture and flavor, you can use canned apples in a pinch. Just ensure to drain them well and reduce any excess liquid that might affect the filling's consistency.
What if my pie crust shrinks while baking?
If your pie crust shrinks, it may not have been rested adequately before baking. Allowing the dough to chill before rolling helps relax the gluten. Using pie weights during the initial baking can also help prevent shrinking.
Conclusion
Creating a Pumpkin Apple Pie is more than just baking; it's about crafting a warm, inviting dessert that resonates with the spirit of the season. The combination of creamy pumpkin and tart apple flavors creates a tantalizing treat perfect for any occasion.
As you slice into this pie, let the aromas fill your home and share delicious moments with family and friends. So gather your ingredients, embrace the process, and enjoy the rich flavors that make this dessert a classic.
Recipe Card
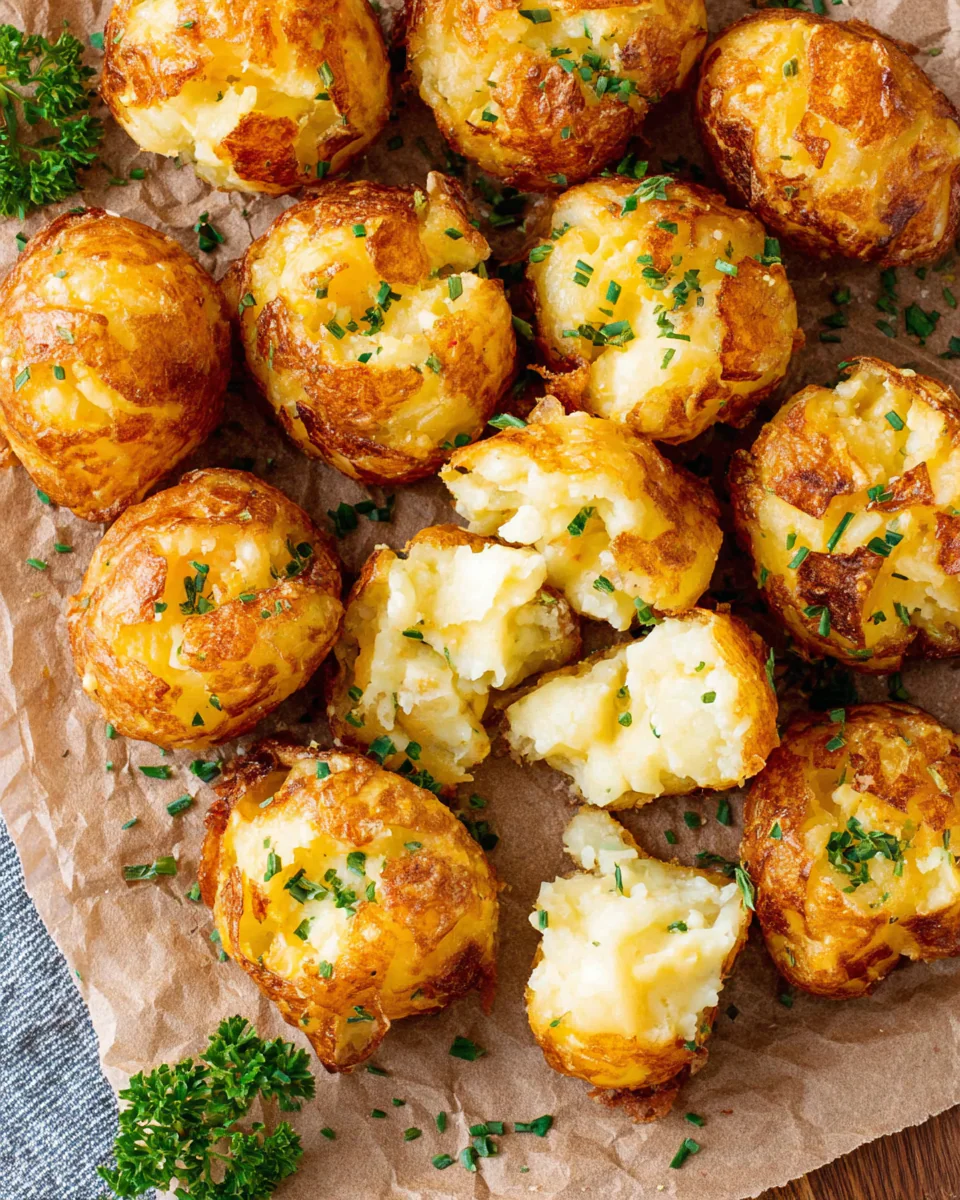
Crispy Mashed Potato Bites: Easy & Irresistible!
Ingredients
Method
- Prepare the potato mixture.
- Form the potato bites.
- Coat in breadcrumbs.
- Heat the oil.
- Fry the potato bites.
- Drain and serve.
Tried this recipe?
Let us know how it was!Notes
Additional serving suggestions: pair with a crisp salad, garlic bread, or roasted seasonal vegetables for balance.
For make-ahead, prep components separately and assemble just before heating to preserve texture.
Taste and adjust with acid (lemon/vinegar) and salt right at the end to wake up flavors.