Introduction
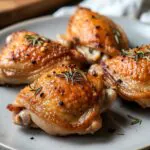
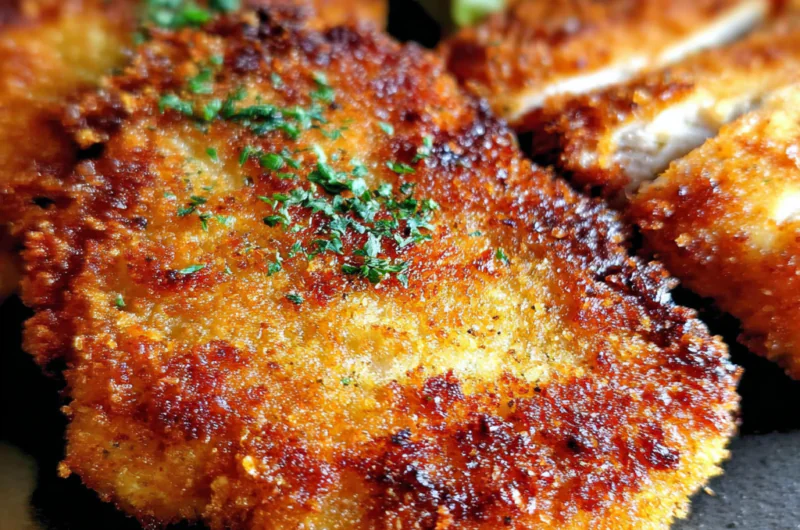
Fried chicken cutlets are a delightful crowd-pleaser that brings comfort to any meal. Their crispy coating and juicy interior create a mouthwatering combination that's hard to resist. Perfect for family dinners or special occasions, these cutlets can be served in countless ways, adding versatility to your table.
This recipe offers an accessible approach to achieving a restaurant-quality dish right in your own kitchen. With simple ingredients and straightforward techniques, you'll enjoy the rewards of frying without unnecessary fuss. Let's dive into the essentials and create a memorable meal that will have everyone asking for seconds.
Ingredients
- 4 boneless, skinless chicken breasts
Choosing fresh, high-quality chicken breasts ensures tenderness and flavor. Breast meat is lean and, when cooked properly, remains juicy between the crispy coating. - 1 cup all-purpose flour
Flour acts as the base for the breading process, providing a dry surface that helps the egg wash adhere. It also contributes to the crispiness of the final dish. - 2 large eggs
Eggs create a binding layer that keeps the breading intact during cooking. They add richness and help the flour adhere to the chicken for an even coating. - 1 cup breadcrumbs (panko recommended)
Breadcrumbs provide the crispy texture that makes fried chicken cutlets irresistible. Panko breadcrumbs are lighter and flakier, resulting in a crunchier finish. - 1 teaspoon garlic powder
Garlic powder adds a subtle depth of flavor that complements the chicken beautifully. It enhances the overall taste without overpowering the dish. - 1 teaspoon paprika
Paprika contributes both color and a mild sweetness. It can elevate the visual appeal and adds a smoky undertone to the cutlets. - Salt and pepper to taste
Seasoning is vital to enhancing the natural flavors of the chicken. A well-seasoned cutlet is more flavorful and satisfying. - Vegetable oil for frying
Oil is essential for frying as it creates the heat needed to cook the chicken while delivering that coveted crispiness. High smoke point oils, like vegetable oil, work best for frying.
Directions & Preparation
Step 1: Prepare the chicken breasts
Start by placing the chicken breasts between two pieces of plastic wrap. Use a meat mallet or rolling pin to pound them to an even thickness of about half an inch. This step is crucial because uniform thickness ensures that the chicken cooks evenly, avoiding the risk of overcooking thinner parts while thicker parts remain undercooked.
Step 2: Season the chicken
Generously sprinkle both sides of the chicken breasts with salt, pepper, garlic powder, and paprika. Allow the chicken to sit for about 10-15 minutes. This resting time lets the seasonings penetrate the meat, enhancing flavor and creating a well-rounded taste profile.
Step 3: Set up your breading station
Prepare three shallow bowls: one with flour, one with beaten eggs, and one with breadcrumbs. This organized setup allows for an efficient breading process, minimizing mess and ensuring an even coat on each piece of chicken.
Step 4: Bread the chicken cutlets
Dredge each seasoned chicken breast first in flour, coating all sides. Shake off excess, then dip into beaten eggs, allowing any excess egg to drip off. Finally, press into the breadcrumbs, ensuring a good coat. This three-step process creates a crispy exterior that will seal in moisture as the chicken fries.
Step 5: Heat the oil
In a large skillet, add about a half-inch of vegetable oil and heat it over medium-high heat until shimmering. The oil needs to be hot enough to create that signature sizzle when the chicken is added; if it’s not hot enough, the cutlets may absorb too much oil and become greasy instead of crispy.
Step 6: Fry the cutlets
Carefully place the breaded chicken cutlets in the skillet, leaving space between them for even frying. Cook for about 4-5 minutes on each side, or until golden and cooked through. This step requires attention; overcrowding the pan can lower the oil temperature, leading to soggy cutlets.
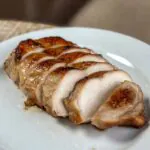
Step 7: Check for doneness
Use a meat thermometer to check the internal temperature of the chicken, ensuring it reaches 165°F (74°C). This is critical for food safety and guarantees that the chicken is not undercooked.
Step 8: Drain and rest
Once cooked, transfer the fried cutlets to a plate lined with paper towels to drain excess oil. Allowing them to rest for a few minutes helps maintain moisture while making them easier to serve.

The Perfect Breading Technique
Achieving the ideal coating for fried chicken cutlets involves the classic three-step breading process: flour, egg, and breadcrumbs. Each layer contributes to the overall texture and flavor; the flour creates a base, the egg acts as glue, and the breadcrumbs provide that irresistible crunch. When properly layered, this technique results in a satisfying contrast between the crispy exterior and tender chicken, a combination that elevates your fried cutlets.
Choosing the Right Cooking Oil
For frying chicken, the choice of cooking oil significantly impacts the final outcome. Oils with high smoke points, like vegetable or canola oil, are ideal as they can withstand the heat required without breaking down. The right oil not only ensures crispy cutlets but also enhances their flavor. Always monitor the oil temperature closely to maintain an optimal frying environment and avoid greasy results.
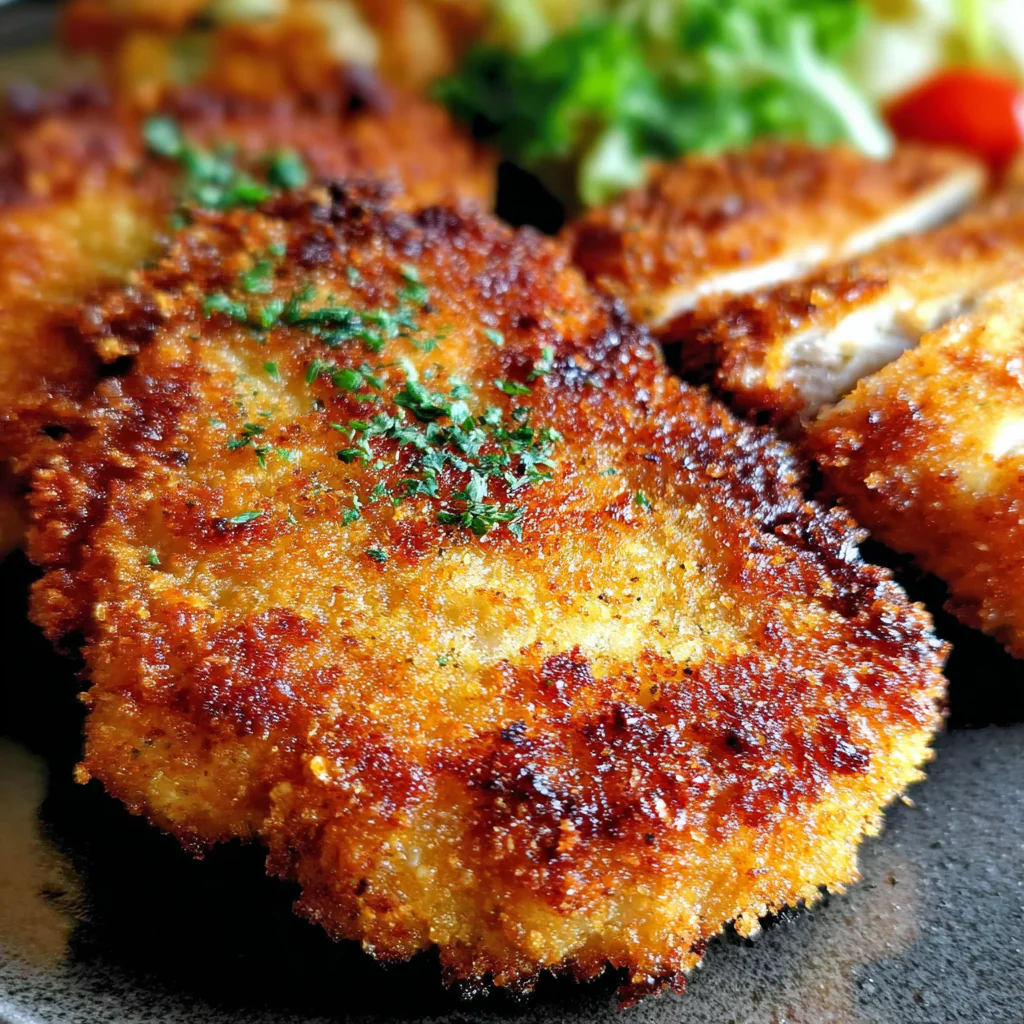
Serving Suggestions for Fried Chicken Cutlets
Fried chicken cutlets are incredibly versatile and can be served in various ways. For a casual dinner, pair them with sides of mashed potatoes and green beans. For a twist, consider serving them in a sandwich with fresh coleslaw or atop a fresh salad. The possibilities are endless, and each serving style can bring a new flavor dimension to this classic dish.
FAQs
What if my breading is too thick?
If your breading appears too thick, make sure to shake off excess flour and egg before coating in breadcrumbs. You can also try re-breading with less flour.
How do I avoid bland fried chicken cutlets?
To prevent blandness, ensure you season each layer of the chicken—flour, eggs, and breadcrumbs—with ample salt and spices like garlic powder. Letting the seasoned chicken sit before cooking also enhances flavor.
What if my chicken is overcooked?
Overcooked chicken cutlets will be dry and tough. To remedy this, monitor cooking time carefully and use a meat thermometer to check for doneness at 165°F (74°C). Adjust your heat if necessary.
Can I use chicken thighs instead of breasts?
Yes, chicken thighs work well too. They are juicier and more forgiving than breasts. Just adjust the cooking time, as thighs may take a bit longer to cook through.
Is it possible to add spices to the breading?
Absolutely! Feel free to customize your breadcrumbs by mixing in spices like cayenne pepper for heat or dried herbs for additional flavor. Just a teaspoon or two mixed in can significantly alter the flavor profile.
What should I do if the cutlets are not browning?
If your cutlets are not browning, ensure your oil is hot enough before frying. A lack of browning may also indicate that the oil isn’t deep enough to create a proper frying environment.
Conclusion
Fried chicken cutlets can transform a simple dinner into something truly special. With the right techniques and fresh ingredients, you can achieve restaurant-quality results from the comfort of your home.
As you master this dish, don’t hesitate to experiment with different seasonings and served styles to make it your own. Enjoy the process, and soon you'll be delighting family and friends with your delicious fried chicken cutlets.
Recipe Card
Irresistibly Crispy Fried Chicken Cutlets for Home Cooks
Ingredients
Method
- Prepare the chicken breasts
- Season the chicken
- Set up your breading station
- Bread the chicken cutlets
- Heat the oil
- Fry the cutlets
- Check for doneness
- Drain and rest
Tried this recipe?
Let us know how it was!Notes
Additional serving suggestions: pair with a crisp salad, garlic bread, or roasted seasonal vegetables for balance.
For make-ahead, prep components separately and assemble just before heating to preserve texture.
Taste and adjust with acid (lemon/vinegar) and salt right at the end to wake up flavors.