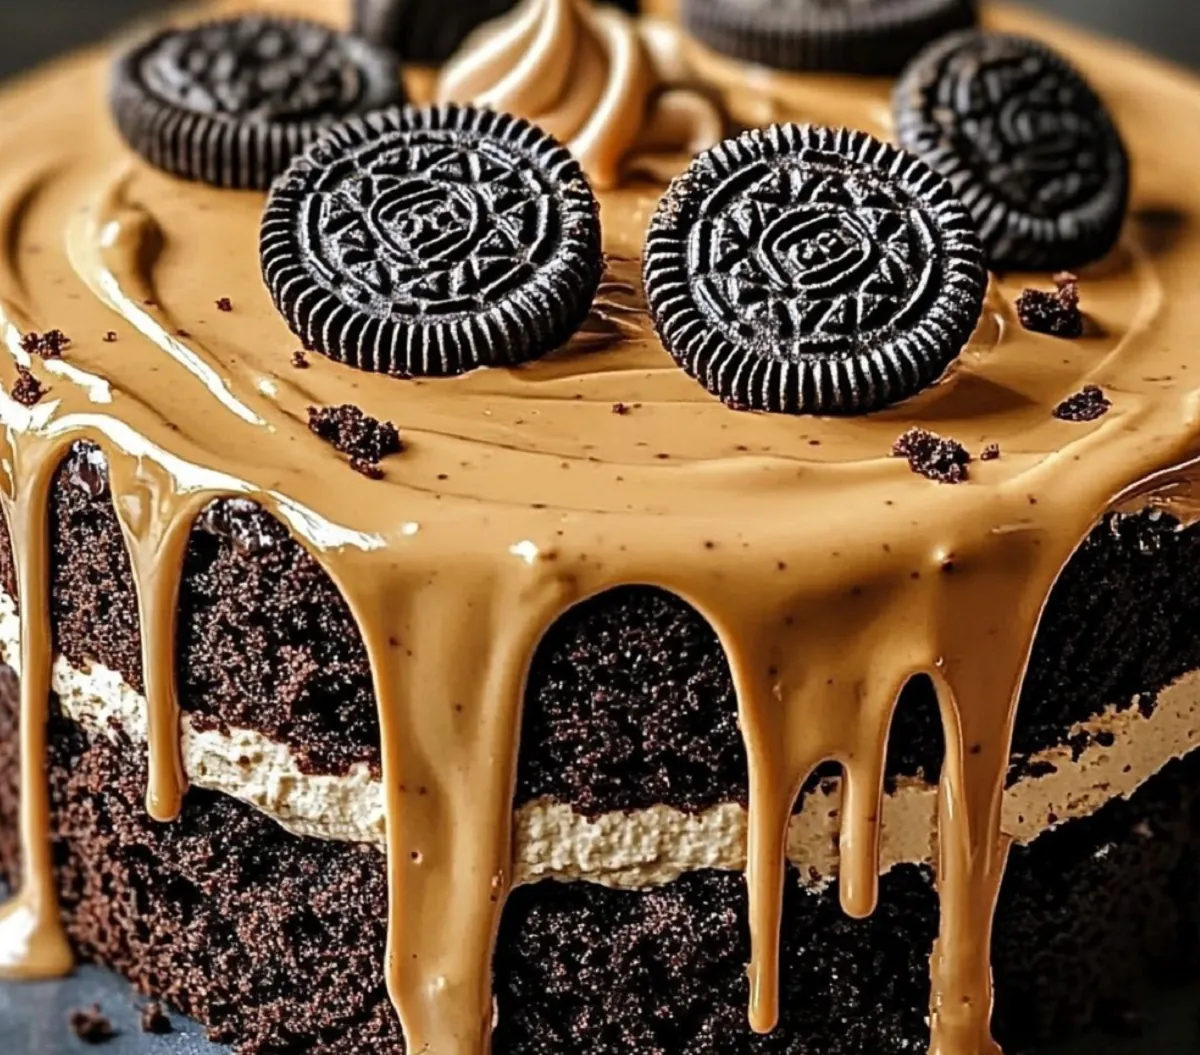
When it comes to rich, creamy, and chocolatey desserts, the Oreo Peanut Butter Chocolate Cake stands out. This cake combines the best flavors of Oreo cookies, peanut butter, and chocolate to create a mouthwatering dessert that’s sure to please. Whether you’re celebrating a special occasion or simply craving something sweet, this cake has everything you need for an unforgettable treat.
Ingredients with Quantities
Here’s what you’ll need to whip up this delicious Oreo Peanut Butter Chocolate Cake:
- All-purpose flour: 1 ¾ cups
- Baking powder: 1 ½ tsp
- Baking soda: 1 ½ tsp
- Unsweetened cocoa powder: ¾ cup
- Sugar: 1 ¾ cups
- Vanilla extract: 1 tsp
- Eggs: 2 large
- Buttermilk: 1 cup
- Vegetable oil: ½ cup
- Hot water: 1 cup
- Peanut butter (creamy): 1 cup
- Oreo cookies (crushed): 1 ½ cups
- Chocolate frosting (store-bought or homemade): 1 ½ cups
- Whipped cream (optional, for garnish): 1 cup
- Extra crushed Oreos and chocolate chips for garnish
Directions and Preparation Method
- Prepare the Cake Pans:
- Begin by preheating your oven to 350°F (175°C).
- Grease and line two 9-inch round cake pans with parchment paper. This will make removing the cakes easier later.
- Mix the Dry Ingredients:
- In a large mixing bowl, combine the flour, baking powder, baking soda, cocoa powder, and sugar.
- Whisk thoroughly to ensure even distribution of the ingredients, as this will help with the cake’s texture.
- Incorporate the Wet Ingredients:
- Add the eggs, buttermilk, vegetable oil, and vanilla extract to the dry ingredients.
- Using a hand mixer or stand mixer, beat the mixture on medium speed until smooth and well combined.
- Add the Hot Water:
- Gradually pour in the hot water while continuing to mix on a low speed. The batter will become slightly thin, which is ideal for creating a moist cake.
- Divide and Bake:
- Pour the batter evenly into the prepared cake pans.
- Bake in the preheated oven for 30-35 minutes, or until a toothpick inserted into the center of each cake comes out clean.
- Once done, remove the cakes from the oven and let them cool in the pans for about 10 minutes. Then, transfer the cakes to wire racks to cool completely.
- Assemble the Cake Layers:
- Once the cakes are fully cooled, place one layer on a cake stand or plate.
- Spread a generous layer of creamy peanut butter on top of the first cake layer. This acts as the filling and provides a delightful, salty contrast to the sweet chocolate and Oreos.
- Add Crushed Oreos:
- Sprinkle the crushed Oreo cookies over the peanut butter layer. Be generous with the amount, as this adds a nice crunch and enhances the Oreo flavor.
- Top with the Second Cake Layer:
- Carefully place the second cake layer on top of the peanut butter and Oreo layer.
- Frost the Cake:
- Using a spatula, apply the chocolate frosting to the top and sides of the cake. Smooth out the frosting to achieve an even layer all around.
- Garnish:
- If desired, add whipped cream to the top of the cake for an extra creamy finish.
- Garnish with extra crushed Oreos and chocolate chips for added texture and decoration.
- Chill and Serve:
- Allow the cake to chill in the refrigerator for about an hour before serving. This helps the flavors meld together and makes slicing easier.
FAQs
Q: Can I substitute buttermilk with regular milk?
A: If you don’t have buttermilk on hand, you can create a substitute by mixing 1 tablespoon of lemon juice or vinegar with 1 cup of milk. Let it sit for a few minutes, and it will work as a substitute in the recipe.
Q: Can I use natural peanut butter instead of creamy peanut butter?
A: While natural peanut butter can work, it tends to be oilier and might not set as well as regular creamy peanut butter. For best results, use a classic creamy peanut butter.
Q: How can I make the cake gluten-free?
A: Swap out the all-purpose flour with a gluten-free flour blend that’s designed for baking. Make sure the other ingredients are also gluten-free.
Q: Can I add other toppings to this cake?
A: Absolutely! You can add more chocolate chips, drizzle with caramel, or even top with mini peanut butter cups for a fun variation.
Q: Can I store leftovers?
A: Yes, you can store the cake in an airtight container in the refrigerator for up to five days. Just make sure to wrap it properly to prevent it from drying out.
Conclusion
The Oreo Peanut Butter Chocolate Cake is the ultimate indulgence for those who love layers of flavor and texture. With its rich chocolatey base, creamy peanut butter filling, and crunchy Oreo topping, each bite is a delight. The addition of a chocolate frosting and optional whipped cream garnish completes the cake, making it a perfect dessert for any special occasion or family gathering.


