Introduction
A warm, hearty pot roast is a classic favorite, and making it gluten-free can be just as satisfying. This gluten-free slow cooker pot roast is not only simple to prepare, but it also fills the home with irresistible aromas that beckon everyone to the table.
Using a slow cooker, the beef becomes incredibly tender, while the vegetables soak up all the delicious flavors during the cooking process. Perfect for busy weeknights or a leisurely weekend meal, this recipe will quickly become a family staple.
Gather your ingredients and get ready to create a comforting meal that highlights the savory goodness of beef, vegetables, and herbs—all while keeping it gluten-free.
Ingredients
- 3 to 4 pounds chuck roast
- 1 tablespoon olive oil
- 1 teaspoon salt
- 1/2 teaspoon black pepper
- 1 teaspoon garlic powder
- 1 teaspoon onion powder
- 1 teaspoon dried thyme
- 1/2 teaspoon paprika
- 1/2 cup gluten-free beef broth
- 2 cups carrots, cut into chunks
- 2 cups potatoes, diced
- 1 onion, quartered
- 2 tablespoons Worcestershire sauce (gluten-free)
Directions & Preparation
- Start by preparing the chuck roast. Pat it dry with paper towels, then rub olive oil over the entire surface. Season both sides generously with salt, black pepper, garlic powder, onion powder, thyme, and paprika.
- Heat a skillet over medium-high heat. Once hot, sear the roast on both sides for about 3-4 minutes until a nice brown crust forms. This step adds depth of flavor to the dish.
- Transfer the roast to the slow cooker. In the same skillet, pour in the gluten-free beef broth, scraping the bottom to release any caramelized bits before adding it to the slow cooker.
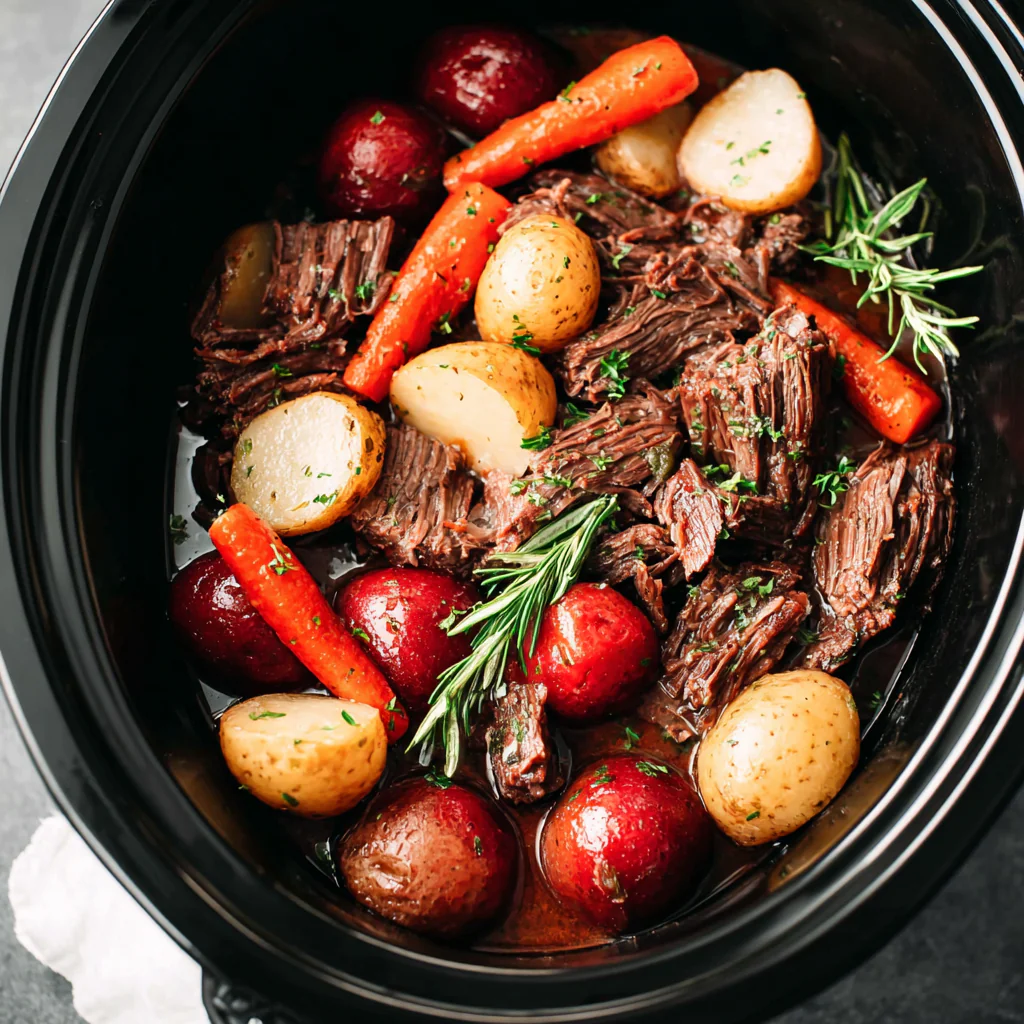
- Arrange the carrots, potatoes, and onion around the roast in the slow cooker. Drizzle the Worcestershire sauce over the top to enhance the flavor.
- Cover the slow cooker and set it to low. Cook for 8-10 hours, or until the roast is fork-tender and the vegetables are soft. A lower temperature ensures tenderness and a rich flavor.
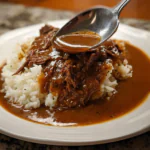
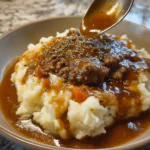
- Once cooked, carefully remove the roast from the slow cooker and let it rest for a few minutes before slicing. Serve with the vegetables and the cooking juices poured over the top.

FAQs
What if the roast turns out too tough?
Ensure that you cook it long enough; it should be fork-tender after 8-10 hours on low.
Can I use different vegetables in this recipe?
Absolutely! Feel free to incorporate parsnips, sweet potatoes, or your favorite root vegetables.
What should I do if my pot roast is too salty?
Add additional vegetables or some water to the cooking liquid to dilute the saltiness.
How can I adjust the seasoning for a milder flavor?
You can reduce the amount of salt and use fresh herbs instead of dried to tone down the flavors.
Is there a way to speed up the cooking process?
If you're short on time, you can cook on high for about 4-5 hours, but it may not be as tender.
What if the vegetables get mushy during cooking?
Cut them into larger pieces to prevent them from becoming overly soft, and add them halfway through the cooking time.
Can I scale this recipe for a smaller portion?
Yes, you can cut the ingredients in half for a smaller roast and adjust the cooking time accordingly.
What can I do if the pot roast is dry after cooking?
Make sure to serve it with the juices from the slow cooker, and consider covering it during cooking to retain moisture.
Conclusion
This gluten-free slow cooker pot roast is not just a meal; it's an experience that brings families together. The rich flavors and tender texture make it a standout dish that everyone will enjoy.
By following this recipe, you're ensuring a delightful and comforting dinner that pleases the palate. So, gather around the table and celebrate the simplicity and satisfaction of a homemade pot roast.
Recipe Card
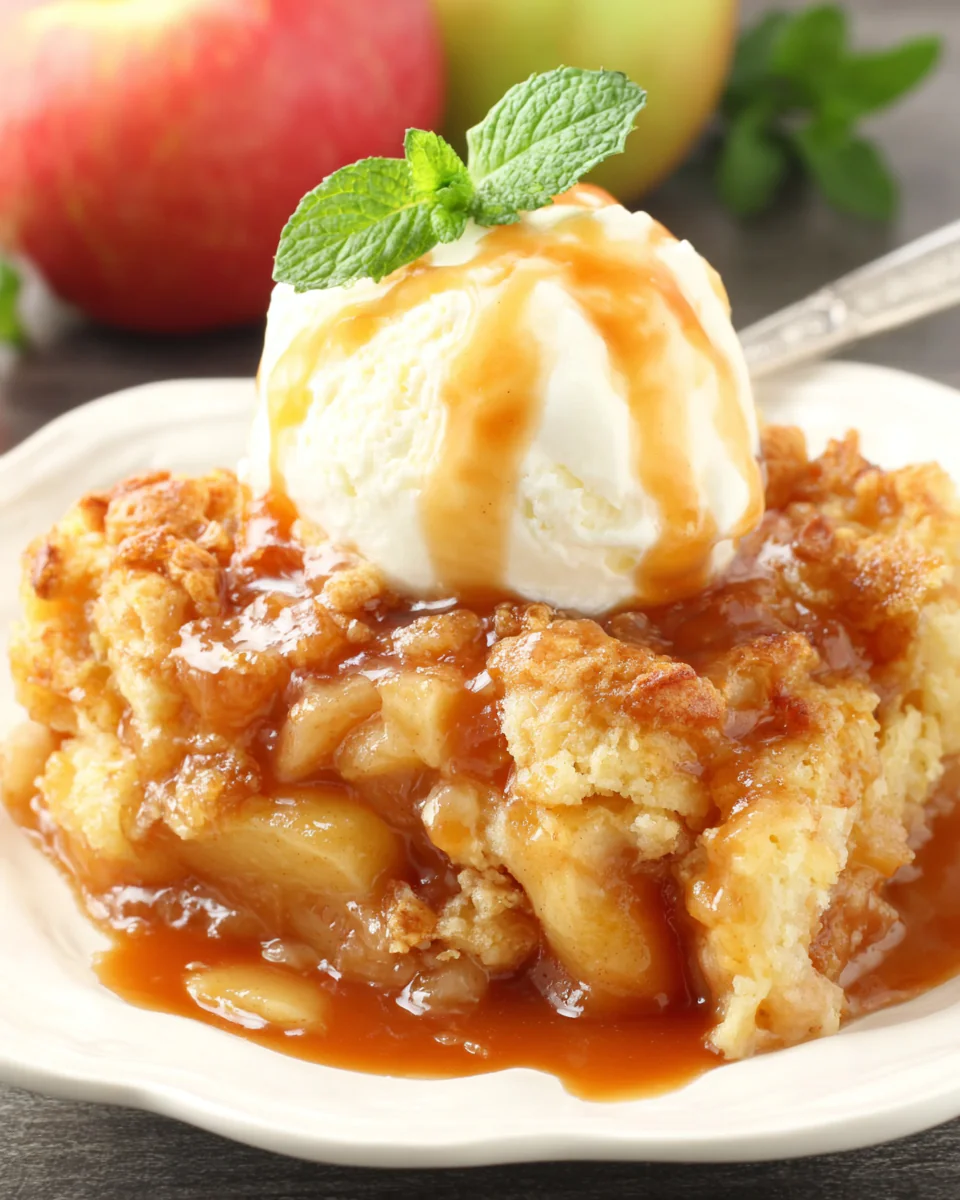
Easy Apple Cobbler for a Quick and Delicious Treat
Ingredients
Method
- Preheat your oven to 350°F (175°C).
- Prepare the apples: Peel, core, and slice the apples, then toss them with sugar, lemon juice, and cinnamon.
- Spread the apple mixture evenly into a greased baking dish.
- In a separate bowl, whisk together flour, baking powder, salt, melted butter, and milk to create the batter.
- Pour the batter over the apples, spreading it out gently.
- Bake for 40-45 minutes, or until the topping is golden brown and a toothpick inserted into the center comes out clean.
- Let cool for at least 10 minutes before serving.
- Serve warm with vanilla ice cream or whipped cream if desired.
Tried this recipe?
Let us know how it was!Notes
Additional serving suggestions: pair with a crisp salad, garlic bread, or roasted seasonal vegetables for balance.
For make-ahead, prep components separately and assemble just before heating to preserve texture.
Taste and adjust with acid (lemon/vinegar) and salt right at the end to wake up flavors.