Introduction
A satisfying weeknight dinner doesn't have to be complicated, and this sheet pan pierogies and kielbasa recipe is a testament to that. It offers a hearty meal that combines the rich flavors of kielbasa with the comforting appeal of pierogies. Perfect for those cozy evenings at home, this dish allows you to achieve a delicious, well-rounded meal with minimal cleanup.
Drawing from Eastern European roots, pierogies are delightful dumplings filled with varied ingredients, while kielbasa brings a savory depth to the dish. Roasting them together on a sheet pan not only simplifies the cooking process but also allows the flavors to meld beautifully. Let's dive into a recipe that will be a hit at your dinner table!
Ingredients
- 1 lb frozen pierogies
These pre-made dumplings provide a quick and easy base for the dish. You can choose a variety of fillings such as potato, cheese, or sauerkraut to cater to your preferences. - 1 lb kielbasa, sliced
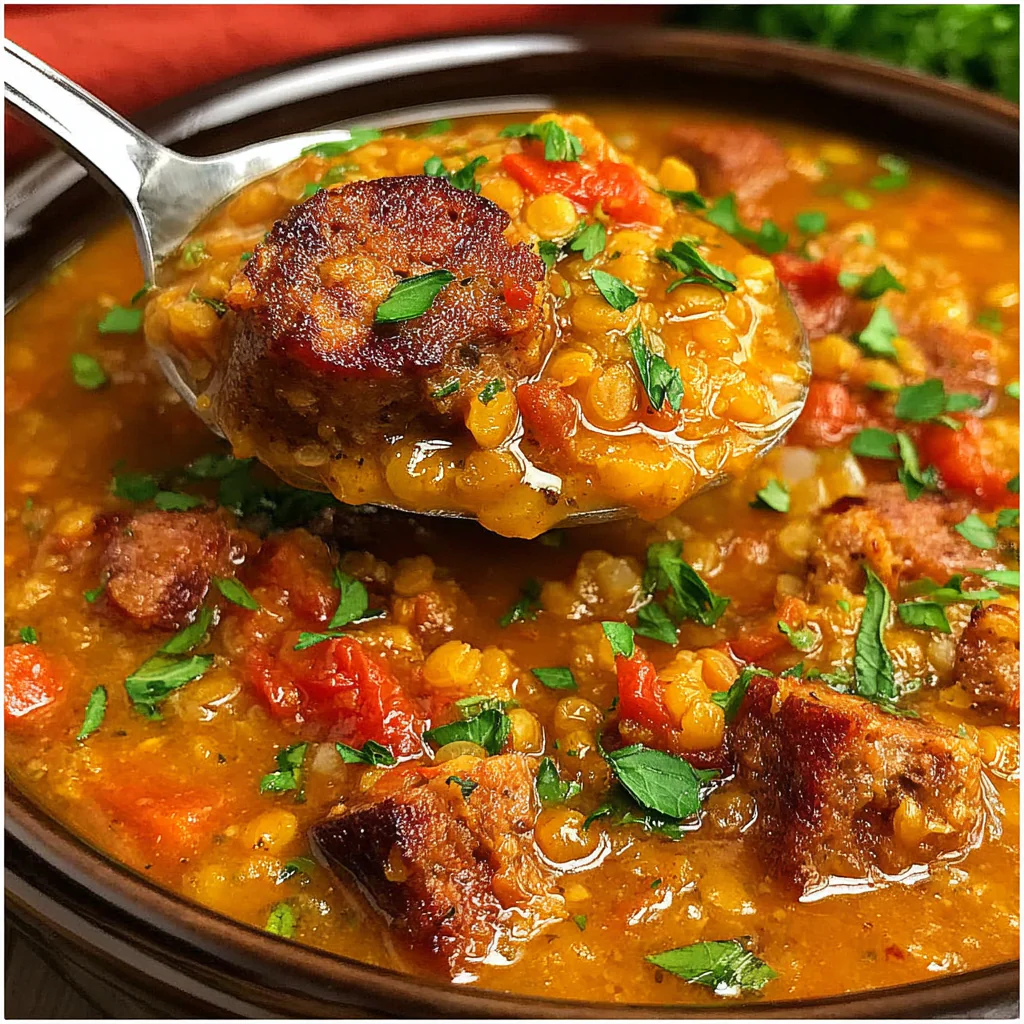
Kielbasa adds a savory, smoky flavor that pairs wonderfully with the pierogies. Its rich taste enhances the overall unapologetically hearty nature of the meal, making it satisfying. - 2 cups bell peppers, sliced
Bell peppers add a fresh, sweet crunch to the dish. They contribute vibrant colors and a slight caramelization when roasted, complementing both the pierogies and kielbasa. - 1 medium onion, sliced
Onions provide a sweet and aromatic foundation to the dish. When roasted, they caramelize beautifully, adding depth and enhancing the flavors of the other ingredients. - 3 tablespoons olive oil
Olive oil helps to achieve a golden crispness on the pierogies and kielbasa during roasting. It also aids in the absorption of flavors from the seasonings. - 1 teaspoon garlic powder
Garlic powder infuses the dish with a fragrant, savory aroma. It's a convenient way to add depth without the need for chopping fresh garlic. - 1 teaspoon smoked paprika
This spice adds a subtle smokiness that enhances the flavor of the kielbasa and pierogies, creating a complex and inviting taste profile. - Salt and pepper, to taste
Basic seasonings that enhance the overall flavors of the dish. They help to balance and round out the taste of the ingredients, ensuring nothing feels bland.
Directions & Preparation
Step 1: Preheat your oven to 400°F (200°C).
Preheating the oven is crucial for achieving that perfect golden brown crust on the pierogies and kielbasa. A hot oven ensures immediate cooking, locking in moisture and flavor. It also means less time waiting for your meal.
Step 2: In a large bowl, combine the sliced kielbasa, bell peppers, and onion.
Combining these ingredients allows for an even distribution of flavors. The bell peppers and onions will soften and sweeten during roasting, while the kielbasa will release its savory juices, creating a delicious medley.
Step 3: Drizzle olive oil and sprinkle garlic powder, smoked paprika, salt, and pepper over the mixture.
The oil and spices play an integral role in flavoring and coating the ingredients. Olive oil encourages even cooking, while the spices enhance the taste, resulting in a well-seasoned, enjoyable dish.
Step 4: Toss until everything is well coated, then spread the mixture evenly on a sheet pan.
Even distribution on the sheet pan is key for uniform cooking and browning. If ingredients are piled too thickly, they may steam instead of roast, preventing that desired crispy texture.
Step 5: Place the frozen pierogies atop the kielbasa and veggies on the sheet pan.
Layering the pierogies on top allows them to become crispy while absorbing some of the flavorful drippings from the kielbasa and veggies. This method ensures they don’t become soggy.
Step 6: Bake for 25–30 minutes, stirring halfway through.
Stirring allows all ingredients to roast evenly and prevents sticking. The target is to achieve a deep golden color and a crispy exterior while ensuring the pierogies are heated through.
Step 7: Remove from the oven and let cool slightly before serving.
Allowing the dish to cool for a couple of minutes helps prevent burns and makes handling easier. This also allows flavors to settle, giving you a better-tasting experience.

Elevating the Flavor with Spices
The choice of spices is pivotal in creating depth in this dish. Garlic powder and smoked paprika not only provide robust flavor but also a satisfying smell that wafts through your kitchen as it bakes. Experimenting with different spices can even lead to new flavor profiles, turning this dish into a culinary adventure.
The Perfect Pairing: Sauces and Condiments
This dish offers a fantastic canvas for various sauces and toppings. Sour cream or Greek yogurt can enhance the creamy texture and add a delightful tang. Additionally, a drizzle of hot sauce for heat or a sprinkle of fresh herbs can elevate the dish, making it feel special every time.
Customization: Your Kitchen, Your Rules
One of the best attributes of sheet pan meals is their adaptability. Feel free to include your favorite vegetables like zucchini or broccoli. You might even opt for different proteins such as chicken sausage or a vegetarian kielbasa. The options for personalization are virtually limitless!
FAQs
What if the pierogies come out too soggy?
If the pierogies are soggy, ensure they were not overcrowded on the sheet pan. Spreading them out allows for proper roasting, helping them achieve that desirable crispness.
Can I use fresh pierogies instead of frozen?
Yes, fresh pierogies can be used. However, reduce the baking time slightly, as fresh pierogies may require less cooking time to achieve a golden exterior.
What happens if I overcook the dish?
Overcooking can lead to dry kielbasa and overly chewy pierogies. Keep an eye on the dish, especially towards the end, to prevent this.
How can I enhance the overall taste?
Consider marinating the kielbasa beforehand or adding fresh herbs like parsley or dill after baking for a flavor boost.
Is there a good alternative to kielbasa?
Turkey or chicken sausage can be good substitutes if you're looking for a lighter option, while still providing robust flavors.
What if I don’t like bell peppers?
You can substitute with other vegetables like green beans or carrots, offering a different texture and taste while still making the dish colorful.
Conclusion
Sheet pan pierogies and kielbasa offer a truly satisfying meal that brings warmth and comfort to your dinner table. With minimal effort and cleanup, this recipe allows you to enjoy a rich, flavorful dish without compromising on quality.
Whether you're entertaining guests or enjoying a cozy night in, this recipe checks all the boxes for a hearty, delicious meal. So, embrace the love of cooking and bring the flavors of Eastern Europe to your home tonight!
Recipe Card

Savory Sheet Pan Pierogies with Kielbasa Delight
Ingredients
Method
- Preheat your oven to 400°F (200°C).
- In a large bowl, combine the sliced kielbasa, bell peppers, and onion.
- Drizzle olive oil and sprinkle garlic powder, smoked paprika, salt, and pepper over the mixture.
- Toss until everything is well coated, then spread the mixture evenly on a sheet pan.
- Place the frozen pierogies atop the kielbasa and veggies on the sheet pan.
- Bake for 25–30 minutes, stirring halfway through.
- Remove from the oven and let cool slightly before serving.
Tried this recipe?
Let us know how it was!Notes
Additional serving suggestions: pair with a crisp salad, garlic bread, or roasted seasonal vegetables for balance.
For make-ahead, prep components separately and assemble just before heating to preserve texture.
Taste and adjust with acid (lemon/vinegar) and salt right at the end to wake up flavors.