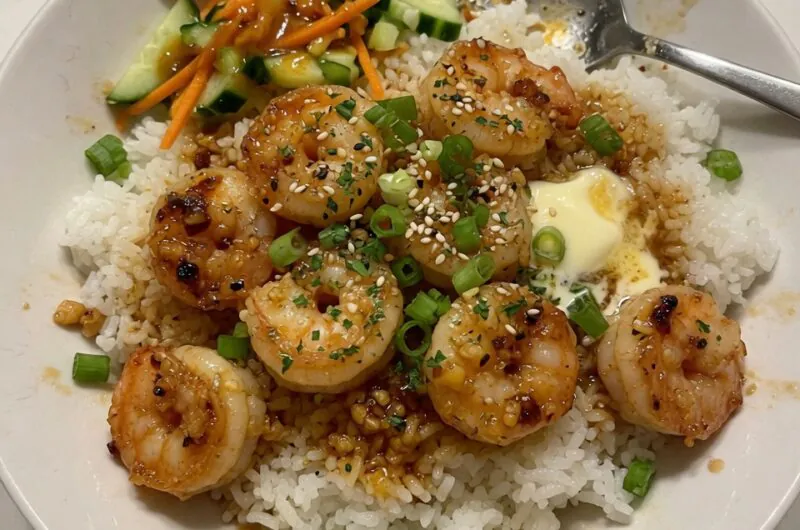
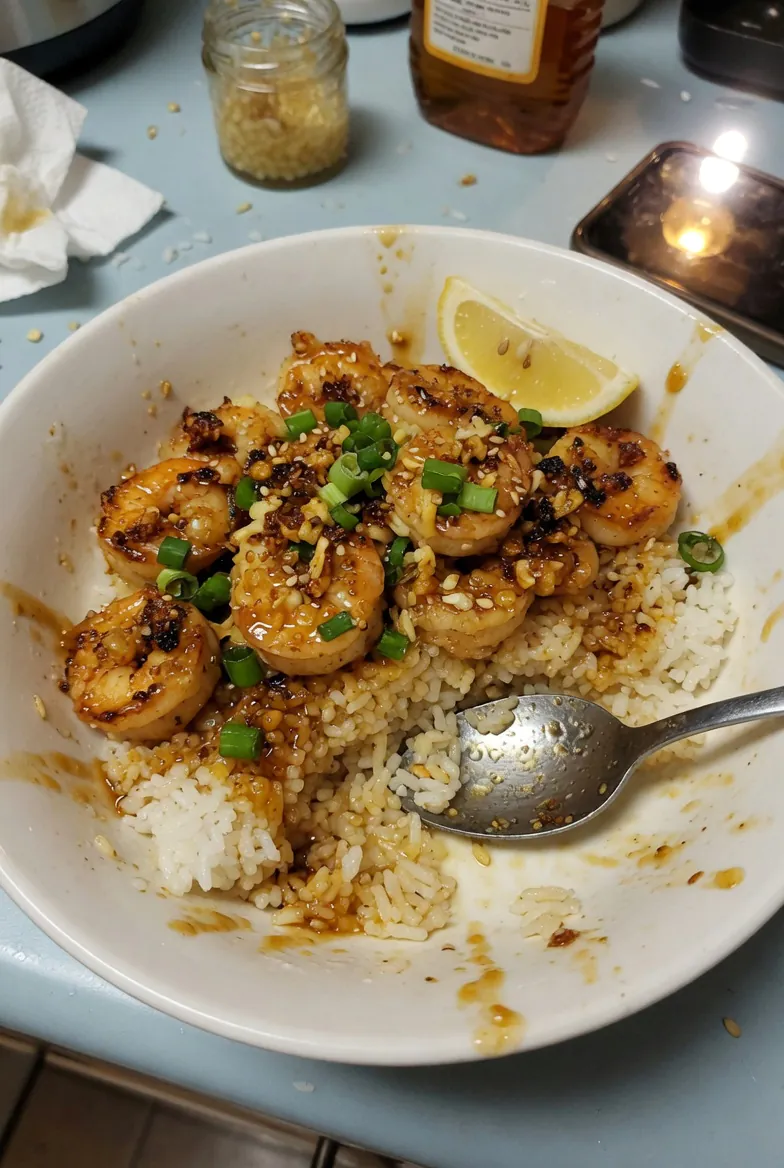
Succulent shrimp seared until pink, then tossed in a glossy, sweet-savory honey butter sauce. Serve it over steamed rice for the ultimate weeknight comfort food.
📋 In This Article
Introduction
Some nights, you need dinner on the table before you can even think about turning on the TV. That’s the reality of weeknight cooking. But quick food doesn’t have to be boring food. This Honey Butter Garlic Shrimp Rice Bowl is my go-to when I’m craving something that hits every note—sweet, savory, buttery, and just a little sticky—in under 20 minutes.
The magic here isn’t just in the speed; it’s in the glaze. We’re building a sauce that clings to the shrimp, soaking into the rice below so every bite is consistent. It’s a simple combination of honey for viscosity and sweetness, soy sauce for that deep umami punch, and butter to emulsify it all into something velvety. The first time I made this, I threw the shrimp in wet from a quick rinse; they steamed instead of searing. It was… fine. But once I learned to pat them dry, the texture transformed entirely. Let’s do it the right way. Savory Sticky Garlic Chicken Noodles Recipe.
Why This Recipe Works
This isn’t just “mixing things in a pan.” There is actual science making this dish better than the sum of its parts.
First, the sear. By patting the shrimp dry and getting the pan ripping hot, we trigger the Maillard reaction—that chemical process that browns proteins and creates hundreds of new flavor compounds. If the shrimp are wet, they steam, and you lose that depth.
Second, the sauce structure. Honey is hygroscopic, meaning it holds onto moisture, which helps keep the shrimp succulent even under high heat. When we swirl in the butter off the heat, we’re creating a loose emulsion. The milk solids in the butter brown slightly, adding a nutty note that supports the sharp garlic and sweet honey without breaking into an oily mess.
Ingredients
- Shrimp: 9-10 oz of large raw shrimp, peeled and deveined (thawed if frozen).
- Butter: 2 tbsp unsalted butter, divided. One for the sauce, one for the pan.
- Garlic: 4 cloves, minced. Don’t be shy here; garlic is the backbone.
- Honey: 1/4 cup. This provides the sticky glaze texture.
- Soy Sauce: 1/4 cup low-sodium soy sauce. Essential for balancing the sugar.
- Ginger: 1/2 tsp freshly grated ginger.
- Sesame Oil: 2 tsp for cooking, or neutral oil like avocado.
- Red Pepper Flakes: 1/2 tsp, or more if you like heat.
- Rice: 1 cup uncooked Jasmine rice (yields about 3 cups cooked).
- Corn Starch: 1 tsp mixed with 1 tsp water (optional slurry for a thicker glaze).
- Green Onions: 2-4 tbsp sliced thin for garnish.
- Lime Juice: A splash to cut the richness at the end.
Step-by-Step Instructions
Step-by-Step Instructions for Honey Butter Garlic Shrimp Rice Bowl
- Start the Rice: Rinse 1 cup of rice until the water runs clear. This removes surface starch so the grains stay fluffy, not gummy. Cook according to package instructions. Usually, this takes about 15-18 minutes.
- Prep the Shrimp (Crucial Step): Thaw the shrimp if frozen. Pat them bone-dry with paper towels. Season lightly with salt and pepper. If they are wet, they won’t brown. They’ll boil in their own steam. Dry shrimp = golden crust.
- Mix the Sauce Base: In a small bowl, whisk together the honey, soy sauce, minced garlic, ginger, and 1 tablespoon of the butter (melted). If you want a thicker sauce that really clings, whisk in the cornstarch slurry now. Set aside.
- Sear the Shrimp: Heat a large skillet over medium-high heat. Add the sesame oil and the remaining 1 tablespoon of butter. Once the butter foams and subsides, add the shrimp in a single layer. Don’t crowd the pan. Sear for 1-2 minutes per side until pink and golden. Remove the shrimp from the pan and set aside.
- Build the Glaze: Lower the heat to medium. Pour the sauce mixture into the hot pan. It will bubble violently—that’s good. Let it simmer for 1 minute to cook the raw garlic flavor out. If you didn’t use cornstarch, just let it reduce until it coats a spoon.
- Combine and Finish: Toss the shrimp back into the pan. Stir gently to coat them in the glossy sauce. Sprinkle with red pepper flakes and half the green onions. Remove from heat immediately so the shrimp don’t overcook.
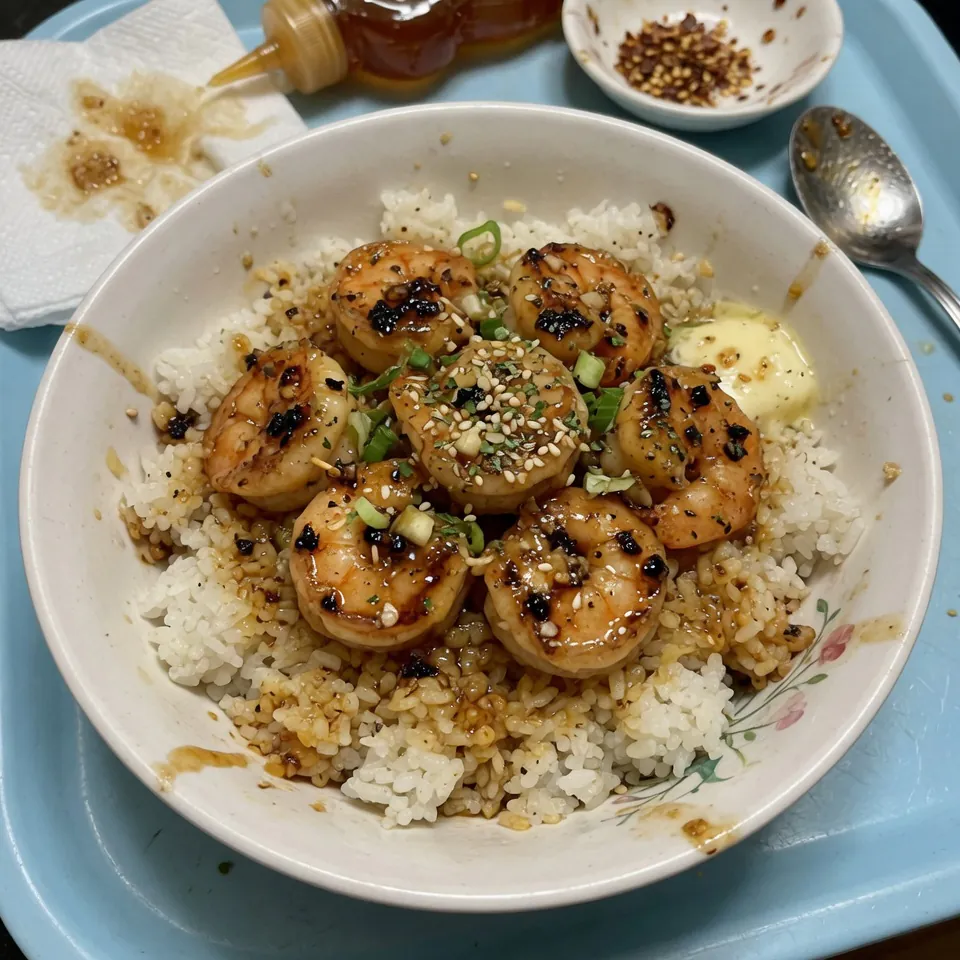
- Assemble: Spoon the rice into bowls. Top with the shrimp and pour that extra sauce from the pan right over the rice—that’s the best part. Garnish with remaining green onions and a squeeze of lime juice.
⚠️ Common Mistakes to Avoid
Even simple recipes can go sideways if you ignore the details. Here is where people usually trip up.
Overcooking the Shrimp: This is the number one crime. Shrimp go from succulent to rubber in seconds. As soon as they turn opaque and form a “C” shape, they are done. An “O” shape means they are overcooked and tough.
Burnt Garlic: Garlic has a low burn point. If you add it to the pan with the shrimp at high heat, it will likely turn bitter. That’s why we mix it into the sauce or add it to the pan drippings after the shrimp are removed, cooking it just long enough to bloom.
Watery Sauce: If your sauce looks thin, it’s likely because the shrimp released water. This happens if they weren’t dried properly. A quick fix? Let it simmer a minute longer to evaporate that moisture, or rely on that cornstarch slurry to tighten it up.
Variations and Customizations
This bowl is a template, not a law. Sheet Pan Sausage and Sweet Potatoes with Honey Garlic Sauce.
Protein Swaps: Thinly sliced chicken breast works beautifully but needs 4-5 minutes per side. For a vegetarian twist, firm tofu pressed dry and cubed gets incredibly crispy in that butter and oil mix.
Vegetable Boost: Throw in quick-cooking veggies like snap peas or spinach right when you return the shrimp to the pan. Broccoli needs to be steamed beforehand or it won’t cook through in time.
Grain Alternatives: Quinoa adds a nutty crunch. Cauliflower rice is a great low-carb vehicle, but remember it doesn’t absorb sauce the same way starch-rich white rice does.
Storage and Reheating
Storage: Keep leftovers in an airtight container in the fridge for up to 3 days. For the best texture, store the rice and shrimp separately if you can. The sauce permeates the rice over time, making it even tastier the next day, but the shrimp can get rubbery if reheated carelessly.
Reheating: Do not blast it in the microwave for two minutes. Instead, cover with a damp paper towel and heat in 30-second intervals. Or, toss it back in a skillet with a splash of water to create steam. This gently warms the shrimp without toughening the proteins. Honey Lemon Glazed Shrimp – Quick, Flavorful & Healthy Dinner Recipe.
💡 Pro Tips for Success
- Dry Brine the Shrimp: Salt the shrimp and let them sit in the fridge for 15 minutes before cooking. This draws out a little moisture and seasons them all the way through.
- Use European Butter: It has a higher fat content and less water than standard butter. This means a richer sauce and less chance of the emulsion breaking.
- Balance the Acid: The honey is sweet. The soy is salty. You need acid to bridge them. A squeeze of lime or a splash of rice vinegar at the end wakes up the whole dish.
- Don’t Walk Away: This cooks in minutes. Stay by the pan. The difference between caramelized and burnt is about 30 seconds.
Frequently Asked Questions (FAQ)
+Why is my shrimp rubbery?
Shrimp cooks incredibly fast. If they feel tough, they are likely overcooked. Protein fibers contract tightly when exposed to heat for too long, squeezing out moisture. Next time, pull them off the heat the second they turn opaque.
+Can I use frozen shrimp for this recipe?
Absolutely. Just make sure to thaw them completely first. The best method is overnight in the fridge, or run them under cold water in a sealed bag for 15 minutes. Pat them very dry before cooking to ensure a good sear.
+How can I make this dish gluten-free?
Swap the soy sauce for tamari or coconut aminos. Both provide the necessary umami without the gluten. Double-check that your other condiments, like store-bought broth, are also certified gluten-free.
+What if I don’t have fresh ginger?
You can use 1/4 teaspoon of ground ginger, though the flavor is more muted. Jarred ginger paste is a great pantry shortcut that works perfectly here.
+Can I make the sauce ahead of time?
Yes. Whisk the honey, soy sauce, garlic, and ginger together and store it in the fridge for up to a week. This actually helps the flavors meld, saving you time on busy nights.
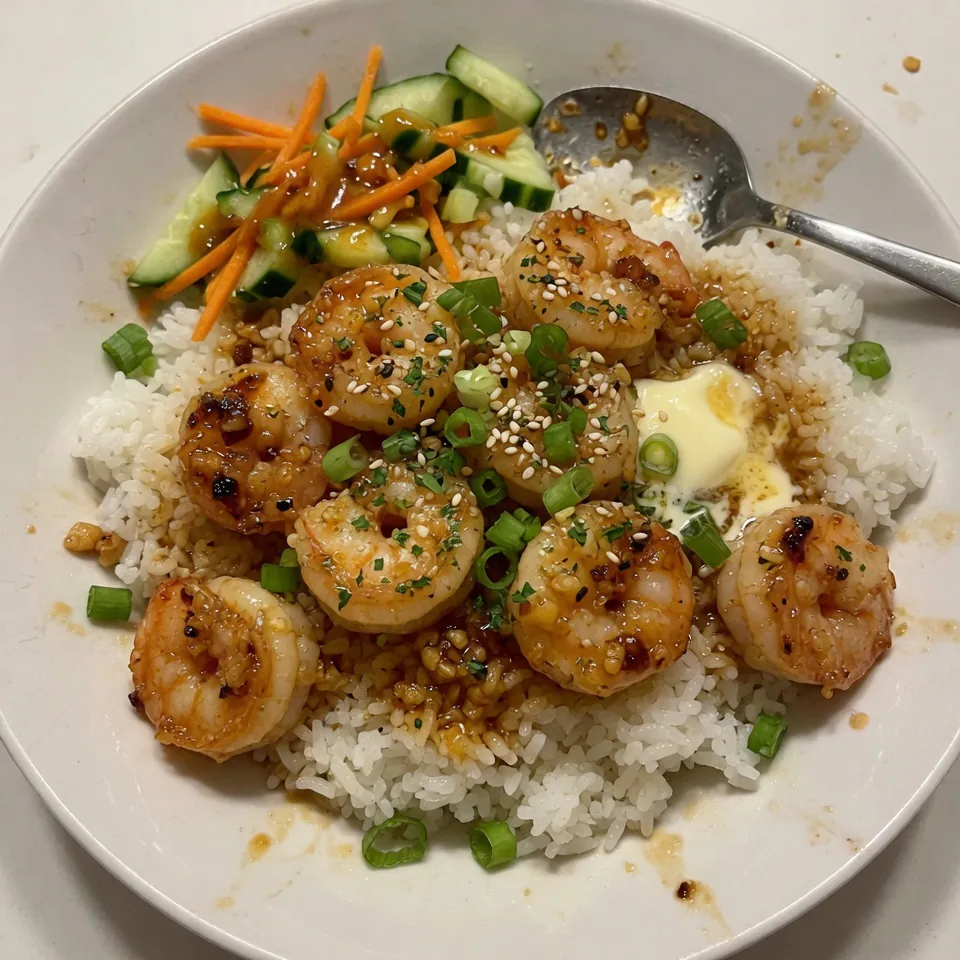
Honey Garlic Shrimp Bowls
Ingredients
Method
- For rice, cook via package instructions. This typically takes about 20 minutes so start rice first. You can also use noodles, quinoa, or caulflower rice as your base.
- Clean and peel shrimp, defrosting if needed. Lately we’ve been buying frozen, deveined, easy-peel shrimp. All I have to do is defrost, peel, and cook! You can also buy your shrimp already peeled if you’d like! Season shrimp with salt and pepper and set aside.
- Whisk together sauce ingredients in a small bowl and set aside.
- Heat a large pan or skillet to medium-high with oil of choice.
- Cook shrimp on each side for about 1-2 minutes until shrimp start to curl but are still a bit under-done. After flipping shrimp to second side, add red pepper flakes (to taste, based on spice preference) and half the green onion.
- Add your sauce and cook for an additional minute or until the shrimp are cooked through. This will vary a bit based on the size you choose, so look for curled, opaque shrimp and you’re good to go!
- For an extra thick sauce, remove and plate your shrimp, allowing the sauce some extra simmer time. Keep an eye on it as it reduces, stirring if needed. Remove from heat once thickened and pour over shrimp. For speedier thickening, you can also whisk 1/2-1 tsp corn startch in 1/2-1 tsp cold water and add it to the sauce to thicken.
- Serve atop cooked rice (or noodles, quinoa cauliflower rice, etc...) with veggies of choice. Garnish with remaining chopped green onion. For extra fiery shrimp you can even add additional crushed red pepper flakes or a drizzle of Sriracha chili sauce. Enjoy!
Nutrition
Notes
- To ensure perfectly cooked shrimp, look for them to curl into a C shape and turn opaque; this usually takes about 2-3 minutes per side on medium-high heat.
- If you want to avoid a dry dish, be careful not to overcook the shrimp; they should be removed from the heat as soon as they are no longer translucent.
- For a gluten-free option, swap regular soy sauce with gluten-free tamari or coconut aminos, which will still give you that savory depth without the gluten.
- If you're short on time, consider using pre-cooked shrimp from the freezer; just add them to the sauce for a quick heat-through instead of cooking from scratch.
- Store any leftovers in an airtight container in the fridge for up to 2 days; reheat gently on the stovetop to maintain the shrimp's tenderness and avoid rubbery texture.