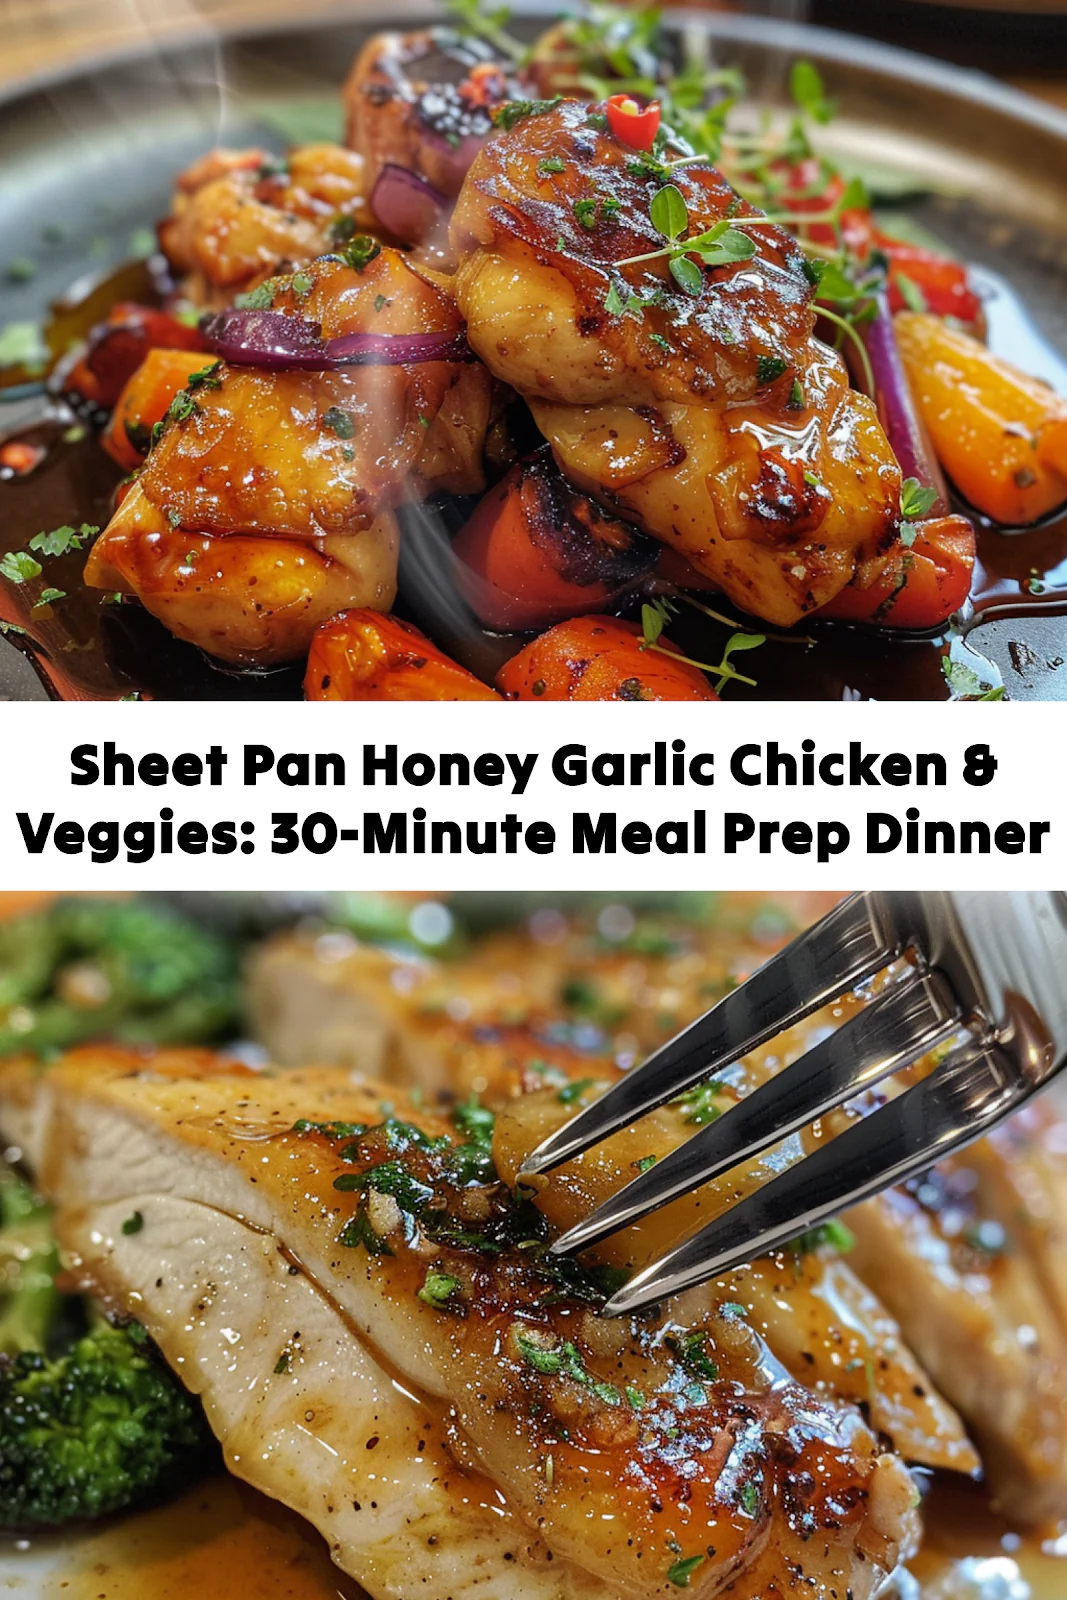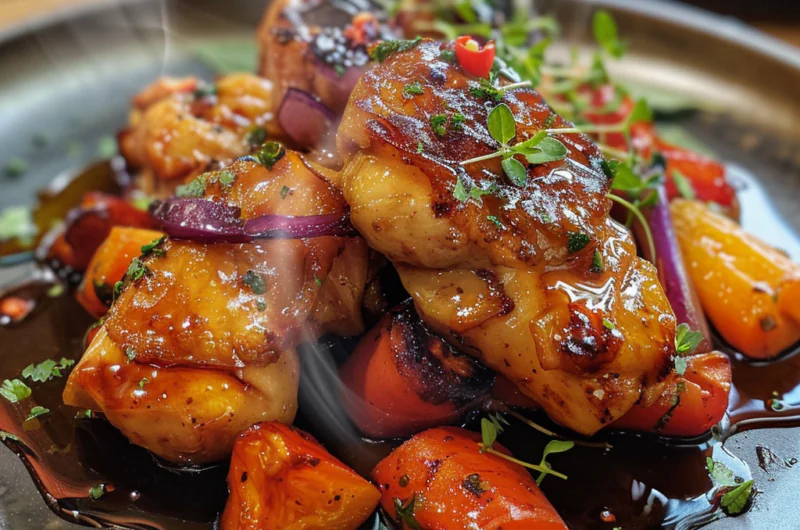
Tender chicken and crisp-tender veggies glazed in a sticky-sweet garlic sauce—all on one pan for minimal cleanup.
📋 In This Article
Introduction
Let’s be honest: weeknight cooking is a battlefield. You want something nutritious, but the drive-thru is calling your name. This Sheet Pan Honey Garlic Chicken & Veggies is your secret weapon. It’s a 30-minute meal prep dinner that actually tastes good, relying on high heat and a sticky glaze to do the heavy lifting.
The beauty of this dish lies in its simplicity. You aren’t just roasting ingredients; you’re building layers of flavor. The honey caramelizes, the soy sauce provides a punch of umami, and the garlic infuses everything with its aromatic warmth. It’s a healthy, easy dinner that solves the “what’s for dinner?” panic without requiring a mountain of dishes.
Why This Recipe Works
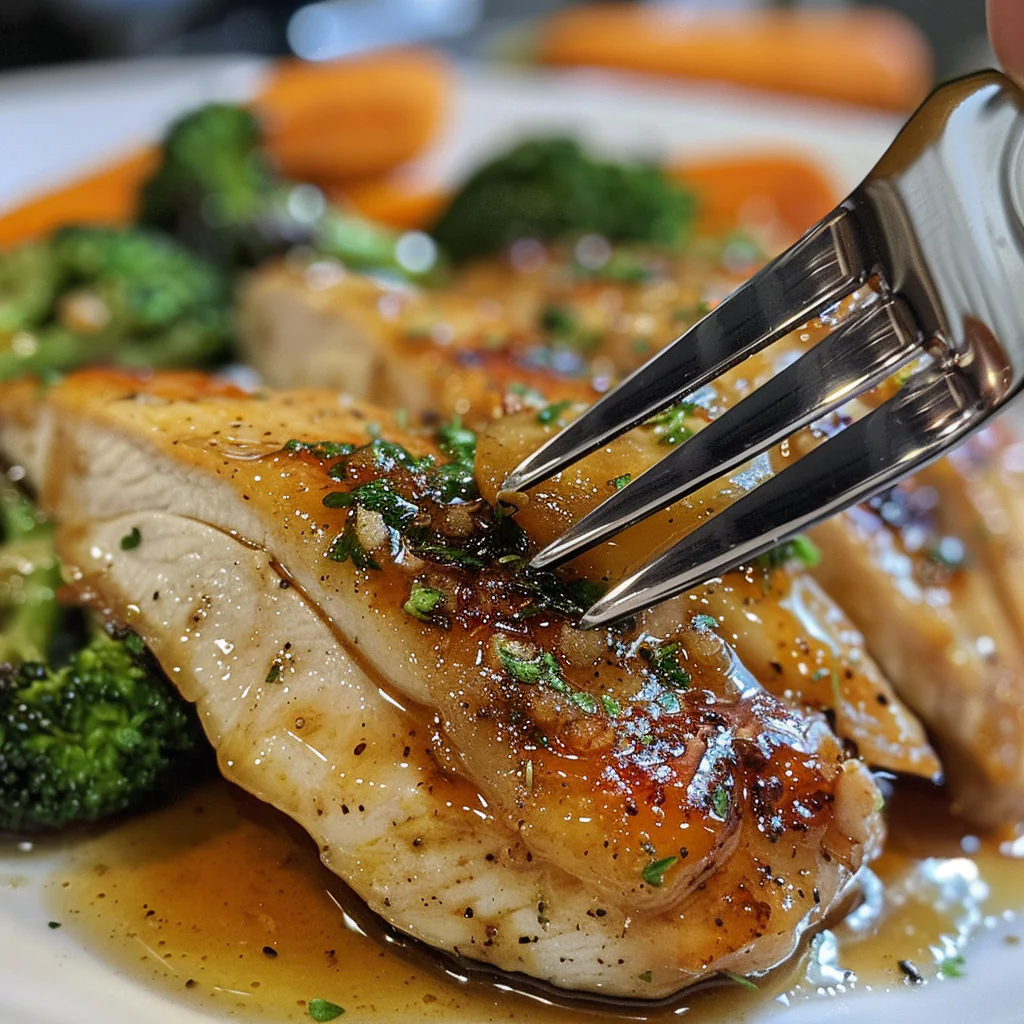
This isn’t just a random assembly of ingredients; there’s a method to the madness. The real magic happens at 400°F (200°C). At this temperature, the Maillard reaction kicks into high gear. This is the chemical process where amino acids and sugars react under heat to create hundreds of new flavor compounds—that golden-brown crust on the chicken isn’t just pretty; it’s where the deep, savory flavor lives.
By roasting the vegetables alongside the protein, you allow them to trade flavors. The carrots sweeten, the broccoli develops crispy edges, and the chicken stays juicy because the dry heat surrounds it evenly. Plus, the cornstarch in the sauce ensures it clings to the food rather than pooling at the bottom of the pan, guaranteeing maximum flavor in every bite.
Key Ingredients for Flavor & Success
To create a truly delectable Sheet Pan Honey Garlic Chicken & Veggies, the following key ingredients are essential for both flavor and success:
- Boneless, Skinless Chicken Breast: The lean protein canvas. Cut into uniform bite-sized pieces to ensure they cook through at the same rate as the vegetables.
- Fresh Garlic: Don’t even think about the jarred stuff. Fresh cloves provide a pungent heat that mellows into sweetness during roasting.
- Honey: This natural sweetener does double duty. It provides sweetness and promotes rapid browning on the chicken.
- Soy Sauce: The backbone of the umami profile. It balances the honey’s sweetness with a salty, savory depth.
- Cornstarch: A crucial thickener. When heated, the starch granules swell and burst, absorbing moisture and turning a thin liquid into a glossy, velvety glaze.
- Broccoli: Adds a crunchy texture and acts like a sponge for the sauce, catching all that flavor in its florets.
- Bell Peppers: Their high water content means they steam slightly from the inside while roasting, adding a fresh, sweet contrast.
- Carrots: Dense and hearty, they hold their texture well under high heat, providing a satisfying bite.
- Onion: As it roasts, the onion’s natural sugars break down, adding a subtle savory sweetness to the mix.
- Parchment Paper: Not just for cleanup. It prevents the honey glaze from fusing to the metal pan, saving you from a scrubbing nightmare.
Step-by-Step Instructions
- Preheat your oven to 400°F (200°C). This high heat is non-negotiable for getting that caramelized exterior without overcooking the chicken.
- Chop your vegetables: Aim for uniformity. Slice the onion, carrots, and bell peppers into 1-inch pieces and cut the broccoli into medium florets. If the carrot pieces are too thick, they won’t cook in time; too thin, and they’ll burn. Consistency is key.
- In a mixing bowl, combine the sauce ingredients: whisk together soy sauce, honey, minced garlic, and cornstarch until smooth. The cornstarch needs to be fully dissolved to prevent gummy clumps later.
- Toss the chicken and veggies in the sauce until everything is thoroughly coated. Use your hands or tongs to ensure every surface is covered. This is where the flavor comes from.
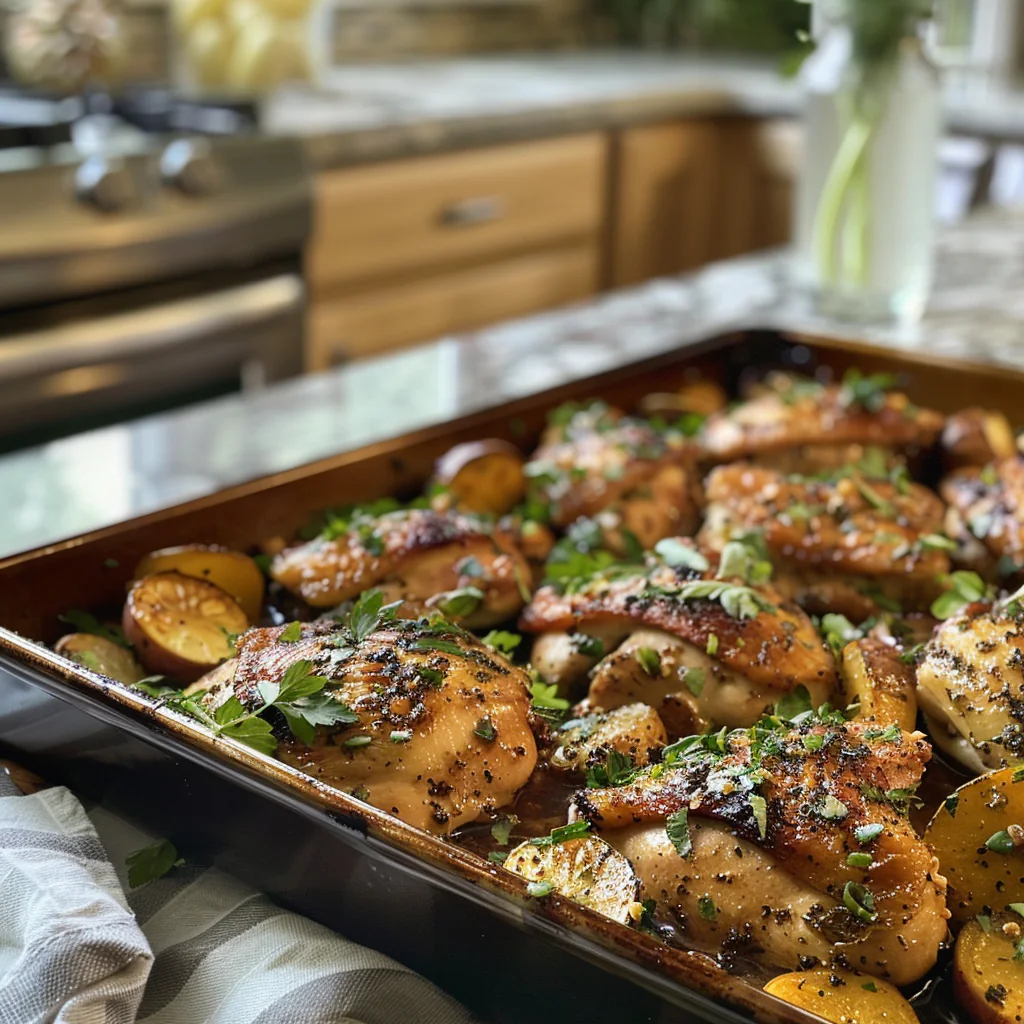
- Spread the chicken and veggies evenly on a lined sheet pan. Avoid overcrowding the pan. If the ingredients are too close, they will steam in their own moisture, resulting in soggy vegetables and grey chicken. Give them space to breathe.
- Roast in the preheated oven for 25 minutes. Halfway through cooking, flip the chicken and veggies. This ensures even browning on all sides and prevents the bottoms from burning.
- For extra flavor, baste the chicken and veggies with the sauce from the pan during the last 5 minutes of cooking. This re-coats the food with the reduced, sticky glaze that has concentrated on the pan.
- Once done, remove from the oven and let it rest for a few minutes before serving. This allows the juices to redistribute. Enjoy your quick and delicious Sheet Pan Honey Garlic Chicken & Veggies over rice or potatoes!
⚠️ Common Mistakes to Avoid
When preparing Sheet Pan Honey Garlic Chicken & Veggies, it’s essential to avoid several common mistakes that can compromise your dish’s quality. One of the most common errors is overcrowding the baking sheet. This leads to steaming rather than roasting, resulting in soggy vegetables and undercooked chicken. Ensure there’s ample space between pieces of chicken and vegetables to allow for even cooking and caramelization.
Another pitfall is under-seasoning. The right balance of honey, garlic, and soy sauce is crucial for flavor. Don’t hesitate to taste and adjust the seasoning before baking. Additionally, watch out for burned garlic; adding garlic too early can cause it to turn bitter. Instead, mix it in during the last few minutes of roasting to preserve its flavor. Lastly, always line your baking sheet with parchment paper. This not only prevents sticking but also simplifies cleanup, allowing you to enjoy your delicious meal without the hassle of scrubbing pans afterward.
Serving Suggestions & Pairings
For a delightful and well-rounded meal, serve Sheet Pan Honey Garlic Chicken & Veggies over fluffy rice, or elevate your dish with quinoa or cauliflower rice for a nutritious twist. If you’re in the mood for something different, consider pairing it with noodles tossed in a light soy or sesame sauce. A fresh salad on the side can enhance the meal, providing a crisp contrast to the tender chicken and roasted vegetables. To add a dash of flair and flavor, garnish your dish with fresh herbs like cilantro or parsley, and sprinkle sesame seeds over the top for a delightful crunch. These pairings not only complement the honey garlic sauce but also make your meal visually appealing, ensuring it’s as enjoyable to eat as it is to prepare.
Customization & Variations
Sheet Pan Honey Garlic Chicken & Veggies is incredibly versatile, making it easy to adapt to your dietary preferences and ingredient availability. For a heartier option, consider substituting chicken thighs for the traditional chicken breasts; their rich flavor pairs wonderfully with the honey garlic sauce. If you’re looking for a plant-based alternative, tofu or shrimp are excellent choices that can be easily integrated into the dish.
When it comes to vegetables, feel free to get creative! Substitute zucchini, asparagus, or even sweet potatoes for the standard mix of broccoli and bell peppers to enhance both flavor and texture. Additionally, for those who prefer a kick, a spicy variation can be achieved by adding red pepper flakes or chili sauce to the honey garlic mixture.
Dietary adaptations are simple: use gluten-free soy sauce or maple syrup as a honey substitute for a sweet touch without gluten. No matter your choices, this recipe can be tailored to suit any taste or dietary need, ensuring a quick and delicious meal every time.
Meal Prep & Storage Tips
This recipe is a meal prep champion. To ensure maximum freshness, store your chicken and veggies in meal prep containers in the refrigerator, where they will keep well for 3-4 days. If you’re looking to extend the life of your meal, freezing is an option; however, be aware that while the chicken will maintain its flavor, the texture of the veggies may change upon thawing.
For reheating, the oven is your best bet for retaining crispness—preheat to 375°F and warm for about 15-20 minutes. Alternatively, for a quick fix, use the microwave, but note that this method might result in softer veggies. Always prioritize food safety; ensure your meal is cooled properly before refrigerating or freezing to prevent any spoilage.
💡 Pro Tips for Success
To truly master this dish, consider these essential tips for an effortless, delicious meal. Start by patting the chicken dry with paper towels; this crucial step ensures a beautifully browned exterior. Moisture is the enemy of browning. When preparing your vegetables, aim for even chopping to guarantee uniform cooking. Avoid the common mistake of overcrowding the sheet pan; this can lead to steaming instead of roasting, compromising that desirable crispy texture.
For an extra layer of flavor, allow the chicken to marinate for at least 30 minutes, or even overnight, using fresh, high-quality ingredients like organic chicken and seasonal veggies. Finally, don’t skip a brief broil finish at the end of cooking for a delightful crunch that elevates the dish. These tips will not only streamline your meal prep but also enhance the authentic taste of this quick and easy dinner!
Frequently Asked Questions (FAQ)
+Why is my sheet pan chicken dry and tough?
Dry chicken usually means it was cooked too long or the pieces were cut too small. Use a meat thermometer to pull the chicken when it hits 165°F internally. Carryover cooking will finish the job without turning the meat into shoe leather.
+Can I use frozen vegetables for this recipe?
You can, but with a caveat. Frozen vegetables release more water as they thaw, which leads to steaming rather than roasting. If you use frozen veggies, roast them for 5-10 minutes before adding the chicken to give them a head start on browning.
+How do I know when the chicken is fully cooked?
The most accurate method is an instant-read thermometer inserted into the thickest part of the meat. It should read 165°F (74°C). Visually, the chicken should be opaque all the way through with no pink center, and the juices should run clear.
+Can I skip the cornstarch in the sauce?
You can skip it, but your sauce will be very runny. Cornstarch acts as a thickener, turning the pan juices into a glossy glaze that sticks to the chicken and veggies. Without it, the flavor will still be there, but the texture will be watery.
+What sides go best with this dish?
Steamed white rice or brown rice is the classic pairing to soak up the extra sauce. For a low-carb option, cauliflower rice or zucchini noodles work perfectly. A simple cucumber salad with rice vinegar also adds a nice acidic contrast to the sweet glaze.
+How long does sheet pan chicken last in the fridge?
Properly stored in an airtight container, cooked chicken and vegetables will last for 3 to 4 days in the refrigerator. Ensure the food has cooled to room temperature before sealing and chilling.
+Can I prep this meal ahead of time?
Absolutely. You can chop the veggies and chicken, and mix the sauce up to 24 hours in advance. Store them separately in the fridge. When you’re ready to cook, just toss everything together and roast. This makes the actual dinner prep take less than 5 minutes.
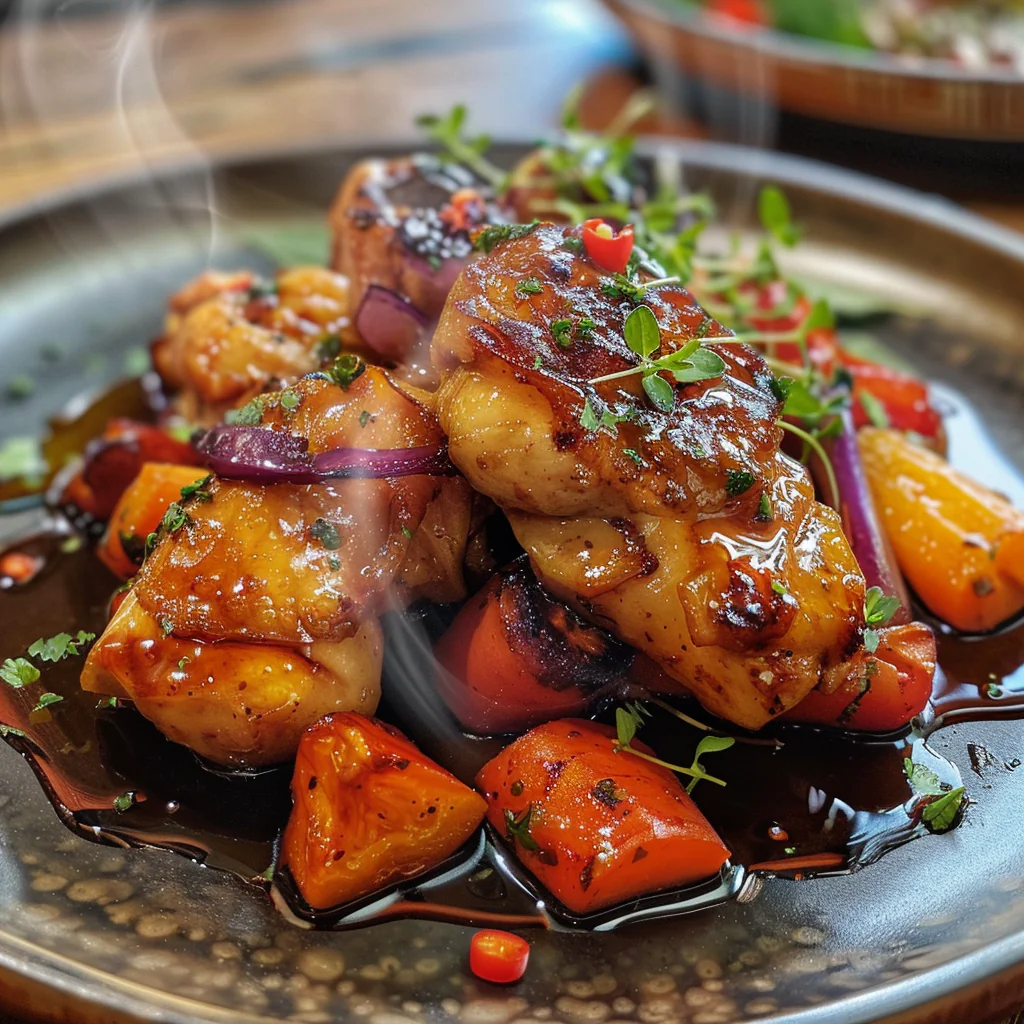
Conclusion
Sheet Pan Honey Garlic Chicken & Veggies is not just another quick dinner; it’s your go-to meal prep solution that brings together health, taste, and convenience in just 30 minutes! This dish highlights the authentic flavors of honey and garlic, making it a delicious option your whole family will love. With its vibrant assortment of veggies, you get a healthy, balanced meal that’s perfect for busy weeknights. The one-pan cooking method means fewer dishes and a stress-free cleanup, allowing you to spend more time enjoying your meal rather than preparing it. Try this easy recipe, and don’t forget to share your feedback on how it turned out for you! Whether it’s a cozy weeknight dinner or a meal prep favorite, this dish is sure to become a staple in your kitchen.
Easy One Pan Honey Garlic Chicken
Ingredients
Method
- Preheat the oven to 400ºF and line a baking sheet with parchment paper.
- Mix together the cornstarch and soy sauce until the cornstarch completely dissolves, and no lumps remain. Add the honey and garlic, mixing to combine.
- Cut your chicken into 1-2 inch cubed pieces. You want them to be as close to the same size as possible. Season with pepper.
- Chop your onion, broccoli, and bell peppers into desired size.
- Add all the prepped veggies to the baking sheet along with the cut-up and seasoned chicken pieces, spreading everything evenly. Stir the sauce again to make sure the cornstarch hasn't settled to the bottom before pouring the sauce over the chicken and veggies.
- Place the baking sheet in the oven and bake for 15 minutes, or until the chicken is no longer pink and the veggies are crisp-tender. Stir once during the cooking time to make sure everything is coated in sauce. Bake for another 10-12 minutes.
- Serve immediately with your choice of side, we love to serve this with steamed rice!
Nutrition
Notes
- To ensure your chicken is perfectly cooked, aim for an internal temperature of 165°F; the chicken should be opaque and juices should run clear.
- To prevent dryness, avoid overcooking by checking the chicken around the 25-minute mark; it should be just cooked through and the veggies should remain crisp-tender.
- If you're short on time, use pre-chopped veggies or frozen broccoli to save on prep time without sacrificing flavor.
- Store leftovers in an airtight container in the fridge for up to 4 days, and reheat in the oven at 350°F for about 10-15 minutes for best results.
- For a twist, substitute chicken breasts with thighs for a juicier texture, or try using teriyaki sauce instead of soy sauce for a different flavor profile.
Tried this recipe?
Let us know how it was!📌 Pin this Recipe for Later!